

Why You’ll Love This Sticky Sweet Sour Chicken
Sticky Sweet Sour Chicken is a go-to recipe that combines ease and flavor for anyone looking for a tasty meal without the fuss. You’ll appreciate how this dish comes together in just 35 minutes, making it ideal for busy nights when time is short but hunger is real. What’s more, it serves six people with about 428 calories per serving, offering a balanced option that fits into various lifestyles, from busy parents to diet-conscious folks.
This recipe stands out because it’s packed with fresh ingredients like tender chicken and vibrant veggies, all glazed in a mouthwatering sticky sauce. It’s not just about the taste; it’s about creating those family moments around the table that make cooking fun and rewarding. Whether you’re a student whipping up a quick dinner or a working professional seeking something nutritious, this Sticky Sweet Sour Chicken brings joy to every bite, adapting easily to your needs for a wholesome, satisfying experience.
To learn more about quick and delicious meals that fit into everyday life, check out our easy dessert ideas on the blog. They pair perfectly with savory dishes like this one.
- Ease of preparation: Whip up Sticky Sweet Sour Chicken in under 35 minutes, with just 15 minutes of prep and 20 minutes of cooking, perfect for those hectic weeknights.
- Health benefits: Each serving delivers lean protein from 1 1/2 pounds of boneless chicken thighs, plus veggies like broccoli and bell peppers, making it a nutritious choice at around 428 calories per serving.
- Versatility: Tailor this dish to fit gluten-free, vegan, or low-calorie diets by swapping ingredients, ensuring everyone from home cooks to seniors can enjoy it.
- Distinctive flavor: The sticky glaze offers a perfect mix of sweet and sour notes, thanks to elements like sweet chili sauce and apple juice, creating a glossy finish that’s hard to resist.
Expanding on its appeal, this recipe encourages personalization, helping you explore new flavors while keeping things simple. For instance, the blend of fresh cilantro garnish adds a burst of freshness that elevates the meal, making it feel special even on ordinary days.
Jump to:
- Why You’ll Love This Sticky Sweet Sour Chicken
- Essential Ingredients for Sticky Sweet Sour Chicken
- How to Prepare the Perfect Sticky Sweet Sour Chicken: Step-by-Step Guide
- Dietary Substitutions to Customize Your Sticky Sweet Sour Chicken
- Mastering Sticky Sweet Sour Chicken: Advanced Tips and Variations
- Tips for Better Flavor
- How to Store Sticky Sweet Sour Chicken: Best Practices
- FAQs: Frequently Asked Questions About Sticky Sweet Sour Chicken
- How can I make the sauce for Sticky Sweet Sour Chicken thicker and stickier?
- What ingredients can I use if I don’t have apple juice for the sauce?
- Can I make Sticky Sweet Sour Chicken gluten-free?
- What vegetables go well with Sticky Sweet Sour Chicken?
- How can I adapt Sticky Sweet Sour Chicken for peanut allergies?
- Sticky Sweet Sour Chicken
- Ingredients
- Instructions
- Last Step:
- Notes
- Nutrition
- Did you make this recipe?
Essential Ingredients for Sticky Sweet Sour Chicken
Gathering the right ingredients is key to making Sticky Sweet Sour Chicken a success in your kitchen. This recipe focuses on fresh, straightforward items that deliver big on flavor without overwhelming your shopping list. By using precise measurements, you can ensure every element works together for that perfect sticky glaze and tender chicken.
Below is a comprehensive list of all the ingredients needed, based on the details provided. This structured list makes it easy to follow and measure out everything accurately for the best results:
- 1 1/2 pounds boneless, skinless chicken thighs
- 1 egg (for coating)
- 1/4 cup flour
- 1 teaspoon ground ginger
- A pinch of salt (for seasoning)
- A pinch of pepper (for seasoning)
- 1 cup broccoli florets
- 2 sliced bell peppers
- 2 sliced shallots
- 4 tablespoons of olive oil (for coating)
- 1 cup sweet chili sauce (for the sauce)
- 1/3 cup soy sauce (for the sauce)
- 1/2 cup apple juice (for the sauce)
- 1/4 cup rice vinegar (for the sauce)
- 1 tablespoon ketchup (for the sauce)
- 1 tablespoon peanut butter (for the sauce)
- 1 sliced jalapeño (seeded if preferred, for the sauce)
- 2 minced garlic cloves (for the sauce)
- Cooked rice (for serving, quantity as needed)
- Fresh cilantro (for garnish, quantity as needed)
This setup ensures you have everything for a complete meal that serves six. For special touches, consider dietary swaps like using tamari for soy sauce if you’re aiming for gluten-free options.
How to Prepare the Perfect Sticky Sweet Sour Chicken: Step-by-Step Guide
Getting Sticky Sweet Sour Chicken just right starts with simple, clear steps that anyone can follow. Begin by preheating your oven and preparing your ingredients to keep things moving smoothly. This method bakes the chicken alongside fresh veggies, creating a one-pan wonder that’s both flavorful and efficient.
First, coat 1 1/2 pounds of boneless, skinless chicken thighs with 1 egg, then a mixture of 1/4 cup flour and 1 teaspoon ground ginger, seasoned with a pinch of salt and pepper. Arrange the coated chicken on a sheet pan with 1 cup broccoli florets, 2 sliced bell peppers, and 2 sliced shallots, all tossed in 4 tablespoons of olive oil.
- Bake the chicken and vegetables in a preheated oven at 400°F for about 15 minutes until the chicken is nearly cooked through.
- While that’s baking, prepare the sauce by simmering 1 cup sweet chili sauce, 1/3 cup soy sauce, 1/2 cup apple juice, 1/4 cup rice vinegar, 1 tablespoon ketchup, 1 tablespoon peanut butter, 1 sliced jalapeño, and 2 minced garlic cloves in a saucepan over medium heat until it thickens, about 5 minutes.
- Once thickened, remove half of the sauce and toss it with the baked chicken and vegetables right on the pan.
- Return the pan to the oven for an additional 3 minutes to let the sauce glaze everything perfectly.
- Serve the dish hot over cooked rice, garnished with fresh cilantro for a finishing touch.
This process highlights the sticky chicken glaze, a key part of the sweet and sour chicken experience. Remember, adjusting flavors to your taste can make this even more enjoyable, like adding a bit more jalapeño for heat.

Dietary Substitutions to Customize Your Sticky Sweet Sour Chicken
Making Sticky Sweet Sour Chicken work for your needs is all about smart swaps that keep the dish delicious. Whether you’re vegan or watching calories, these changes help maintain that signature sticky texture and flavor. For example, swapping chicken for plant-based options can make it accessible for everyone.
- Protein alternatives: Use firm tofu instead of chicken for a vegan twist, or try shrimp for a seafood variation.
- Sauce adjustments: Opt for gluten-free tamari in place of soy sauce to accommodate gluten-free diets.
- Sweetener options: Replace honey with agave if it’s not in the original list, though this recipe uses apple juice for natural sweetness.
- Veil additions: Mix in more veggies like carrots to boost nutrition without changing the core recipe.
These modifications ensure your Sticky Sweet Sour Chicken sheet pan recipe stays versatile and tasty.
Mastering Sticky Sweet Sour Chicken: Advanced Tips and Variations
Taking your Sticky Sweet Sour Chicken to the next level involves some pro techniques and creative ideas. Start by marinating the chicken for extra flavor absorption, which can make the dish even more tender. Experimenting with additions like pineapple can add a fun, fruity element to this sheet pan favorite.
Tips for Better Flavor
One way to enhance the sticky chicken glaze is to let the sauce simmer longer for a richer taste. For variations, try adding orange zest to bring out more of that sweet and sour essence. If you want to pair it with other recipes, our refreshing drink options can complement the meal nicely.
| Tips | Benefits |
|---|---|
| Marinate chicken for 30 minutes | Boosts flavor and tenderness |
| Add fresh herbs | Enhances aroma and taste |
| Use high heat | Locks in juices for better texture |
This table shows how small changes can lead to big improvements in your cooking.
How to Store Sticky Sweet Sour Chicken: Best Practices
Proper storage keeps your Sticky Sweet Sour Chicken tasting fresh for days. Cool leftovers completely before storing to preserve that sticky glaze and vibrant flavors. This step is crucial for busy parents or working professionals who meal prep ahead.
- Refrigerate in an airtight container for up to 3 days.
- Freeze portions for up to 2 months and thaw overnight.
- Reheat gently on the stovetop with a splash of water.
External link: For more on meal prep, check reliable cooking resources.
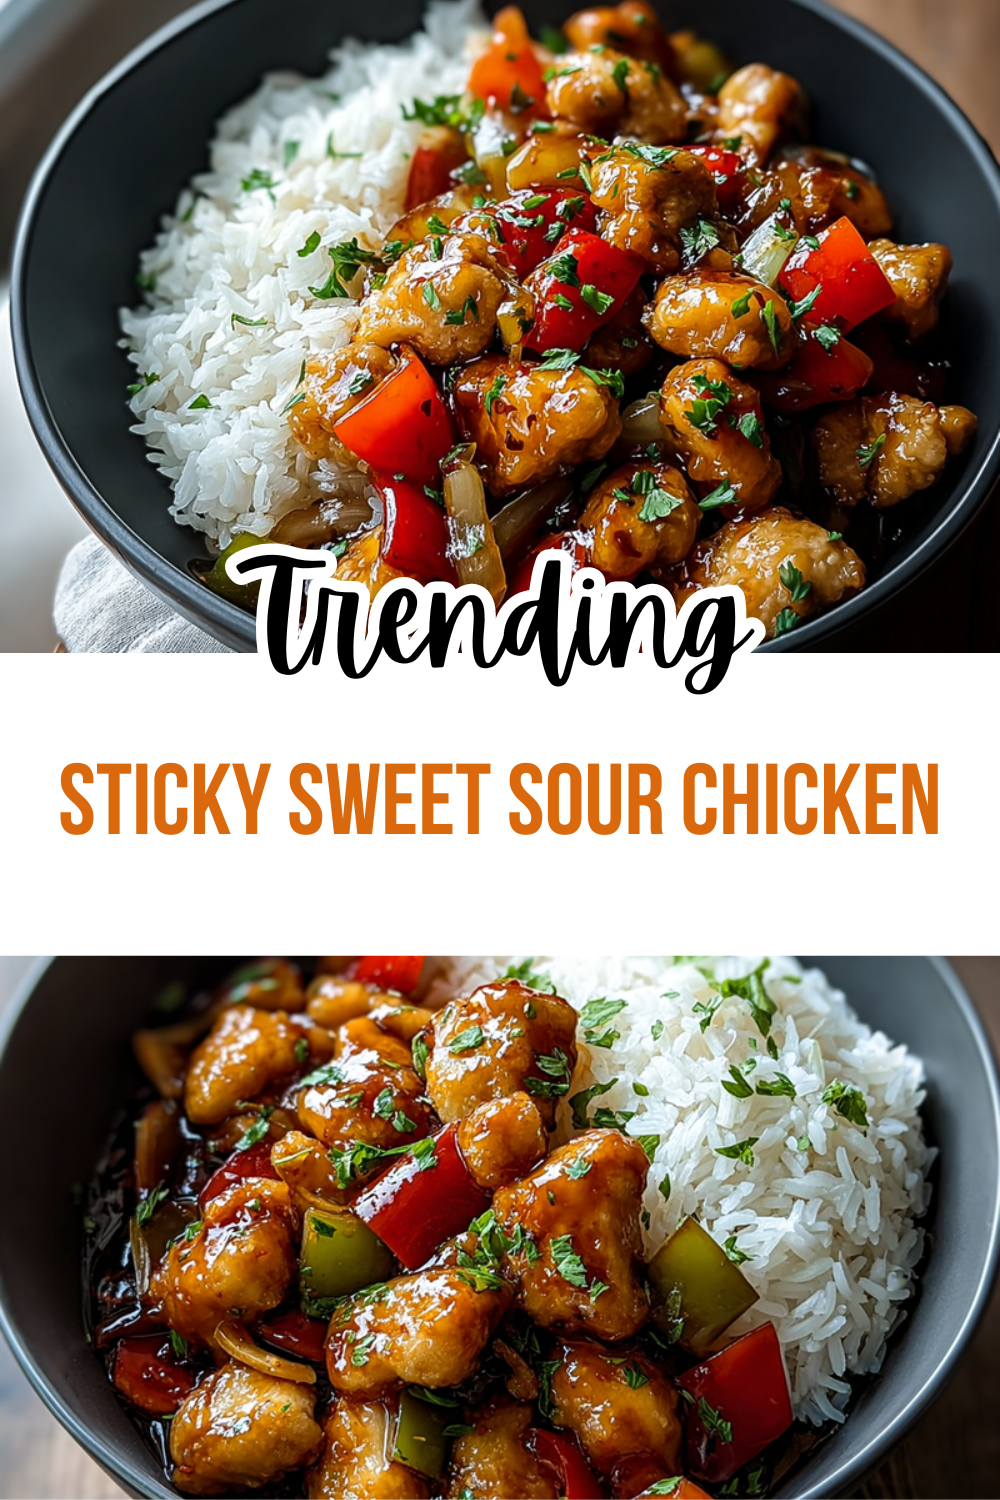
FAQs: Frequently Asked Questions About Sticky Sweet Sour Chicken
How can I make the sauce for Sticky Sweet Sour Chicken thicker and stickier?
To thicken the sauce for Sticky Sweet Sour Chicken, simmer it over medium heat to reduce liquid and concentrate flavors. If it’s still too thin, mix 1 teaspoon of cornstarch with 2 teaspoons of cold water to create a slurry, then slowly stir this into the sauce while it’s simmering. Continue cooking until the sauce reaches your desired sticky consistency. Avoid adding the cornstarch slurry all at once to prevent clumps; stir constantly to ensure even thickening.
What ingredients can I use if I don’t have apple juice for the sauce?
If you don’t have apple juice, pineapple juice is a great alternative for the sweet and tangy flavor in Sticky Sweet Sour Chicken sauce. You can also try orange juice mixed with a pinch of vinegar to mimic the balance of sweet and sour. For a less sweet option, use white grape juice or diluted apple cider vinegar combined with a touch of honey.
Can I make Sticky Sweet Sour Chicken gluten-free?
Yes, to make Sticky Sweet Sour Chicken gluten-free, substitute regular soy sauce with gluten-free tamari or coconut aminos, both of which provide a similar salty flavor without gluten. Ensure that other sauces or condiments used, like vinegar and chili sauce, are labeled gluten-free. Using cornstarch instead of flour for coating the chicken also helps maintain a gluten-free recipe.
What vegetables go well with Sticky Sweet Sour Chicken?
Popular vegetables to pair with Sticky Sweet Sour Chicken include broccoli, bell peppers, and snap peas, as their natural sweetness and crunch complement the sauce’s flavor. You can also add carrots or green beans for extra color and texture. Stir-fry or steam these vegetables lightly to keep them tender-crisp, making a fresh, balanced meal.
How can I adapt Sticky Sweet Sour Chicken for peanut allergies?
If you have a peanut allergy, avoid using peanut butter or peanut oil in your recipe. Instead, try sunflower seed butter or tahini for a similar creamy texture in the sauce. Use vegetable oil or sesame oil for cooking. Always check labels for hidden peanut ingredients when purchasing pre-made sauces or condiments to keep the dish safe for allergy sufferers.
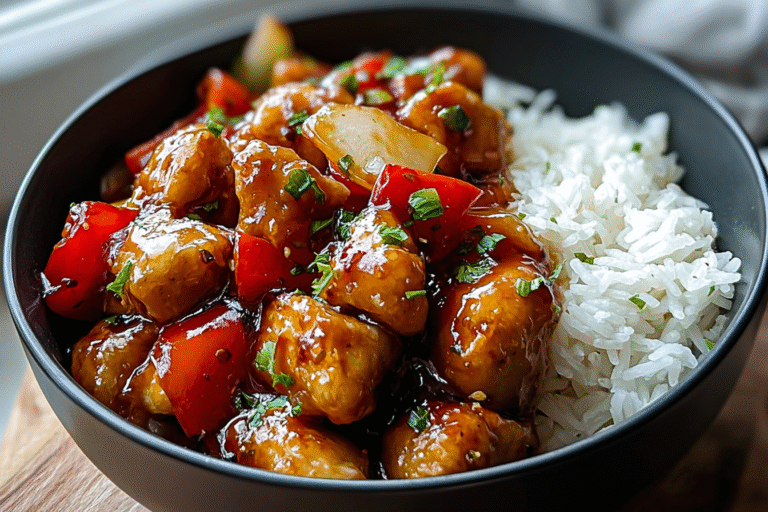
Sticky Sweet Sour Chicken
🍗 This Sheet Pan Sweet and Sour Chicken offers a balanced meal with tender chicken, crisp veggies, and a flavorful sticky glaze.
🌶️ Quick and easy to prepare, it’s perfect for busy weeknights with its convenient one-pan cooking and vibrant taste.
- Total Time: 35 minutes
- Yield: 6 servings
Ingredients
– 1 1/2 pounds boneless, skinless chicken thighs
– 1 egg for coating
– 1/4 cup flour
– 1 teaspoon ground ginger
– A pinch of salt for seasoning
– A pinch of pepper for seasoning
– 1 cup broccoli florets
– 2 sliced bell peppers
– 2 sliced shallots
– 4 tablespoons of olive oil for coating
– 1 cup sweet chili sauce for the sauce
– 1/3 cup soy sauce for the sauce
– 1/2 cup apple juice for the sauce
– 1/4 cup rice vinegar for the sauce
– 1 tablespoon ketchup for the sauce
– 1 tablespoon peanut butter for the sauce
– 1 sliced jalapeño seeded if preferred for the sauce
– 2 minced garlic cloves for the sauce
– Cooked rice for serving
– Fresh cilantro for garnish
Instructions
1-Bake the chicken and vegetables in a preheated oven at 400°F for about 15 minutes until the chicken is nearly cooked through.
2-While that’s baking, prepare the sauce by simmering 1 cup sweet chili sauce, 1/3 cup soy sauce, 1/2 cup apple juice, 1/4 cup rice vinegar, 1 tablespoon ketchup, 1 tablespoon peanut butter, 1 sliced jalapeño, and 2 minced garlic cloves in a saucepan over medium heat until it thickens, about 5 minutes.
3-Once thickened, remove half of the sauce and toss it with the baked chicken and vegetables right on the pan.
4-Return the pan to the oven for an additional 3 minutes to let the sauce glaze everything perfectly.
5-Serve the dish hot over cooked rice, garnished with fresh cilantro for a finishing touch.
Last Step:
Please leave a rating and comment letting us know how you liked this recipe! This helps our business to thrive and continue providing free, high-quality recipes for you.Notes
🔥 Coat chicken evenly with flour mixture for a crisp texture.
🌶️ Adjust jalapeño seeds for desired spice level.
🍽️ Use fresh cilantro as garnish to brighten flavors.
- Prep Time: 15 minutes
- Cook Time: 20 minutes
- Category: Main Course
- Method: Baking
- Cuisine: Asian-inspired
Nutrition
- Serving Size: 1 serving
- Calories: 428 kcal





