

Why You’ll Love This Homemade Tortilla Chips
Imagine transforming simple ingredients into a crunchy, flavorful snack that rivals store-bought options without the hassle. Homemade tortilla chips bring fresh taste and texture to your table, making them a hit for everything from game nights to quick meals. Whether you’re a busy parent or a food enthusiast, this recipe offers ease and satisfaction that keeps everyone coming back for more.
This recipe is simple and quick to make, perfect for anyone wanting tasty snacks without long kitchen sessions, with preparation taking just about 5 minutes and cooking another 5 minutes for a total of 10 minutes. You get control over ingredients like oil and salt, allowing for healthier choices compared to commercial versions. Plus, these chips adapt to various diets, including vegan and gluten-free options, while delivering a crisp bite that store-bought chips often lack.
One standout feature is their versatility; you can customize them for different needs, such as using whole grain tortillas for added fiber. For instance, the fresh seasoning options and lighter crispness make them a fun way to explore new flavors. If you’re curious about how corn boosts your diet, check out this resource on corn’s health benefits, which highlights its nutritional perks.
Key Benefits of Making Your Own
- Ease of preparation makes it ideal for home cooks, busy parents, or students who need quick snacks.
- Health benefits include controlling oil and salt, supporting diets for diet-conscious individuals.
- Versatility allows for adaptations like vegan versions with plant-based oils or gluten-free options.
- Distinctive flavor comes from fresh ingredients and customizable spices, appealing to food enthusiasts and travelers alike.
Jump to:
- Why You’ll Love This Homemade Tortilla Chips
- Key Benefits of Making Your Own
- Essential Ingredients for Homemade Tortilla Chips
- Special Dietary Options
- How to Prepare the Perfect Homemade Tortilla Chips: Step-by-Step Guide
- Dietary Substitutions to Customize Your Homemade Tortilla Chips
- Mastering Homemade Tortilla Chips: Advanced Tips and Variations
- Nutritional Breakdown
- How to Store Homemade Tortilla Chips: Best Practices
- FAQs: Frequently Asked Questions About Homemade Tortilla Chips
- What is the best type of tortilla to use for homemade tortilla chips?
- How can I fry homemade tortilla chips without a thermometer?
- What are the steps to bake tortilla chips in the oven for a healthier option?
- How long do homemade tortilla chips stay fresh and how should I store them?
- Why do some homemade tortilla chips puff up when fried?
- Homemade Tortilla Chips
- Ingredients
- Instructions
- Last Step:
- Notes
- Nutrition
- Did you make this recipe?
Essential Ingredients for Homemade Tortilla Chips
Gathering the right ingredients is the first step to perfect homemade tortilla chips, and keeping things simple ensures success. Start with quality corn tortillas for the best results, as they provide that authentic crunch and flavor. You’ll love how easy it is to adjust portions for your needs, whether you’re cooking for one or a crowd.
Below is a structured list of the essential ingredients based on the recipe. Each item includes precise measurements to help you measure accurately and achieve great results every time:
- 10 corn tortillas (preferably stale or slightly dried out) – These form the base and give the chips their classic texture.
- ¾ to 1 cup of a neutral, high-heat cooking oil such as avocado, safflower, peanut, or vegetable oil – This helps fry or bake the chips to golden perfection and adds a healthy fat element; for more on avocado oil, explore this guide to avocado oil benefits.
- Sea salt to taste – This enhances the flavor and lets you control the saltiness.
Special Dietary Options
For those with specific dietary needs, you can swap ingredients easily. For a vegan twist, opt for plant-based oils like avocado or coconut oil. If you’re gluten-free, make sure to choose certified gluten-free corn tortillas to keep things safe and delicious.
How to Prepare the Perfect Homemade Tortilla Chips: Step-by-Step Guide
Getting started with homemade tortilla chips is straightforward, and you’ll appreciate the step-by-step process that works for both frying and baking methods. Begin by gathering your tools and ingredients to keep things organized, which makes the whole experience enjoyable and stress-free. This guide covers both options so you can pick what suits your kitchen setup.
For fried tortilla chips, follow these detailed steps to achieve that irresistible crunch:
- Line a plate or baking sheet with paper towels or a clean dishcloth to drain excess oil.
- Pour oil about half an inch deep into a wide, high-sided pan and heat to 350°F (177°C) over medium-high heat; test the oil by dropping in a small tortilla piece it should sizzle gently.
- Cut each of the 10 corn tortillas into 6 triangles for even-sized chips.
- Fry the tortilla wedges in a single layer in the hot oil, pressing gently with tongs or a slotted spoon, for about 2 minutes until they turn golden and crisp; repeat in batches to avoid overcrowding.
- Drain the chips on the prepared plate and immediately sprinkle with sea salt to taste; let them sit briefly over the oil before removing to reduce oiliness.
Now, for baked tortilla chips, which offer a healthier alternative:
- Preheat the oven to 375°F (190°C) and line baking sheets with parchment paper or silicone mats.
- Lightly brush or spray both sides of the tortillas with oil and cut each into 6 triangles.
- Arrange the chips in a single layer on the baking sheets without overlapping.
- Bake for 10 to 20 minutes until crisp and golden, rotating the sheets halfway through; in a convection oven, reduce the temperature by 25°F and check early to prevent over-browning.
- Season with sea salt upon removing from the oven.
Fried chips tend to be lighter and crisper, while baked ones provide a healthier option with slightly less oil. For more recipe ideas that pair well, try this blackened chicken recipe as a tasty companion.

Dietary Substitutions to Customize Your Homemade Tortilla Chips
Adapting this recipe to fit your lifestyle is simple and rewarding, allowing you to enjoy homemade tortilla chips no matter your preferences. Whether you’re aiming for more protein or exploring new flavors, these swaps make it easy to personalize. Seniors or working professionals will find these changes helpful for quick, tailored snacks.
For protein and main component alternatives, consider substituting traditional corn tortillas with whole wheat or cassava-based ones to boost nutritional profiles. You can add a sprinkle of nutritional yeast for extra protein or pair the chips with dips like guacamole.
As for vegetable, sauce, and seasoning modifications, experiment with herbs like garlic powder or smoked paprika to match your taste. Try incorporating dips such as salsa or bean dips to enhance flavor while meeting dietary goals for busy parents and diet-conscious individuals.
Mastering Homemade Tortilla Chips: Advanced Tips and Variations
Once you’re comfortable with the basics, taking your homemade tortilla chips to the next level adds excitement and variety to your snacking routine. Use pro cooking techniques like a convection oven for even heat and crisper results, which baking enthusiasts will appreciate. Experimenting with flavors keeps things fresh and fun for all skill levels.
Here are some helpful tips to elevate your chips:
- Use nixtamalized corn tortillas for better flavor and texture.
- For the air fryer method, cook lightly oiled tortilla triangles at 350°F (177°C) for 5 to 7 minutes, watching closely to avoid over-browning.
- Try flavor variations like lime and chili or smoky chipotle for unique tastes.
- Presentation tips include serving in decorative bowls with fresh herbs for a visually appealing touch.
- Make-ahead options involve preparing and seasoning chips in advance, then storing them for busy schedules.
Nutritional Breakdown
To give you a clear idea, here’s a table outlining the nutritional information for about 12 fried chips per serving:
| Nutrient | Amount per Serving |
|---|---|
| Calories | 177 |
| Total Fat | 9.8 grams |
| Saturated Fat | 1.4 grams |
| Cholesterol | 0 mg |
| Sodium | 254.1 mg |
| Carbohydrates | 21.4 grams |
| Dietary Fiber | 3 grams |
| Total Sugars | 0.4 grams |
| Protein | 2.7 grams |
How to Store Homemade Tortilla Chips: Best Practices
Proper storage keeps your homemade tortilla chips fresh and crunchy, extending their enjoyment beyond the first day. Store them correctly to maintain that satisfying snap, which is especially useful for newlyweds or working professionals prepping meals ahead. Follow these steps to keep your snacks in top shape.
- Keep leftover chips in an airtight container at room temperature to avoid sogginess; refrigeration isn’t ideal as it can make them lose crispness.
- Freeze chips in a sealed freezer bag for up to one month, then reheat in the oven to restore texture.
- Reheat by warming chips in a preheated oven at 300°F (150°C) for 5-7 minutes to keep them safe and tasty.
- For meal prep, store chips separately from dips and add seasoning just before serving to preserve freshness.
Remember, cooled chips store best in an airtight container or resealable plastic bag for one to two days, ensuring they stay enjoyable for your next gathering.
FAQs: Frequently Asked Questions About Homemade Tortilla Chips
What is the best type of tortilla to use for homemade tortilla chips?
Corn tortillas are the best choice for homemade tortilla chips, especially if they are slightly stale or dried out, as this helps them crisp better. Look for tortillas made with nixtamalized corn, which improves flavor and texture; this is often indicated on the packaging. Flour tortillas can be used but tend to be less crispy and have a different taste.
How can I fry homemade tortilla chips without a thermometer?
If you don’t have a thermometer, drop a small piece of tortilla into the hot oil. It should sizzle gently and start to brown in about 1–2 minutes. If the piece browns too quickly or smokes, the oil is too hot—reduce the heat and let it cool slightly before frying more chips.
What are the steps to bake tortilla chips in the oven for a healthier option?
Preheat your oven to 375°F (or 350°F for convection ovens). Cut tortillas into wedges, lightly brush both sides with a neutral oil like avocado oil, and arrange them in a single layer on a baking sheet. Bake for 10 to 20 minutes, checking often to prevent burning, until they are crisp and golden. Season with salt immediately after baking.
How long do homemade tortilla chips stay fresh and how should I store them?
Homemade tortilla chips are best eaten the same day for maximum crispness. After cooling completely, store them in an airtight container or resealable bag at room temperature. They will stay fresh for 1 to 2 days but may lose their crunch over time.
Why do some homemade tortilla chips puff up when fried?
Chips puff up when fried because of the tortilla’s layered structure, which traps steam as the moisture heats up. High-quality corn tortillas with good layering and proper oil temperature create pockets of air, causing the chips to puff and become lighter and crispier.
Homemade Tortilla Chips
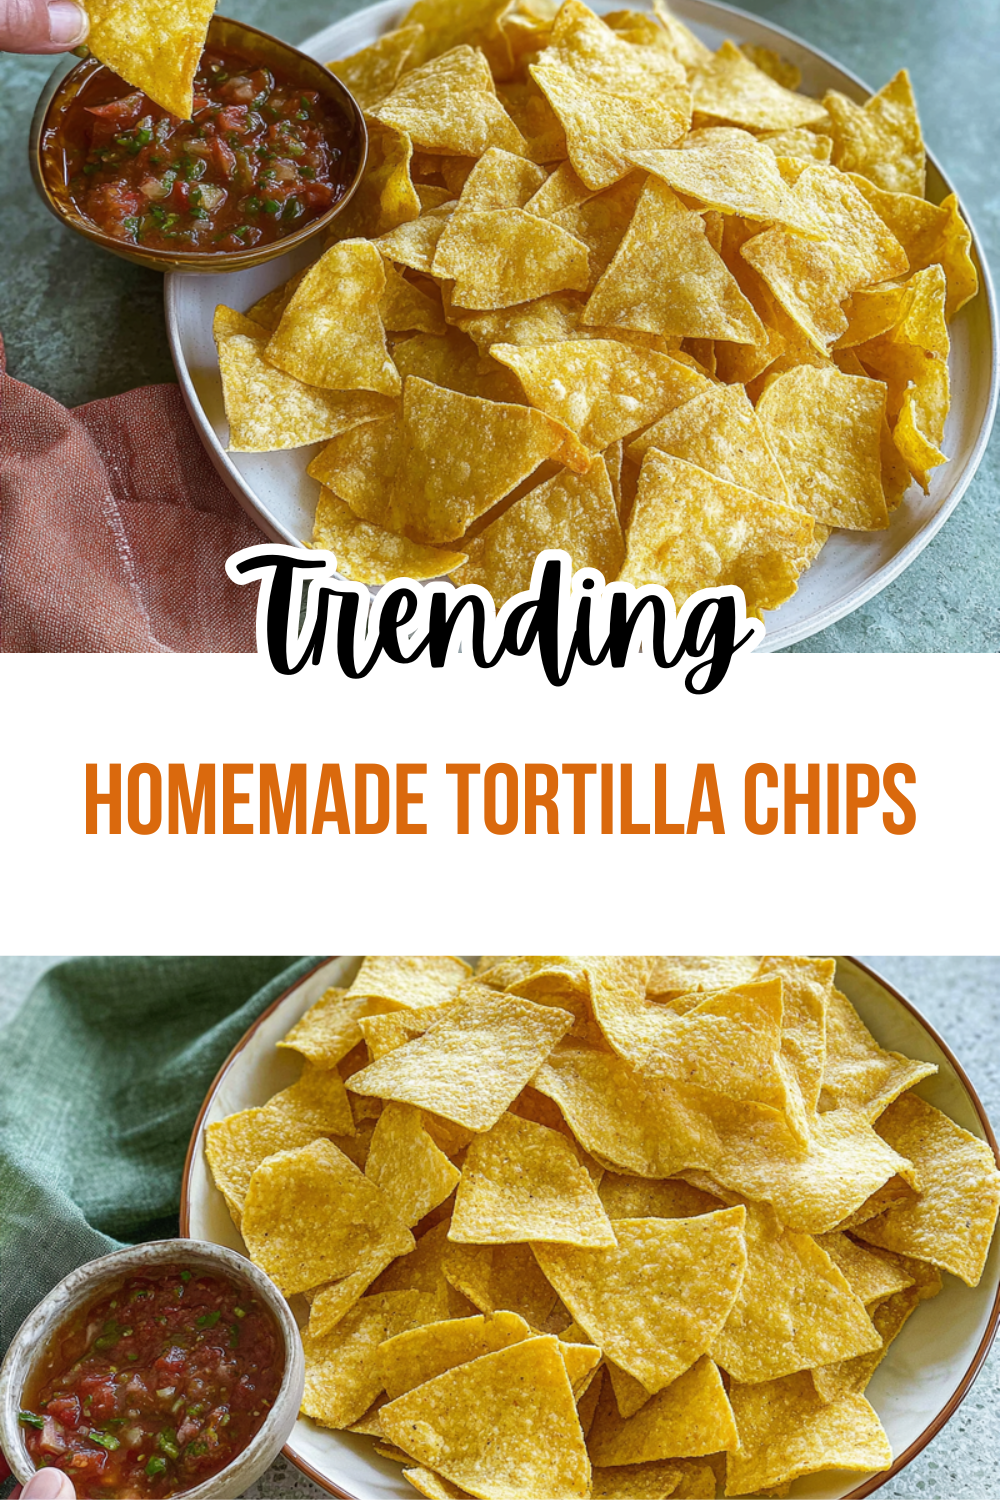
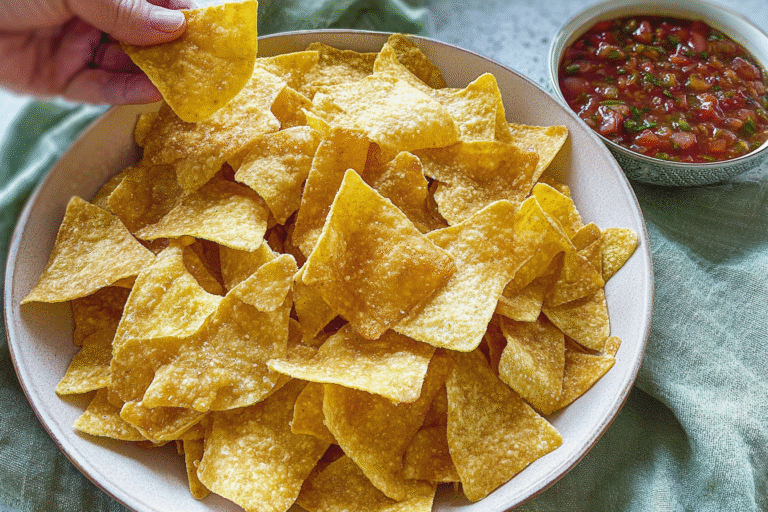
🌽 Homemade Tortilla Chips offer a fresh, customizable snack with crispy texture and rich flavor.
🍟 You can choose to fry or bake them, making it easy to enjoy a healthier or classic treat at home.
- Total Time: 10 minutes
- Yield: About 60 chips
Ingredients
– 10 corn tortillas (preferably stale or slightly dried out) for the base
– ¾ to 1 cup of a neutral, high-heat cooking oil such as avocado, safflower, peanut, or vegetable oil for frying or baking
– Sea salt to taste for enhancing flavor
Instructions
1-Line a plate or baking sheet with paper towels or a clean dishcloth to drain excess oil.
2-Pour oil about half an inch deep into a wide, high-sided pan and heat to 350°F (177°C) over medium-high heat; test the oil by dropping in a small tortilla piece it should sizzle gently.
3-Cut each of the 10 corn tortillas into 6 triangles for even-sized chips.
4-Fry the tortilla wedges in a single layer in the hot oil, pressing gently with tongs or a slotted spoon, for about 2 minutes until they turn golden and crisp; repeat in batches to avoid overcrowding.
5-Drain the chips on the prepared plate and immediately sprinkle with sea salt to taste; let them sit briefly over the oil before removing to reduce oiliness.
6-Preheat the oven to 375°F (190°C) and line baking sheets with parchment paper or silicone mats.
7-Lightly brush or spray both sides of the tortillas with oil and cut each into 6 triangles.
8-Arrange the chips in a single layer on the baking sheets without overlapping.
9-Bake for 10 to 20 minutes until crisp and golden, rotating the sheets halfway through; in a convection oven, reduce the temperature by 25°F and check early to prevent over-browning.
10-Season with sea salt upon removing from the oven.
Last Step:
Please leave a rating and comment letting us know how you liked this recipe! This helps our business to thrive and continue providing free, high-quality recipes for you.Notes
🌽 Use nixtamalized corn tortillas for richer flavor.
🔥 Test oil heat by dropping a small tortilla piece; it should sizzle gently.
⚡ In a convection oven, reduce baking temperature by 25°F and check chips early to prevent burning.
- Prep Time: 5 minutes
- Cook Time: 5 minutes
- Category: Snack
- Method: Frying or Baking
- Cuisine: Mexican
- Diet: Vegetarian, Gluten-Free
Nutrition
- Serving Size: 12 chips
- Calories: 177 kcal
- Sugar: 0.4 g
- Sodium: 254 mg
- Fat: 9.8 g
- Saturated Fat: 1.4 g
- Unsaturated Fat: 7 g
- Trans Fat: 0 g
- Carbohydrates: 21.4 g
- Fiber: 3 g
- Protein: 2.7 g
- Cholesterol: 0 mg





