

Why You’ll Love This Butterfinger Balls
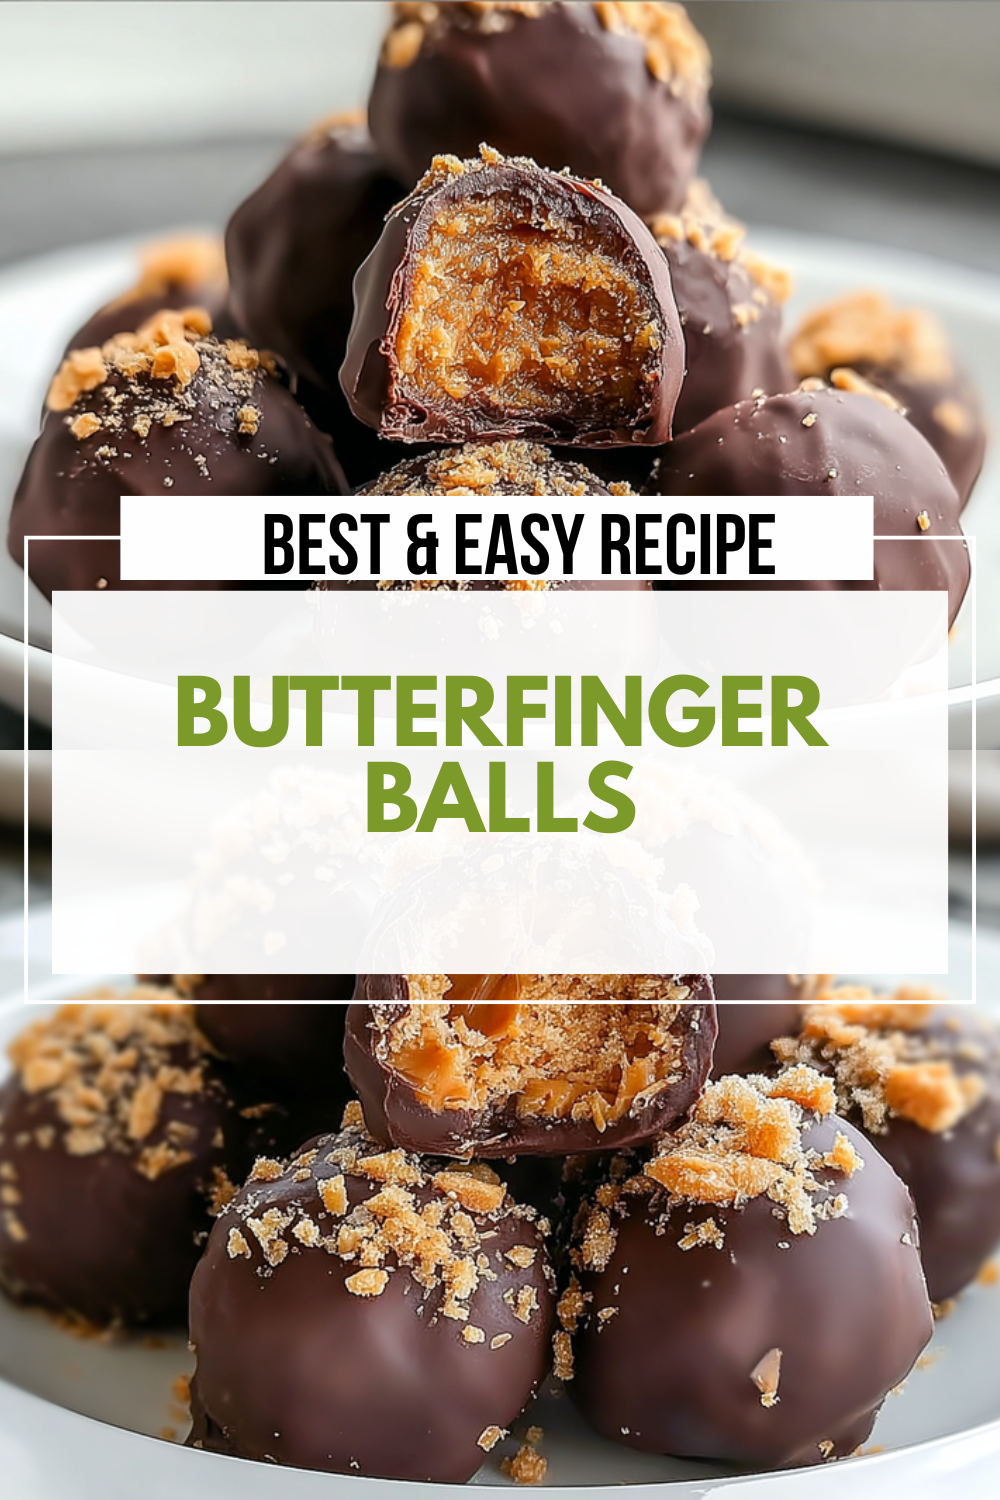
Butterfinger Balls are bite-sized, no-bake peanut butter treats that bring a burst of fun and flavor to your kitchen with minimal effort. They’re made by combining simple ingredients like creamy peanut butter and crushed candy bars, resulting in about 20 delicious balls perfect for parties and holiday gatherings. This recipe takes just 15 minutes of active work plus 30 minutes of chilling, totaling 45 minutes, making it ideal for busy parents and home cooks looking for a quick treat.
One key reason you’ll fall in love with this Butterfinger Balls recipe is its ease of preparation, allowing you to whip up these delightful no-bake treats in under 30 minutes. These snacks also offer nutritional advantages, like protein from peanut butter, which supports overall wellness as supported by research on healthy eating habits. Additionally, the recipe’s versatility means it adapts easily to various dietary needs, such as vegan or gluten-free options, while boasting a distinctive flavor from the crunchy textures and sweet candy pieces that set it apart from other no-bake treats.
To make these Butterfinger Balls even more appealing, they’re popular for sharing at events and can be garnished with crushed candy or sprinkles for extra pizzazz. If you’re a baking enthusiast or a student searching for easy no-bake recipes, this one fits the bill with its straightforward process. Overall, the unique combination of buttery goodness and chocolate coating makes it a standout choice for anyone wanting to create memorable moments around the table.
Jump to:
- Why You’ll Love This Butterfinger Balls
- Essential Ingredients for Butterfinger Balls
- How to Prepare the Perfect Butterfinger Balls: Step-by-Step Guide
- Dietary Substitutions to Customize Your Butterfinger Balls
- Mastering Butterfinger Balls: Advanced Tips and Variations
- Additional Variation Ideas
- How to Store Butterfinger Balls: Best Practices
- FAQs: Frequently Asked Questions About Butterfinger Balls
- How should I store Butterfinger Balls to keep them fresh?
- Can I freeze Butterfinger Balls, and how do I thaw them properly?
- What is the best way to melt chocolate for coating Butterfinger Balls?
- Can I make Butterfinger Balls ahead of time for a party?
- Are Butterfinger Balls suitable for kids and what ingredients should I watch for?
- Butterfinger Balls
- Ingredients
- Instructions
- Last Step:
- Notes
- Nutrition
- Did you make this recipe?
Essential Ingredients for Butterfinger Balls
Gathering the right ingredients is the first step to making Perfect Butterfinger Balls, and this list pulls together everything you need for a batch of these delicious no-bake treats. Based on the recipe details, we’ll focus on the precise measurements to ensure your results are spot-on. Remember, using these ingredients correctly helps achieve the signature crunch and rich flavor that “Butterfinger balls recipe easy” promises.
- 1 cup creamy peanut butter (not natural) – forms the base and provides protein
- 4 tablespoons softened unsalted butter – adds creaminess and helps bind the mixture
- 1 teaspoon vanilla extract – enhances the overall taste with a warm, sweet note
- 1 cup powdered sugar – sweetens and helps create the perfect texture
- 3/4 cup graham cracker crumbs – offers structure and a subtle crunch
- 1/2 cup crushed candy bars – delivers the iconic Butterfinger candy flavor
- 8 ounces melted chocolate – used for dipping to give a smooth, chocolatey coating
This comprehensive list ensures you have all items needed, yielding about 20 balls. For special dietary options, you can swap in alternatives like almond butter for peanut butter to make them vegan-friendly, as mentioned in various “delicious no-bake Butterfinger balls” adaptations.
How to Prepare the Perfect Butterfinger Balls: Step-by-Step Guide
Making Butterfinger Balls is a straightforward process that fits into any busy schedule, taking about 15 minutes of hands-on time before chilling. Start by combining the ingredients like creamy peanut butter and crushed candy bars to form a mixture that’s rolled into 1 to 1 1/2 tablespoon balls. After chilling for 30 minutes, dip them in melted chocolate and garnish as desired for a treat that’s popular at gatherings.
First, gather all ingredients and prepare your workspace by mixing in a large bowl. Second, in that bowl, combine 1 cup creamy peanut butter, 4 tablespoons softened unsalted butter, 1 teaspoon vanilla extract, 1 cup powdered sugar, 3/4 cup graham cracker crumbs, and 1/2 cup crushed candy bars until evenly mixed. Third, once blended, shape the mixture into balls using 1 to 1 1/2 tablespoons per ball and place them on a lined baking sheet.
Fourth, chill the balls in the refrigerator for 30 minutes to firm up. Fifth, melt 8 ounces of chocolate gently, then dip each chilled ball into the chocolate to coat. Sixth, garnish with crushed candy, sprinkles, or coarse salt right away for added flair. Finally, let them set before serving these steps make “how to make Butterfinger balls” simple and fun, perfect for home cooks and food enthusiasts alike. For more ideas on quick snacks, check out our guide on peanut butter treats for variations.

Dietary Substitutions to Customize Your Butterfinger Balls
Customizing Butterfinger Balls lets you tailor these no-bake treats to your needs, whether you’re dealing with allergies or dietary preferences. You can swap out main ingredients for alternatives that keep the recipe versatile and delicious. This approach ensures everyone, from diet-conscious individuals to seniors, can enjoy these snacks without compromising on taste.
For protein and main component alternatives, replace peanut butter with almond, cashew, or sun butter to accommodate allergies or preferences. Use vegan candy alternatives or omit candy pieces for a fully plant-based version that still delivers that Butterfinger candy crunch. Incorporate protein powder if you’re focusing on fitness goals, turning these into a nutritious option for working professionals.
When it comes to vegetable, sauce, and seasoning modifications, add finely chopped nuts or seeds for extra crunch and nutrients. Experiment with flavors like cinnamon or cocoa powder to enhance the mix, or opt for sugar-free syrups like stevia for a lower-sugar treat. These changes make the recipe adaptable for various tastes, aligning with tips from sources like health benefits of peanuts, which highlight nut-based substitutions.
Mastering Butterfinger Balls: Advanced Tips and Variations
Once you’re comfortable with the basics of Butterfinger Balls, advanced tips can take your no-bake treats to the next level, impressing friends and family at any event. Start by chilling the mixture before shaping to avoid stickiness and ensure the balls hold their form perfectly. These pro techniques make the process smoother and more enjoyable for baking enthusiasts.
For flavor variations, try mixing in espresso powder or coconut flakes to add unique notes that elevate the taste without much extra work. Presentation is key too serve your Butterfinger Balls on decorative plates with a drizzle of melted chocolate or a light dusting of powdered sugar for a polished look. If you’re planning ahead, prepare the mixture and shape the balls in advance; store them refrigerated for up to one week or freeze for longer, as these treats freeze well for 5-6 months.
These expert strategies not only perfect your Butterfinger Balls but also allow for creative twists, making them suitable for holiday gatherings or everyday snacks. Remember, garnishing with options like coarse salt can add a surprising element, tying back to the recipe’s popularity for parties.
Additional Variation Ideas
Here are more ways to experiment: use different crushed candies for varied textures, or incorporate dried fruits for a healthier twist. These ideas help cater to food enthusiasts and travelers looking for portable treats. According to how to eat chocolate, moderate indulgences like these can fit into balanced diets.
How to Store Butterfinger Balls: Best Practices
Proper storage is essential to keep your Butterfinger Balls fresh and tasty, especially since they’re made for on-the-go lifestyles like those of busy parents and working professionals. These no-bake treats hold up well when refrigerated, maintaining their texture for up to one week. Follow these guidelines to enjoy them at their best, whether you’re preparing for a party or meal prep.
For refrigeration, store Butterfinger Balls in an airtight container in the fridge for up to 5 days to keep them firm and flavorful. When freezing, place the balls on a baking sheet first, then transfer to a freezer-safe container; they last 5-6 months and thaw in the fridge overnight. Reheating isn’t necessary, but allow them to reach room temperature for the best taste just avoid microwaving to preserve the chocolate coating.
Meal prep considerations include portioning servings into single-use containers for easy grab-and-go options throughout the week. This method ensures the treats stay fresh and safe, making them a convenient choice for students or newlyweds. Plus, these storage practices align with the recipe’s total prep time of 45 minutes, maximizing your efforts.
FAQs: Frequently Asked Questions About Butterfinger Balls
How should I store Butterfinger Balls to keep them fresh?
Store Butterfinger Balls in an airtight container in the refrigerator. To prevent them from sticking together, place a layer of wax or parchment paper between each layer of balls. This way, they stay fresh and maintain their texture for up to 3-4 weeks.
Can I freeze Butterfinger Balls, and how do I thaw them properly?
Yes, Butterfinger Balls freeze well for 5-6 months. Place them in a freezer-safe bag or container, removing as much air as possible. When ready to eat, thaw them at room temperature for 30 minutes to an hour or place them in the refrigerator overnight for a slower thaw.
What is the best way to melt chocolate for coating Butterfinger Balls?
Use gentle heat to melt chocolate, either in a microwave in short bursts or with a double boiler on low heat. Avoid getting any water into the chocolate, as it can cause it to seize and become grainy. Stir often for a smooth, glossy finish suitable for dipping Butterfinger Balls.
Can I make Butterfinger Balls ahead of time for a party?
Butterfinger Balls can be made several days in advance. Store them in the refrigerator or freezer depending on how far ahead you are planning. Preparing them early helps flavors meld and speeds up party day prep.
Are Butterfinger Balls suitable for kids and what ingredients should I watch for?
Butterfinger Balls are kid-friendly treats but check ingredients for any allergies, particularly nuts or dairy. You can adjust recipes to suit dietary needs by swapping ingredients like using dairy-free chocolate or nut-free alternatives to make them safer for sensitive eaters.
Butterfinger Balls
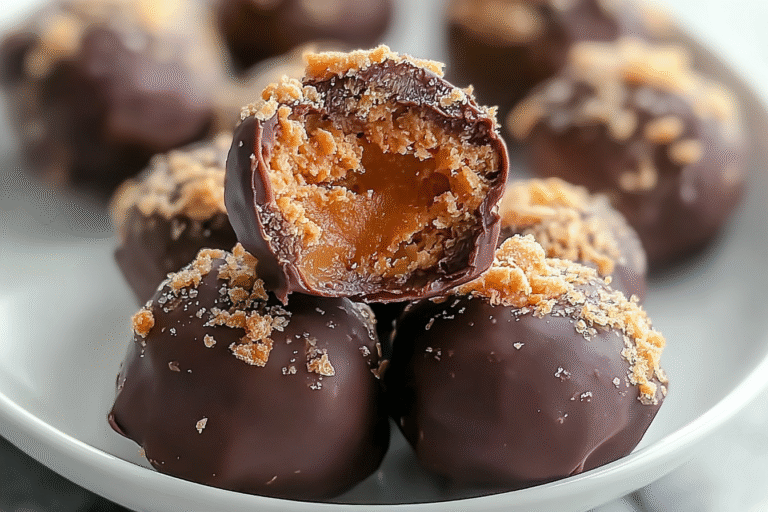
🍫 Butterfinger Balls Recipe Easy and Delicious No-Bake Treats offer a quick, crowd-pleasing dessert packed with peanut butter and candy bar crunch.
🥜 These no-bake bites are perfect for parties or holiday gatherings, delivering rich flavor without oven time.
- Total Time: 45 minutes
- Yield: 20 balls
Ingredients
– 1 cup creamy peanut butter (not natural) forms the base and provides protein
– 4 tablespoons softened unsalted butter adds creaminess and helps bind the mixture
– 1 teaspoon vanilla extract enhances the overall taste with a warm, sweet note
– 1 cup powdered sugar sweetens and helps create the perfect texture
– 3/4 cup graham cracker crumbs offers structure and a subtle crunch
– 1/2 cup crushed candy bars delivers the iconic Butterfinger candy flavor
– 8 ounces melted chocolate used for dipping to give a smooth, chocolatey coating
Instructions
1-First, gather all ingredients and prepare your workspace by mixing in a large bowl.
2-Second, in that bowl, combine 1 cup creamy peanut butter, 4 tablespoons softened unsalted butter, 1 teaspoon vanilla extract, 1 cup powdered sugar, 3/4 cup graham cracker crumbs, and 1/2 cup crushed candy bars until evenly mixed.
3-Third, once blended, shape the mixture into balls using 1 to 1 1/2 tablespoons per ball and place them on a lined baking sheet.
4-Fourth, chill the balls in the refrigerator for 30 minutes to firm up.
5-Fifth, melt 8 ounces of chocolate gently, then dip each chilled ball into the chocolate to coat.
6-Sixth, garnish with crushed candy, sprinkles, or coarse salt right away for added flair.
7-Finally, let them set before serving these steps make “how to make Butterfinger balls” simple and fun, perfect for home cooks and food enthusiasts alike.
Last Step:
Please leave a rating and comment letting us know how you liked this recipe! This helps our business to thrive and continue providing free, high-quality recipes for you.Notes
🍬 Use creamy peanut butter (not natural) for better texture and binding.
❄️ Chill the balls thoroughly before dipping to ensure chocolate coats smoothly.
🎉 Garnish with festive toppings like sprinkles or coarse salt for added flavor and presentation.
- Prep Time: 15 minutes
- Chilling Time: 30 minutes
- Category: Dessert
- Method: No-Bake
- Cuisine: American
Nutrition
- Serving Size: 1 ball





