

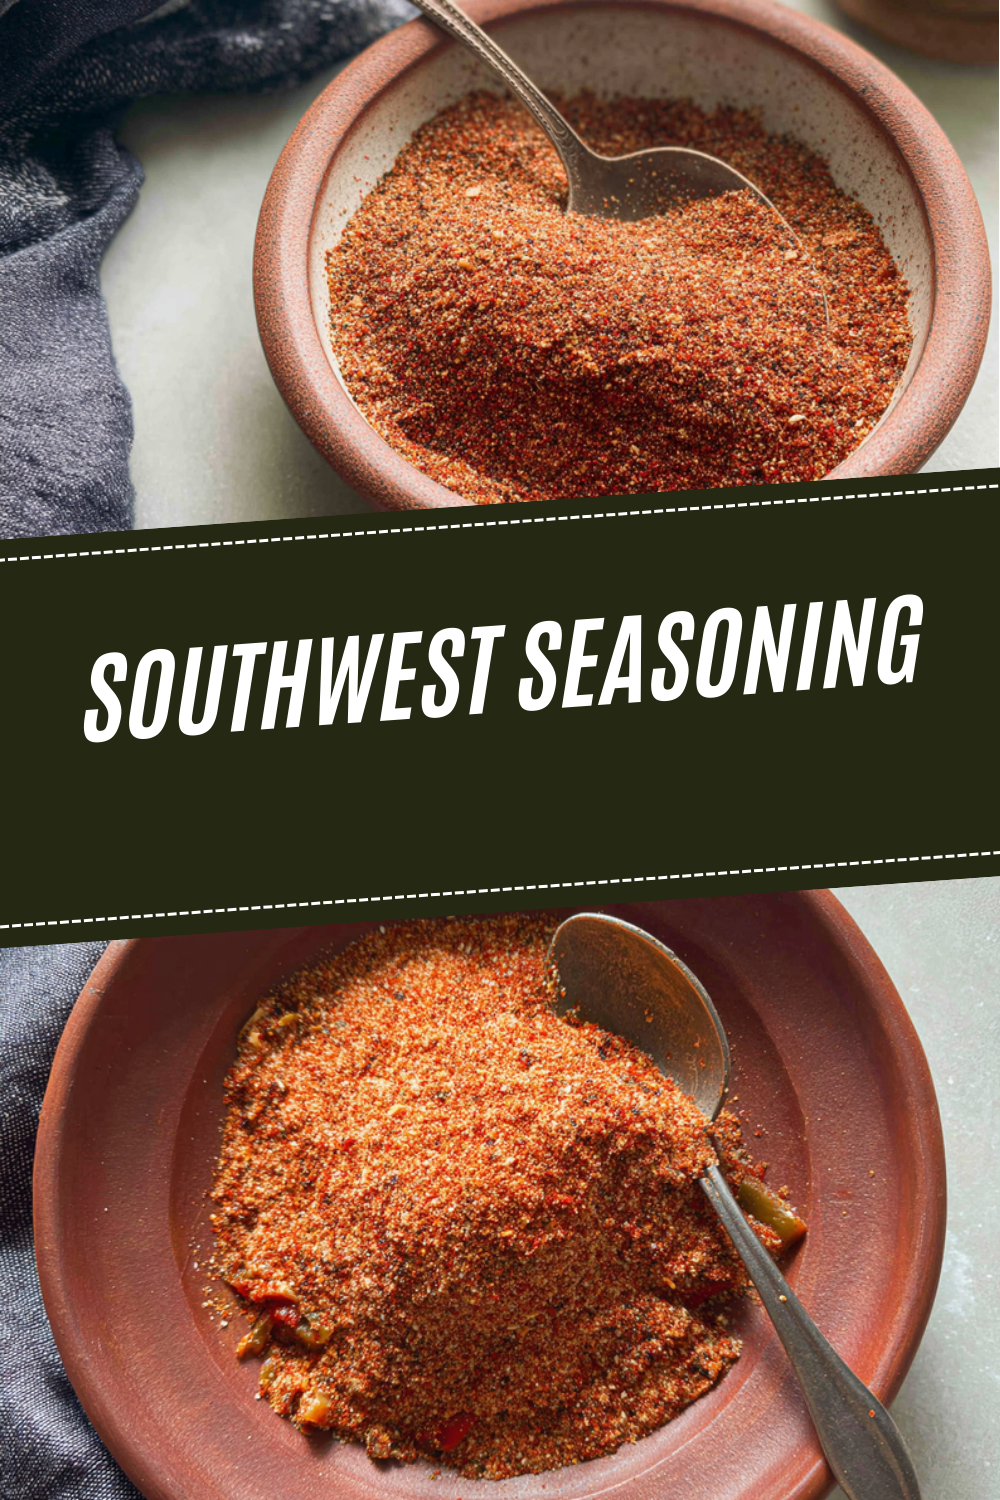
Why You’ll Love This Southwest Seasoning
I love whipping up this Southwest Seasoning because it’s a game-changer for anyone craving bold flavors in their Mexican-inspired meals! It takes just minutes to mix together, making it perfect for busy days when you’re short on time but still want something special on the table. Let’s dive into why this blend stands out, blending ease, health perks, versatility, and that signature zing that keeps everyone coming back for more.
- Ease of preparation: This Southwest Seasoning comes together in a flash with simple ingredients you probably have on hand, letting you skip the fuss and get cooking fast! I mix it up in under five minutes, which is ideal for busy parents or students juggling schedules. Using seasoning like this means less time prepping and more time enjoying meals, boosting its appeal for everyday use.
- Health benefits: Packed with natural spices, this blend offers great nutritional boosts without added junk! It includes ingredients that can aid digestion and provide antioxidants, making it a smart choice for diet-conscious folks or those watching their wellness. I always feel good knowing it supports a balanced diet while adding flavor.
- Versatility: You can tweak this Southwest Seasoning to fit all sorts of diets, from vegan to gluten-free, so it’s a hit with everyone! It’s amazing on tacos, grilled meats, or even veggies, adapting easily to different meals. Whether you’re a working professional or a senior, it makes cooking flexible and fun.
- Distinctive flavor: What makes this Southwest Seasoning special is its bold, smoky taste that brings Mexican dishes to life in a way that’s hard to beat! The mix of spices creates a depth that elevates everyday food without overwhelming it. I use it all the time because it adds that authentic kick that food enthusiasts adore.
This seasoning isn’t just about taste; it’s about creating joyful moments in the kitchen. With its simple prep and wide appeal, you’ll find yourself reaching for it again and again. For more ideas on easy recipes, check out our delicious fruit-based desserts that pair well with seasoned dishes!
Jump to:
- Why You’ll Love This Southwest Seasoning
- Essential Ingredients for Southwest Seasoning
- Special Dietary Options
- How to Prepare the Perfect Southwest Seasoning: Step-by-Step Guide
- First Step: Gather and Measure Ingredients
- Second Step: Mix the Dry Ingredients
- Third Step: Incorporate the Wet Ingredients
- Fourth Step: Add the Fresh Elements
- Fifth Step: Knead and Rest the Mixture
- Final Step: Cook and Use the Seasoning
- Dietary Substitutions to Customize Your Southwest Seasoning
- Protein and Main Component Alternatives
- Vegetable, Sauce, and Seasoning Modifications
- Mastering Southwest Seasoning: Advanced Tips and Variations
- Pro Cooking Techniques
- Flavor Variations
- Presentation Tips
- Make-Ahead Options
- How to Store Southwest Seasoning: Best Practices
- Refrigeration Guidelines
- Freezing Options
- Reheating Tips
- Meal Prep Considerations
- FAQs: Frequently Asked Questions About Southwest Seasoning
- Southwest Seasoning
- Ingredients
- Instructions
- Last Step:
- Notes
- Nutrition
- Did you make this recipe?
Essential Ingredients for Southwest Seasoning
Creating the perfect Southwest Seasoning starts with the right ingredients, and I’ve got a list that makes it straightforward and effective. Below, you’ll find all the essentials with their exact measurements, plus a bit on why each one matters. Remember, these are key for that authentic flavor you’re aiming for.
- 200 grams of flour – This forms the base, helping to bind the flavors and add a nice texture to your blend; it’s great for thickening if you’re using it in sauces.
- 2 large eggs – They provide richness and help with adhesion, making your seasoning mix more cohesive and easier to apply.
- 1 teaspoon of salt – This enhances all the other flavors, balancing the spices and bringing out the best in every bite without overwhelming the dish.
- 50 milliliters of olive oil – It adds moisture and a subtle earthiness, which can help distribute the spices evenly for a smoother finish.
- 400 grams of tomatoes, chopped – These bring a fresh, tangy element that brightens the seasoning, adding acidity and a burst of color to your recipes.
Special Dietary Options
For those with specific needs, here are some easy swaps to keep things inclusive!
- Vegan: Swap the 2 large eggs with a plant-based binder like flaxseed mixed with water to maintain that cohesive quality without animal products.
- Gluten-free: Use a gluten-free alternative for the 200 grams of flour, such as rice flour, to ensure the whole blend is safe for gluten-sensitive diets.
- Low-calorie: Reduce the 50 milliliters of olive oil by half and opt for a spray version to cut down on fats while keeping the flavors intact.
For more on healthy swaps, I recommend checking out benefits of spices like cumin to inspire your cooking.
How to Prepare the Perfect Southwest Seasoning: Step-by-Step Guide
I always get excited about making Southwest Seasoning because it’s so rewarding and simple once you follow these steps! Start by gathering everything you need for a seamless process. This guide breaks it down to ensure your blend turns out just right every time.
First Step: Gather and Measure Ingredients
Begin by pulling out all your ingredients to set up your workspace; this is my favorite part as it keeps things organized! Measure out the 200 grams of flour, 2 large eggs, 1 teaspoon of salt, 50 milliliters of olive oil, and 400 grams of chopped tomatoes. Double-check measurements to avoid mistakes, and consider adaptations for dietary preferences right from the start.
Second Step: Mix the Dry Ingredients
Now, combine the dry elements in a bowl; I like to start here for the best results! Add the 200 grams of flour and 1 teaspoon of salt, stirring them together until they’re well blended. This step takes about two minutes and ensures the base is even, which is key for that perfect seasoning texture.
Third Step: Incorporate the Wet Ingredients
Next, add the wet components to the mix; this is where the magic happens in my kitchen! Pour in the 50 milliliters of olive oil and crack in the 2 large eggs, blending everything thoroughly with a spoon or your hands. Take your time, about three minutes, to get a uniform consistency, and note that for vegan options, you can substitute the eggs here.
Fourth Step: Add the Fresh Elements
Once mixed, fold in the 400 grams of chopped tomatoes; this step adds freshness and color! Gently stir them in to avoid mashing, which usually takes another two minutes. If you’re adapting for low-calorie needs, reduce the oil slightly at this point to keep it light.
Fifth Step: Knead and Rest the Mixture
After combining, knead the blend for about 10 minutes on a clean surface; I find this makes it more flavorful! Work it until it’s smooth and pliable, then let it rest for five minutes to develop those tastes. This resting period is great for making ahead, especially if you’re a busy parent.
Final Step: Cook and Use the Seasoning
Finally, cook your seasoning in a pan over medium heat for 8 to 10 minutes; it’s ready when it smells amazing! Stir occasionally to prevent sticking, then let it cool before tossing it into your dishes. For the best results, use it right away on Mexican favorites, and store any leftovers as I’ll cover later. Always taste and adjust for your preferences to make it your own!
This process isn’t just about following steps; it’s about enjoying the journey. With these tips, your Southwest Seasoning will be a staple in no time.

Dietary Substitutions to Customize Your Southwest Seasoning
Protein and Main Component Alternatives
If you’re swapping the main elements, try using plant-based proteins for a vegan twist; I often do this for variety! For instance, replace any flour-based parts with almond flour if you’re going gluten-free. These changes keep the seasoning adaptable for different tastes.
Vegetable, Sauce, and Seasoning Modifications
For veggies, swap the tomatoes with bell peppers if you prefer something milder; it’s a simple way to change things up! Adjust sauces by reducing oil for low-calorie versions, and experiment with different salts for unique flavors. These tweaks make it easy for food enthusiasts to personalize their blend.
Mastering Southwest Seasoning: Advanced Tips and Variations
Pro Cooking Techniques
To take your Southwest Seasoning to the next level, try toasting the spices first; it really amps up the flavor! This method locks in freshness and makes the blend more potent for your dishes.
Flavor Variations
Experiment with adding herbs for a new twist; I love mixing in extras for fun! Try pairings with other recipes like our refreshing fruit shakes to balance the heat.
Presentation Tips
Garnish with fresh herbs to make it visually appealing; it makes meals look as good as they taste! Simple touches like this elevate the experience without much effort.
Make-Ahead Options
Prep in batches for busy weeks; it’s a lifesaver for working pros! Store portions for quick use and keep flavors intact.
How to Store Southwest Seasoning: Best Practices
Refrigeration Guidelines
For short-term storage, keep your Southwest Seasoning in the fridge; it stays fresh for up to a week! Use airtight containers to maintain that great taste and prevent spoilage.
Freezing Options
Freeze in portions for longer use; I do this all the time for convenience! It can last months, making it ideal for meal prep.
Reheating Tips
When reheating, do it gently to keep the flavors; warm slowly on the stove! This ensures safety and quality every time.
Meal Prep Considerations
Plan ahead for batch cooking; it’s perfect for busy schedules! Divide into servings for easy meals later.
Learn more about spice benefits at health benefits of chili peppers for storage ideas.
FAQs: Frequently Asked Questions About Southwest Seasoning
Print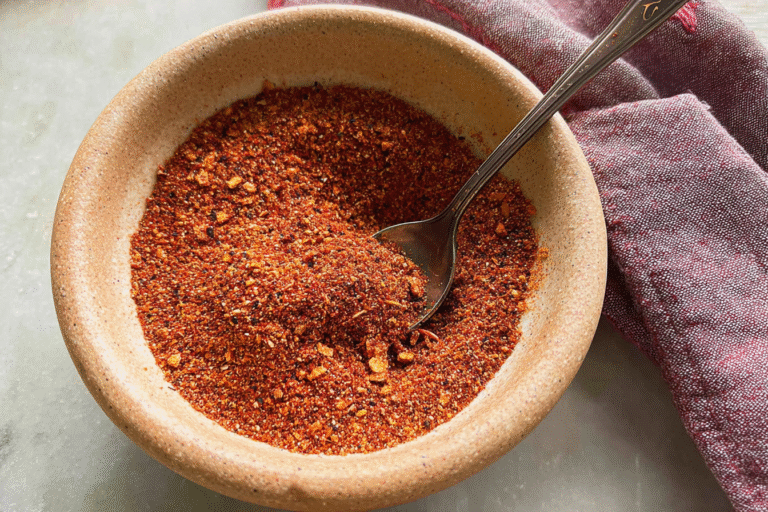
Southwest Seasoning
🌶️ Elevate your Mexican cooking with this perfectly balanced blend of spices that brings authentic Southwest flavors to every dish you create.
🌮 This versatile seasoning mix transforms ordinary ingredients into extraordinary meals with the ideal combination of heat, smokiness, and aromatic spices.
- Total Time: 5 minutes
- Yield: 1 cup
Ingredients
– 200 grams flour for binding flavors and adding texture
– 2 large eggs for richness and adhesion
– 1 teaspoon of salt for enhancing flavors
– 50 milliliters olive oil for adding moisture and earthiness
– 400 grams tomatoes, chopped for adding acidity and color
Instructions
1-First Step: Gather and Measure Ingredients
Begin by pulling out all your ingredients to set up your workspace; this is my favorite part as it keeps things organized! Measure out the 200 grams of flour, 2 large eggs, 1 teaspoon of salt, 50 milliliters of olive oil, and 400 grams of chopped tomatoes. Double-check measurements to avoid mistakes, and consider adaptations for dietary preferences right from the start.
2-Second Step: Mix the Dry Ingredients
Now, combine the dry elements in a bowl; I like to start here for the best results! Add the 200 grams of flour and 1 teaspoon of salt, stirring them together until they’re well blended. This step takes about two minutes and ensures the base is even, which is key for that perfect seasoning texture.
3-Third Step: Incorporate the Wet Ingredients
Next, add the wet components to the mix; this is where the magic happens in my kitchen! Pour in the 50 milliliters of olive oil and crack in the 2 large eggs, blending everything thoroughly with a spoon or your hands. Take your time, about three minutes, to get a uniform consistency, and note that for vegan options, you can substitute the eggs here.
4-Fourth Step: Add the Fresh Elements
Once mixed, fold in the 400 grams of chopped tomatoes; this step adds freshness and color! Gently stir them in to avoid mashing, which usually takes another two minutes. If you’re adapting for low-calorie needs, reduce the oil slightly at this point to keep it light.
5-Fifth Step: Knead and Rest the Mixture
After combining, knead the blend for about 10 minutes on a clean surface; I find this makes it more flavorful! Work it until it’s smooth and pliable, then let it rest for five minutes to develop those tastes. This resting period is great for making ahead, especially if you’re a busy parent.
6-Final Step: Cook and Use the Seasoning
Finally, cook your seasoning in a pan over medium heat for 8 to 10 minutes; it’s ready when it smells amazing! Stir occasionally to prevent sticking, then let it cool before tossing it into your dishes. For the best results, use it right away on Mexican favorites, and store any leftovers as I’ll cover later. Always taste and adjust for your preferences to make it your own!
Last Step:
Please leave a rating and comment letting us know how you liked this recipe! This helps our business to thrive and continue providing free, high-quality recipes for you.Notes
🌶️ Toast the cumin and coriander seeds before grinding – this releases their essential oils and creates much deeper flavor.
🌮 Store in airtight container away from heat and light – proper storage keeps the spices potent and flavorful for months.
🔥 For maximum flavor impact, apply the seasoning at the right time – too early in cooking can make spices bitter, too late misses the flavor infusion point.
- Prep Time: 5 minutes
- Cook Time: 0 minutes
- Category: Seasoning
- Method: Mixing
- Cuisine: Mexican
- Diet: Vegetarian
Nutrition
- Serving Size: 2 teaspoons
- Calories: 15
- Sugar: 1g
- Sodium: 320mg
- Fat: 0g
- Saturated Fat: 0g
- Unsaturated Fat: 0g
- Trans Fat: 0g
- Carbohydrates: 3g
- Fiber: 1g
- Protein: 0g
- Cholesterol: 0mg





