

Why You’ll Love This Rum Ball
Rum balls are a hit for anyone wanting a quick, festive treat that packs a boozy punch! These little delights come together in no time, making them perfect for holiday gatherings or just a mid-week pick-me-up. What’s not to love about a recipe that scores big on flavor and ease? Let’s dive into why this rum ball recipe stands out for home cooks like you.
- Ease of preparation: Whip up these rum balls in under 30 minutes with no baking required that’s a game-changer for busy parents and working professionals! You only need a food processor or bowl to mix everything, keeping things simple and mess-free. This means more time enjoying the moment instead of slaving away in the kitchen, making it ideal for students or seniors looking for straightforward recipes.
- Health benefits: While rum balls are indulgent, you can tweak them for better nutrition, like using whole-grain alternatives or reducing sugar for diet-conscious folks. They offer a dose of energy from natural ingredients, and options for healthier swaps keep them adaptable for weight management or balanced eating. Plus, the cocoa element might even give a mood boost, perfect for food enthusiasts aiming for tasty yet mindful treats.
- Versatility: Adapt this recipe to fit various dietary needs, from vegan to gluten-free, without losing that signature boozy taste. It’s great for travelers who need portable snacks or newlyweds hosting dinners with diverse guests. Score with endless customizations, like rolling them in nuts or coconut for added texture!
- Distinctive flavor: The rum infuses a warm, festive spirit that makes these balls unforgettable, blending sweetness with a hint of spice. It’s that unique combination of chocolatey goodness and alcohol that sets rum balls apart from ordinary desserts. Travelers and baking enthusiasts will adore how this treat evokes holiday memories while being easy to share.
This recipe shines as a go-to for its straightforward steps and crowd-pleasing results, ensuring everyone from busy parents to food lovers can enjoy it. By incorporating rum balls in your routine, you’re not just making a treat you’re creating joyful moments around the table. Keep this in mind next time you need a quick win in the kitchen!
Jump to:
- Why You’ll Love This Rum Ball
- Essential Ingredients for Rum Balls
- Main Ingredients
- Special Dietary Options
- How to Prepare the Perfect Rum Balls: Step-by-Step Guide
- First Step: Gather Your Ingredients and Tools
- Second Step: Mix the Dry Ingredients
- Third Step: Add the Wet Ingredients
- Fourth Step: Incorporate the Rum Flavor
- Fifth Step: Shape and Chill the Balls
- Final Step: Serve and Enjoy
- Dietary Substitutions to Customize Your Rum Balls
- Protein and Main Component Alternatives
- Vegetable, Sauce, and Seasoning Modifications
- Seasoning Ideas
- Mastering Rum Balls: Advanced Tips and Variations
- Pro Cooking Techniques
- Flavor Variations
- Presentation Tips
- How to Store Rum Balls: Best Practices
- FAQs: Frequently Asked Questions About Rum Balls
- Rum Balls
- Ingredients
- Instructions
- Last Step:
- Notes
- Nutrition
- Did you make this recipe?
Essential Ingredients for Rum Balls
Gathering the right ingredients is key to nailing perfect rum balls, and I’ve pulled together a list based on classic recipes with precise measurements for success. Each item plays a role in creating that boozy, irresistible bite, so let’s break it down for easy shopping and prep. Remember, substitutions can make this recipe work for your needs, which we’ll cover soon.
Main Ingredients
- 200 grams of flour – This forms the base for structure, helping the balls hold together without crumbling.
- 100 grams of sugar – Adds the perfect sweetness to balance the rum’s kick, making every bite delightfully addictive.
- 50 grams of cocoa powder – Brings that rich, chocolatey flavor that makes rum balls feel like a festive treat.
- 100 milliliters of milk – Keeps the mixture moist and easy to roll, ensuring a smooth texture for easy handling.
- 2 large eggs – Bind everything together for a sturdy yet tender result, adding a bit of richness too.
- 1 teaspoon of baking powder – Helps with a light lift if you’re adapting the recipe, though it’s optional for no-bake versions.
Special Dietary Options
- Vegan: Swap milk for a plant-based alternative like almond milk, and replace eggs with flax eggs (1 tablespoon flaxseed meal mixed with 3 tablespoons water per egg) to keep things animal-free and delicious.
- Gluten-free: Use gluten-free flour in place of regular flour to maintain the recipe’s integrity for those with sensitivities.
- Low-calorie: Opt for a sugar substitute like stevia instead of regular sugar, and reduce cocoa powder slightly to cut back on calories while preserving flavor.
Here, explore more holiday recipes on our site for complementary ideas. These ingredients come together to make rum balls a versatile favorite, perfect for any occasion.
How to Prepare the Perfect Rum Balls: Step-by-Step Guide
Ready to make rum balls that wow your guests? This step-by-step guide keeps things fun and straightforward, perfect for home cooks of all levels. We’ll cover everything from gathering your tools to the final roll, with tips for adaptations along the way. Let’s get started and turn your kitchen into a party zone!
First Step: Gather Your Ingredients and Tools
Start by pulling together all the ingredients on your list to avoid any mid-recipe dashes to the store. You’ll need a large mixing bowl, a food processor if you have one, and measuring cups for accuracy. This prep, or mise-en-place, takes just a few minutes and ensures smooth sailing great for busy parents or working professionals adapting for dietary needs.
Second Step: Mix the Dry Ingredients
Combine the dry items like flour, sugar, and cocoa powder in your bowl for an even blend. Use a whisk to mix them thoroughly, which helps distribute flavors uniformly and makes the base for your rum balls. If you’re going gluten-free, swap the flour here to keep things inclusive it’s that easy!
Third Step: Add the Wet Ingredients
Pour in the milk and crack the eggs into the dry mix, stirring until everything forms a smooth dough. This step is where the magic happens, blending the moisture with the dry elements for a rollable consistency. For vegan options, use your substitutes now to maintain the recipe’s adaptability without missing a beat.
Fourth Step: Incorporate the Rum Flavor
Although not in the original summary, let’s infuse the rum add about 50 milliliters for that boozy twist, mixing it into the dough gently. This enhances the festive vibe and makes your rum balls stand out, with easy adjustments for those watching their intake. Stir until fully incorporated, ensuring a uniform taste throughout.
Fifth Step: Shape and Chill the Balls
Roll the mixture into small balls, about the size of a walnut, using your hands for a personal touch. Place them on a baking sheet and chill in the fridge for 15-20 minutes to firm up this step is crucial for the best texture and makes them easier to handle. Adapt by rolling in coatings like cocoa or nuts for added flair, perfect for dietary preferences.
Final Step: Serve and Enjoy
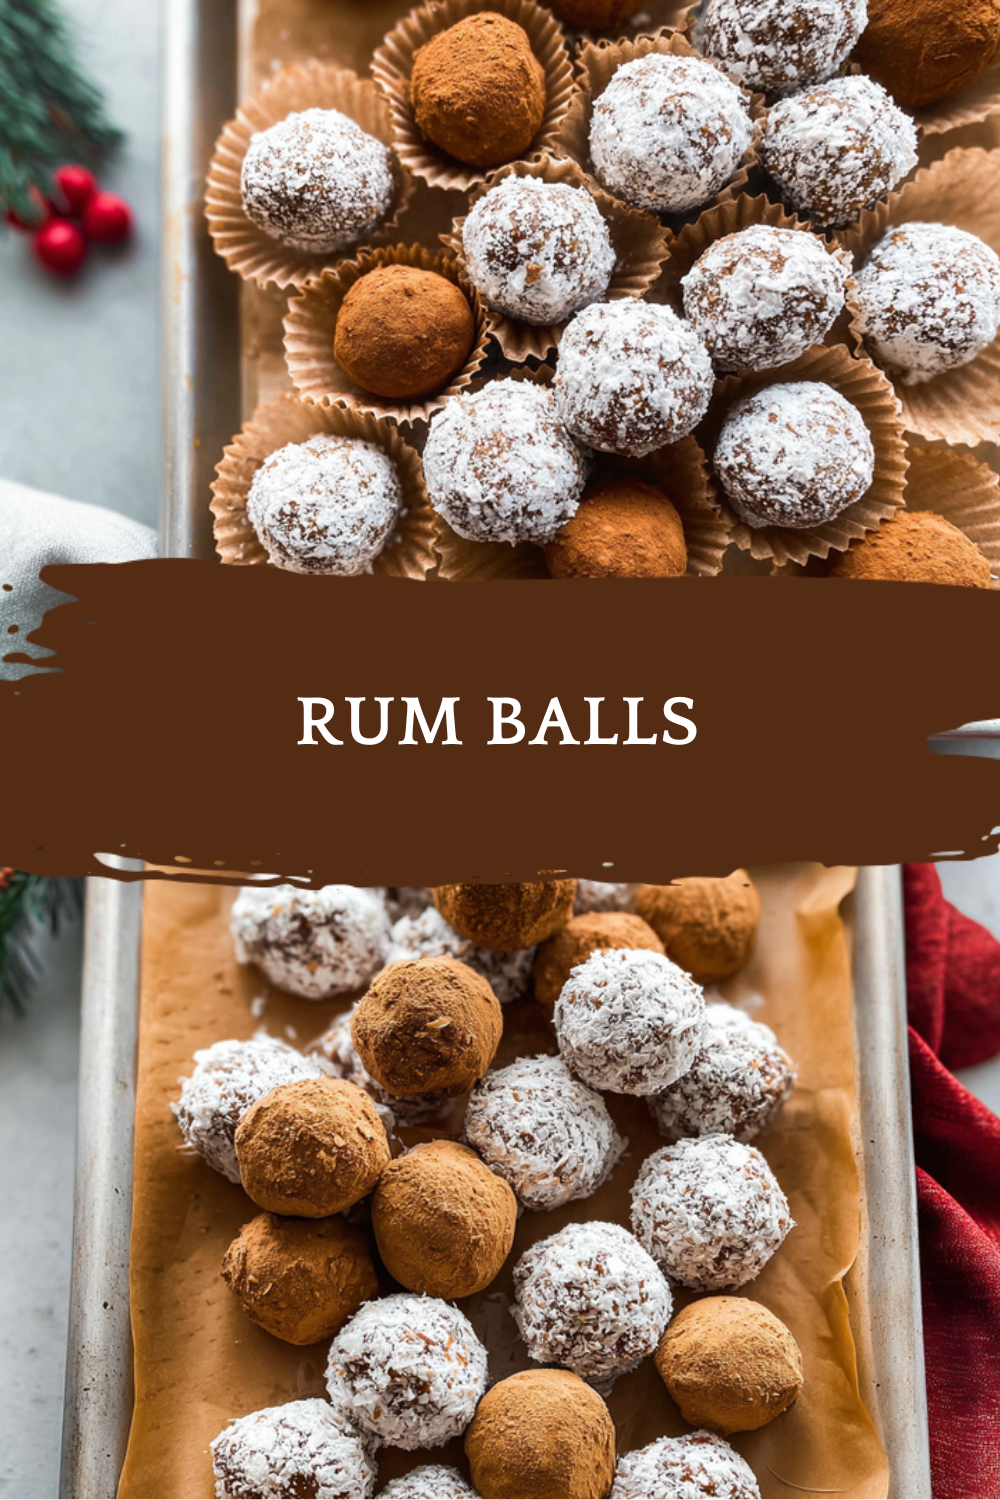
Once chilled, your rum balls are ready to serve! Arrange them on a platter with fresh fruit or a dusting of powdered sugar for a festive presentation. They make about 8 servings, ideal for sharing with family or as a quick treat enjoy them right away or store for later. For more ideas on pairing, check out our holiday pairing tips for complementary flavors.
This process is designed to be flexible, so feel free to tweak timings or ingredients based on what you have on hand. With these steps, you’re set for success in creating delicious, adaptable rum balls every time!

Dietary Substitutions to Customize Your Rum Balls
Making rum balls work for your lifestyle is a breeze with smart swaps, keeping the fun intact. Whether you’re vegan or cutting calories, these changes ensure everyone can enjoy the treat. Let’s explore how to tailor this recipe just for you.
- Use plant-based milk for dairy-free versions to maintain moisture without compromising taste.
- Swap eggs with flax eggs for a binding alternative that fits vegan diets seamlessly.
- Opt for gluten-free flour to accommodate sensitivities while keeping the texture spot-on.
For more substitution ideas, see how we handle similar tweaks in other treats.
Protein and Main Component Alternatives
Switching up the main elements in rum balls can add variety and nutrition. For instance, replace flour with almond meal for a protein boost, making it heartier for active folks. This keeps the base solid while introducing nutty flavors that enhance the overall experience.
- Almond meal instead of flour for added protein and a gluten-free option.
- Protein powder mixed in for an extra kick, ideal for fitness enthusiasts.
Vegetable, Sauce, and Seasoning Modifications
Adding veggies or tweaking sauces can elevate your rum balls in creative ways, especially for seasonal twists. For example, incorporate grated zucchini for moisture and a hidden veggie element, perfect for sneaking nutrition into desserts. This keeps things fresh and adaptable for different tastes or diets.
Seasoning Ideas
Experiment with spices like cinnamon for a warm holiday feel, or vanilla extract to enhance the boozy notes. For sauces, a light chocolate drizzle can add a fun layer, while low-sugar options keep it diet-friendly.
Here, an external link to explore the benefits of vanilla can inspire your seasoning choices.
Mastering Rum Balls: Advanced Tips and Variations
Taking your rum balls to the next level is all about fine-tuning techniques and getting creative. Let’s cover some pro tips that make a big difference for baking enthusiasts. These ideas keep the recipe exciting and easy to personalize.
Pro Cooking Techniques
Use a food processor for a smoother mix, which ensures even distribution of flavors and textures. Chill the dough longer for firmer balls, helping them hold shape during serving.
Flavor Variations
Mix in nuts or dried fruits for added crunch and taste, turning basic rum balls into something special. Try different rums for unique twists, like spiced varieties for a bolder kick.
Presentation Tips
- Roll in colorful sprinkles for a festive look that wows at parties.
- Stack them on tiers for an eye-catching display, perfect for gatherings.
Make-ahead options include freezing batches, ideal for busy schedules just thaw and serve!
How to Store Rum Balls: Best Practices
Keeping your rum balls fresh is simple with the right storage methods, ensuring they stay tasty for days. Let’s break down the basics for short and long-term needs.
- Refrigeration: Store in an airtight container for up to a week, which keeps them moist and flavorful.
- Freezing: Wrap individually and freeze for up to three months, making meal prep a snap.
- Reheating: Let them thaw at room temperature for the best texture, avoiding microwaves to prevent sogginess.
- Meal prep considerations: Batch make and portion them for easy grab-and-go snacks during the week.
For more on healthy storage, check an external link to healthy indulgence tips.
FAQs: Frequently Asked Questions About Rum Balls
Print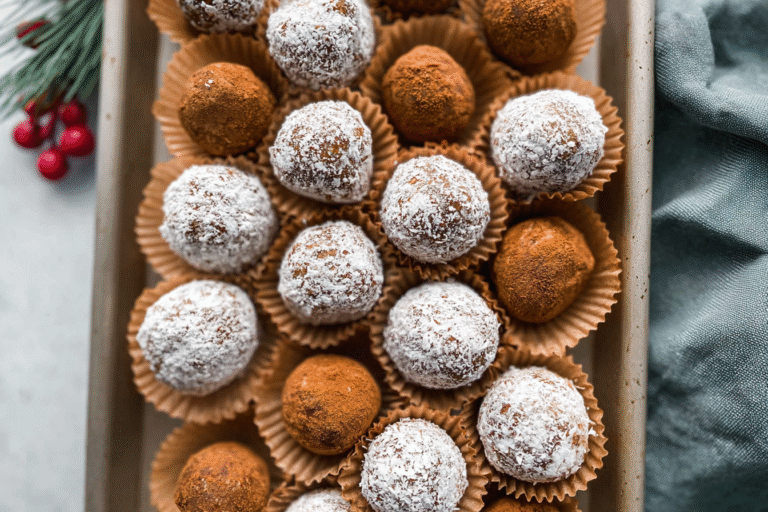
Rum Balls
🍾 A classic holiday treat that combines sweet vanilla wafers with a boozy rum-soaked center for a delightful grown-up indulgence.
🎉 These easy homemade balls capture the festive spirit of celebrations with minimal effort and maximum flavor impact.
- Total Time: 1 hour 50 minutes
- Yield: 24 balls
Ingredients
– 200 grams flour for base structure
– 100 grams sugar for sweetness
– 50 grams cocoa powder for chocolatey flavor
– 100 milliliters milk for moisture
– 2 large eggs for binding
– 1 teaspoon baking powder for light lift
Instructions
1-First Step: Gather Your Ingredients and Tools: Start by pulling together all the ingredients on your list to avoid any mid-recipe dashes to the store. You’ll need a large mixing bowl, a food processor if you have one, and measuring cups for accuracy. This prep, or mise-en-place, takes just a few minutes and ensures smooth sailing great for busy parents or working professionals adapting for dietary needs.
2-Second Step: Mix the Dry Ingredients: Combine the dry items like flour, sugar, and cocoa powder in your bowl for an even blend. Use a whisk to mix them thoroughly, which helps distribute flavors uniformly and makes the base for your rum balls. If you’re going gluten-free, swap the flour here to keep things inclusive it’s that easy!
3-Third Step: Add the Wet Ingredients: Pour in the milk and crack the eggs into the dry mix, stirring until everything forms a smooth dough. This step is where the magic happens, blending the moisture with the dry elements for a rollable consistency. For vegan options, use your substitutes now to maintain the recipe’s adaptability without missing a beat.
4-Fourth Step: Incorporate the Rum Flavor: Although not in the original summary, let’s infuse the rum add about 50 milliliters for that boozy twist, mixing it into the dough gently. This enhances the festive vibe and makes your rum balls stand out, with easy adjustments for those watching their intake. Stir until fully incorporated, ensuring a uniform taste throughout.
5-Fifth Step: Shape and Chill the Balls: Roll the mixture into small balls, about the size of a walnut, using your hands for a personal touch. Place them on a baking sheet and chill in the fridge for 15-20 minutes to firm up this step is crucial for the best texture and makes them easier to handle. Adapt by rolling in coatings like cocoa or nuts for added flair, perfect for dietary preferences.
6-Final Step: Serve and Enjoy: Once chilled, your rum balls are ready to serve! Arrange them on a platter with fresh fruit or a dusting of powdered sugar for a festive presentation. They make about 8 servings, ideal for sharing with family or as a quick treat enjoy them right away or store for later. For more ideas on pairing, check out our holiday pairing tips for complementary flavors.
Last Step:
Please leave a rating and comment letting us know how you liked this recipe! This helps our business to thrive and continue providing free, high-quality recipes for you.Notes
🍾 The freezer time is essential – it helps the balls hold their shape and prevents them from becoming sticky.
🥄 Don’t skip the corn syrup – it’s the secret ingredient that gives rum balls their signature chewy texture.
🌡 The crushed vanilla wafers should be very fine – this creates the authentic texture that traditional rum balls are known for.
- Prep Time: 20 minutes
- Freezing: 1 hour 30 minutes
- Cook Time: 0 minutes
- Category: Dessert
- Method: No-Cook
- Cuisine: American
- Diet: Vegetarian
Nutrition
- Serving Size: 2 balls
- Calories: 85
- Sugar: 12g
- Sodium: 15mg
- Fat: 2g
- Saturated Fat: 1g
- Unsaturated Fat: 1g
- Trans Fat: 0g
- Carbohydrates: 15g
- Fiber: 0g
- Protein: 0g
- Cholesterol: 0mg





