

Why You’ll Love This Mini Sponge Cakes
Imagine whipping up a batch of mini sponge cakes that fit right into your busy day without any fuss. This mini Victoria sponge cake recipe is incredibly simple, needing just a few basic items and a short time in the oven, which makes it ideal for beginners or anyone short on time. Plus, the classic cream filling adds a delightful touch that brings back memories of cozy afternoons.
Beyond ease, these cakes offer some nice benefits for your health since they’re made with straightforward ingredients like eggs and flour that keep things light. You can tweak the recipe to fit different needs, such as vegan or gluten-free options, so everyone at your table can enjoy them. What really sets these mini sponge cakes apart is their soft, airy texture and sweet flavor that makes every bite feel special.
These cakes shine at parties or as a quick treat, and they’re versatile enough to pair with fruits or your favorite toppings. Whether you’re a student grabbing a snack or a parent looking for fun baking with kids, this recipe brings joy to the kitchen. For more ideas on easy baking, check out our guide to simple baking tricks on the blog.
Jump to:
- Why You’ll Love This Mini Sponge Cakes
- Essential Ingredients for Mini Sponge Cakes
- How to Prepare the Perfect Mini Sponge Cakes: Step-by-Step Guide
- Dietary Substitutions to Customize Your Mini Sponge Cakes
- Mastering Mini Sponge Cakes: Advanced Tips and Variations
- Tips for Success
- How to Store Mini Sponge Cakes: Best Practices
- FAQs: Frequently Asked Questions About Mini Sponge Cakes
- What makes mini sponge cakes different from regular sponge cakes?
- How do you keep mini sponge cakes moist and fluffy?
- Can I add flavors or fillings to mini sponge cakes?
- Are mini sponge cakes suitable for gluten-free or low-fat diets?
- How long can mini sponge cakes be stored, and what’s the best way to store them?
- Mini Sponge Cakes
- Ingredients
- Instructions
- Last Step:
- Notes
- Nutrition
- Did you make this recipe?
Essential Ingredients for Mini Sponge Cakes
Gathering the right ingredients is the first step to making delicious mini sponge cakes, and you’ll love how straightforward they are. Each one plays a key role in creating that light, fluffy texture we all crave. Below, I’ve listed everything you need, pulled straight from the recipe, to ensure your baking goes smoothly.
- 225 grams all-purpose flour
- 1 teaspoon baking powder
- 1/4 teaspoon salt
- 1/4 teaspoon baking soda
- 113 grams unsalted butter, room temperature
- 200 grams granulated white sugar
- 3 large eggs, room temperature
- 1 teaspoon vanilla extract
This list covers all the essentials for a perfect batch, making it easy to measure out and mix. Remember, fresh ingredients like room-temperature butter and eggs help everything blend well for that classic cream filling effect.
How to Prepare the Perfect Mini Sponge Cakes: Step-by-Step Guide
Let’s dive into baking these mini sponge cakes, starting with getting your oven ready for success. First, preheat the oven to 350°F (175°C) and butter and flour the wells of a muffin pan to prevent sticking. This step sets the stage for cakes that come out just right.
Next, sift together the flour, baking powder, salt, and baking soda into a bowl to ensure they’re well mixed and airy. Then, use an electric mixer to cream the butter and sugar until light and fluffy, which usually takes a couple of minutes. Beat in the eggs one at a time along with the vanilla extract, watching as the batter thickens and turns a pale yellow color, full of air for that perfect rise.
Gently fold the dry ingredients into the wet mixture until just combined, keeping the batter thick without overmixing to maintain its lightness. Evenly divide the batter into the prepared muffin pan wells and smooth the tops for even baking. Bake for 15 to 20 minutes, or until golden brown and a toothpick inserted into the center comes out clean, then let the cakes cool for 10 minutes in the pan before removing them to a wire rack.
Once completely cool, slice each cake horizontally to prepare for filling. If you’re looking for more baking inspiration, our quick baking recipes page has plenty of ideas to try next. For expert advice on achieving the best texture, visit twelve tips for perfect sponge batter.

Dietary Substitutions to Customize Your Mini Sponge Cakes
One of the best parts about mini sponge cakes is how easy it is to adapt them to your needs. For instance, you can replace eggs with flaxseed or chia egg substitutes to make them vegan-friendly. Aquafaba, or chickpea brine, works great as an egg white swap for those with allergies or plant-based diets.
When it comes to other tweaks, try adding mashed bananas or applesauce for a natural sweetness and extra moisture. You might also mix in lemon zest or cinnamon to change up the flavor just a bit. For milk alternatives, options like almond, soy, or oat milk fit well if you’re avoiding dairy.
These changes keep the cakes light and fun while meeting various preferences. Whether you’re baking for a crowd or just yourself, these substitutions make it simple to enjoy mini sponge cakes in many ways.
Mastering Mini Sponge Cakes: Advanced Tips and Variations
Once you’re comfortable with the basics, let’s level up your mini sponge cakes with some pro techniques. For a finer crumb, always sift your dry ingredients and gently fold the batter to keep it from deflating, using room temperature ingredients for even better results. This method helps lock in that airy texture we love.
Feel free to experiment with flavors by adding almond extract, citrus zest, or even cocoa powder to give your cakes a unique twist. When it comes to presentation, a simple glaze or a dusting of icing sugar can make them look elegant, and garnishing with fresh berries adds a seasonal pop. If you want to plan ahead, prepare the batter and refrigerate it for up to 24 hours, then bake fresh to keep everything tasting great.
Eggs are a key part of this recipe, and for more on their benefits, check out health benefits of eggs. Remember, keeping the batter thick and not overmixing is crucial for the best outcome.
Tips for Success
Here are a few extra pointers to make your baking even better: The batter should remain thick, so avoid adding extra liquid and do not overmix. For filling, buttercream or whipped cream can be used; whipped cream offers a lighter option if not serving immediately. Raspberry jam is traditional, but you can swap in strawberry or other flavors. After filling, store the cakes in the fridge, and unfilled ones can sit at room temperature for up to 3 days. You can also freeze them unfilled for up to 3 months, layered with parchment paper in an airtight container, and thaw before slicing and filling.
How to Store Mini Sponge Cakes: Best Practices
Keeping your mini sponge cakes fresh is simple with the right storage tips. Store them in an airtight container in the fridge for up to 3 days to hold onto that soft texture. For longer keep, wrap each cake individually in plastic wrap and pop them into a freezer-safe bag, where they’ll stay good for up to 2 months.
When you’re ready to enjoy them again, thaw at room temperature and warm gently in a microwave or oven to bring back that fluffy feel. This approach works well for meal prep, letting you bake a batch and have treats ready for the week ahead. Plus, these methods ensure your mini sponge cakes taste just as good as when they were fresh.
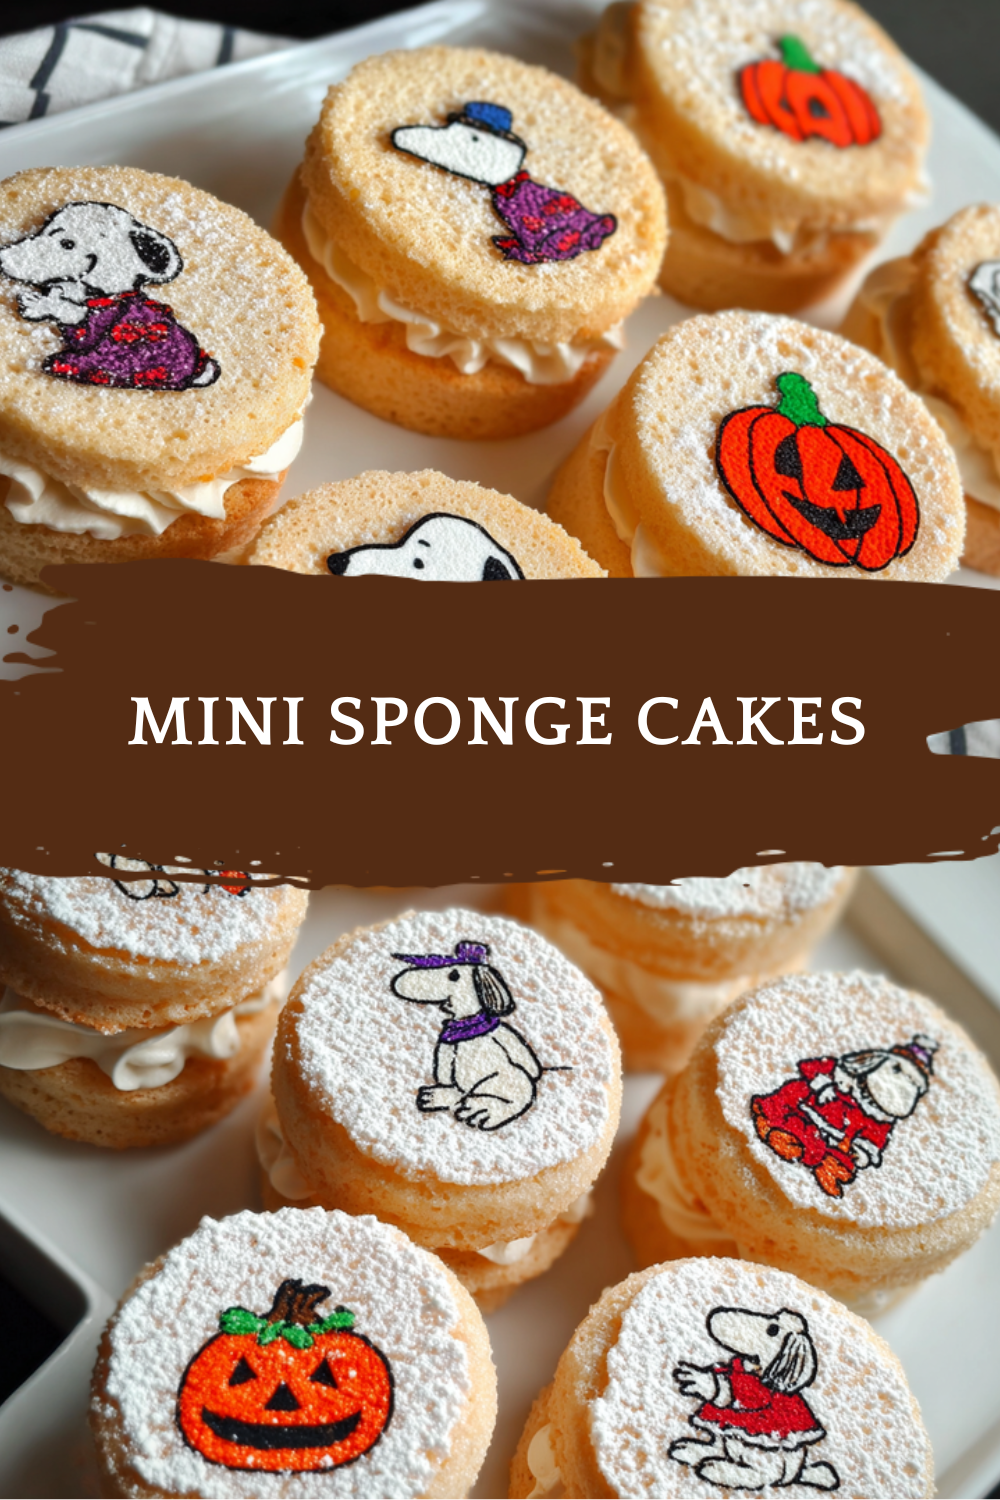
FAQs: Frequently Asked Questions About Mini Sponge Cakes
What makes mini sponge cakes different from regular sponge cakes?
Mini sponge cakes are smaller versions of traditional sponge cakes, typically baked in mini cake pans or cupcake tins. They have the same light and airy texture as regular sponge cakes, achieved by whipping eggs and sugar and gently folding in flour. Their size makes them perfect for individual servings, party treats, or bites at gatherings. Despite their smaller size, mini sponge cakes still rely on whipped eggs for rise rather than added fats or chemical leaveners.
How do you keep mini sponge cakes moist and fluffy?
To keep mini sponge cakes moist and fluffy, it’s important to avoid overbaking, which can dry them out. Bake them at a moderate temperature (around 325°F to 350°F) and check for doneness with a toothpick inserted into the center. Using fresh eggs and folding the flour gently helps maintain a light texture. You can also brush the cakes with a simple syrup or flavored syrup after baking to add moisture without weighing down the cake.
Can I add flavors or fillings to mini sponge cakes?
Yes, mini sponge cakes are versatile and can be flavored or filled to suit your taste. Common additions include vanilla extract, citrus zest, or cocoa powder to the batter. After baking, you can slice them horizontally and add fillings such as jam, whipped cream, or buttercream. Since mini sponge cakes are small, it’s best to apply thin layers of filling to prevent the cake from becoming soggy or collapsing.
Are mini sponge cakes suitable for gluten-free or low-fat diets?
Traditional mini sponge cakes usually contain wheat flour and eggs and don’t include added fat, making them naturally lower in fat than butter-based cakes. To make them gluten-free, you can substitute all-purpose flour with gluten-free flour blends designed for baking. Keep in mind that texture may vary slightly. For low-fat options, mini sponge cakes are already light since they typically lack butter or oil, but avoid adding high-fat fillings or toppings to maintain a lighter profile.
How long can mini sponge cakes be stored, and what’s the best way to store them?
Mini sponge cakes can be stored at room temperature in an airtight container for up to 2 days without losing freshness. For longer storage, keep them in the refrigerator wrapped tightly in plastic wrap or in an airtight container for up to 5 days. To freeze, wrap each cake individually and place in a freezer-safe container; they’ll keep for up to 2 months. Thaw frozen mini sponge cakes at room temperature before serving for the best texture.
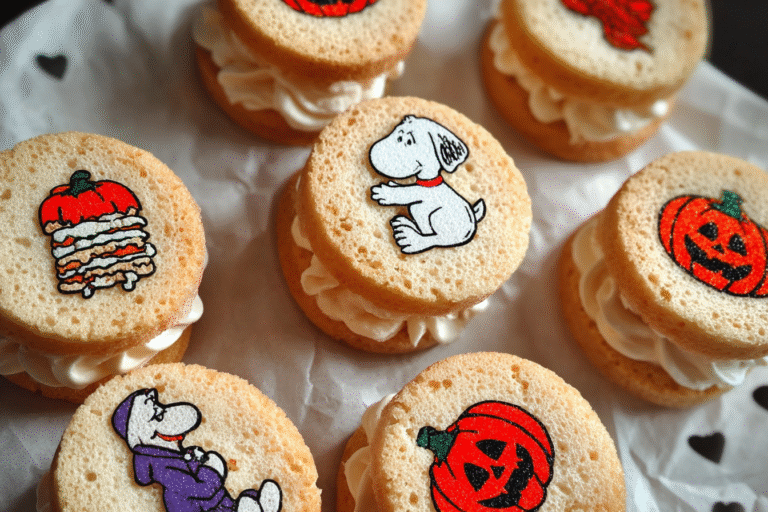
Mini Sponge Cakes
🍰 Mini Victoria Sponge Cakes are a delightful portable treat offering classic British flavors in a perfectly sized portion.
🎂 This recipe combines a light, fluffy sponge with smooth cream filling, making it ideal for tea time or special occasions.
- Total Time: 1 hour
- Yield: 12 mini cakes
Ingredients
– 225 grams all-purpose flour
– 1 teaspoon baking powder
– 1/4 teaspoon salt
– 1/4 teaspoon baking soda
– 113 grams unsalted butter, room temperature
– 200 grams granulated white sugar
– 3 large eggs, room temperature
– 1 teaspoon vanilla extract
Instructions
1-Let’s dive into baking these mini sponge cakes, starting with getting your oven ready for success. First, preheat the oven to 350°F (175°C) and butter and flour the wells of a muffin pan to prevent sticking. This step sets the stage for cakes that come out just right.
2-Next, sift together the flour, baking powder, salt, and baking soda into a bowl to ensure they’re well mixed and airy. Then, use an electric mixer to cream the butter and sugar until light and fluffy, which usually takes a couple of minutes. Beat in the eggs one at a time along with the vanilla extract, watching as the batter thickens and turns a pale yellow color, full of air for that perfect rise.
3-Gently fold the dry ingredients into the wet mixture until just combined, keeping the batter thick without overmixing to maintain its lightness. Evenly divide the batter into the prepared muffin pan wells and smooth the tops for even baking. Bake for 15 to 20 minutes, or until golden brown and a toothpick inserted into the center comes out clean, then let the cakes cool for 10 minutes in the pan before removing them to a wire rack.
4-Once completely cool, slice each cake horizontally to prepare for filling. If you’re looking for more baking inspiration, our quick baking recipes page has plenty of ideas to try next. For expert advice on achieving the best texture, visit twelve tips for perfect sponge batter.
Last Step:
Please leave a rating and comment letting us know how you liked this recipe! This helps our business to thrive and continue providing free, high-quality recipes for you.Notes
🍴 Keep the batter thick; avoid adding extra liquid and do not overmix.
🍓 Use traditional raspberry jam or substitute with strawberry or other favorite jams.
❄️ Unfilled mini cakes can be frozen up to 3 months; thaw before slicing and filling.
- Prep Time: 30 minutes
- Cooling and Assembly: 15 minutes
- Cook Time: 15-20 minutes
- Category: Dessert
- Method: Baking
- Cuisine: British
- Diet: Vegetarian
Nutrition
- Serving Size: 1 mini cake
- Calories: 467
- Sugar: 54 grams
- Sodium: 197 mg
- Fat: 21 grams
- Saturated Fat: 13 grams
- Unsaturated Fat: 7 grams
- Trans Fat: 1 gram
- Carbohydrates: 68 grams
- Fiber: 1 gram
- Protein: 3 grams
- Cholesterol: 87 mg





