

Why You’ll Love This Mango Sticky Rice
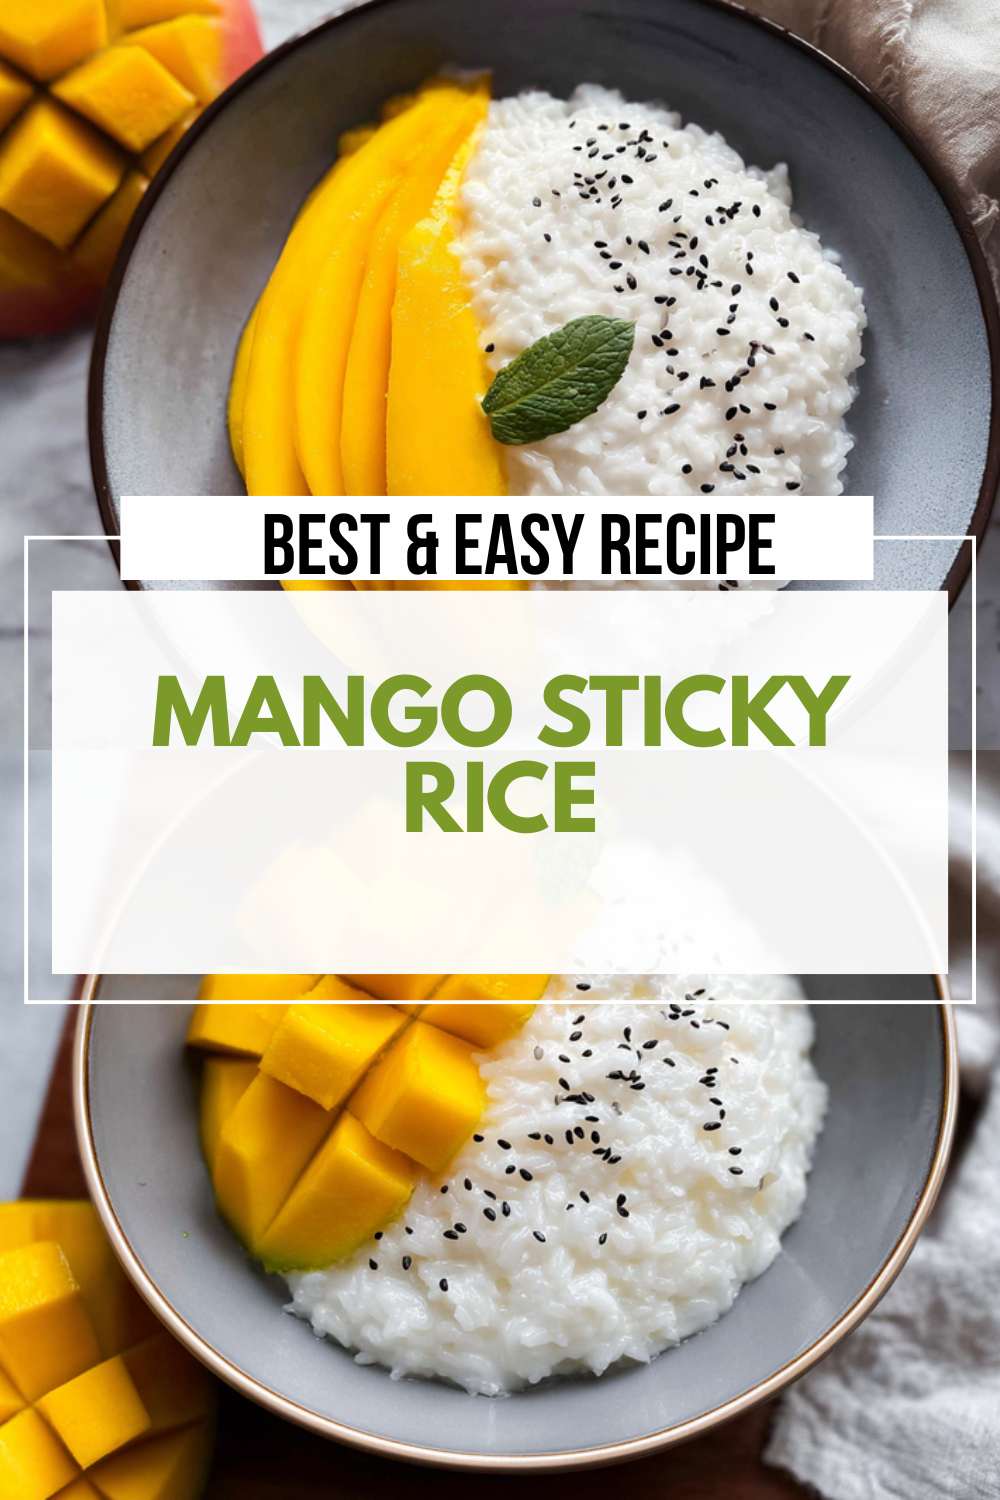
Imagine diving into a plate of warm, gooey mango sticky rice that feels like a hug for your taste buds! This classic Thai dessert isn’t just delicious; it’s super easy to whip up, making it perfect for you whether you’re a beginner in the kitchen or always on the go. Let’s break down why this Mango Sticky Rice recipe will become your new favorite treat. First, it’s incredibly simple to prepare, requiring just a few basic steps that won’t take up your whole evening you can have it ready in under an hour, freeing you up for more fun activities.
Beyond that, think about the health perks ripe mangos bring a load of vitamins and fiber, while the rice offers sustained energy without overloading on empty calories. If you’re watching what you eat, this dish adapts easily to vegan or gluten-free diets, giving you options that keep things tasty and nutritious. Plus, its versatility lets you tweak it for any occasion, from a quick weeknight snack to an elegant dinner party dessert. And oh, that distinctive flavor! The sweet, creamy coconut mixed with tangy mango creates a burst of tropical goodness that stands out in any meal lineup.
You’ll appreciate how this Mango Sticky Rice brings people together, evoking memories of sunny beaches and fresh markets. It’s not just food; it’s an experience that adds joy to your day. Whether you’re a busy parent juggling schedules or a student craving something comforting, this recipe fits right in. Keep reading to see how simple ingredients turn into this mouthwatering delight, and remember, experimenting with it can lead to even more delicious surprises!
Jump to:
- Why You’ll Love This Mango Sticky Rice
- Essential Ingredients for Mango Sticky Rice
- Main Ingredients
- Special Dietary Options
- How to Prepare the Perfect Mango Sticky Rice: Step-by-Step Guide
- First Step: Gather and Prep Your Ingredients
- Second Step: Cook the Rice
- Third Step: Infuse with Coconut Mixture
- Fourth Step: Assemble and Serve
- Fifth Step: Final Touches and Enjoyment
- Dietary Substitutions to Customize Your Mango Sticky Rice
- Protein and Main Component Alternatives
- Vegetable, Sauce, and Seasoning Modifications
- Mastering Mango Sticky Rice: Advanced Tips and Variations
- Pro Cooking Techniques
- Make-Ahead Options
- How to Store Mango Sticky Rice: Best Practices
- FAQs: Frequently Asked Questions About Mango Sticky Rice
- Mango Sticky Rice
- Ingredients
- Instructions
- Last Step:
- Notes
- Nutrition
- Did you make this recipe?
Essential Ingredients for Mango Sticky Rice
Gathering the right ingredients is key to nailing that perfect Mango Sticky Rice every time. Below, you’ll find a detailed, structured list of everything you need, complete with precise measurements and quick explanations on why each one matters. This setup makes it easy for you to shop and prep without any hassle.
Main Ingredients
- 2 cups glutinous rice – This forms the sticky base, absorbing flavors beautifully and giving that chewy texture you crave.
- 1 can (about 14 ounces) coconut milk – Provides creamy richness and a hint of natural sweetness, making the dish irresistibly smooth.
- 2 ripe mangos, sliced – Adds fresh, juicy sweetness and a tropical vibe, packed with vitamins for a healthy twist.
- 1/2 cup sugar – Balances the flavors with just the right amount of sweetness, enhancing the overall taste without overwhelming it.
- 1 teaspoon salt – Brings out the natural flavors of the other ingredients, ensuring a well-rounded dish.
- 1 cup water – Helps cook the rice evenly, creating the perfect sticky consistency that makes this recipe shine.
However, there’s more to explore if you’re adapting this to your needs. For instance, some might compare it to other desserts like a simple cake made with 200 grams of flour for structure, 100 grams of sugar for sweetness, 50 grams of cocoa powder for flavor, 1 cup of milk for moisture, 2 large eggs for binding, and 100 milliliters of vegetable oil for richness showing how basic ingredients can vary across recipes but still deliver great results.
Special Dietary Options
- Vegan: Swap out any non-plant-based items, like using full plant-based coconut milk if needed, to keep everything dairy-free and animal-product free.
- Gluten-free: This recipe is naturally gluten-free with glutinous rice, but double-check your coconut milk brand for any additives.
- Low-calorie: Opt for less sugar or use a sugar substitute, and choose smaller mango portions to cut down on calories while maintaining that fresh taste.
Remember, these choices help you enjoy Mango Sticky Rice in a way that fits your lifestyle. For more on nutrition, check out our guide to Thai desserts for additional tips.
How to Prepare the Perfect Mango Sticky Rice: Step-by-Step Guide
Ready to make your own batch of Mango Sticky Rice? This step-by-step guide walks you through the process, keeping things fun and straightforward so you can impress yourself and your guests. We’ll cover everything from prepping your ingredients to serving up a plate that’ll make you smile. Let’s get started and turn your kitchen into a Thai-inspired haven!
First Step: Gather and Prep Your Ingredients
Begin by measuring out 2 cups of glutinous rice and rinsing it under cold water until the water runs clear this removes excess starch and prevents clumping. Slice your 2 ripe mangos into even pieces, about 1/2 inch thick, so they’re easy to arrange later. In a separate bowl, mix 1 can of coconut milk with 1/2 cup sugar and 1 teaspoon salt, stirring until dissolved for that sweet, creamy sauce. This step sets the foundation for a smooth Mango Sticky Rice experience and can be adapted for vegan preferences by ensuring your coconut milk is plant-based.
Second Step: Cook the Rice
Now, add the rinsed rice and 1 cup of water to a steamer or rice cooker, and cook it on high for about 20 minutes until it’s soft and sticky. If you’re using a pot on the stove, bring the water to a boil, then reduce to low heat and cover for 15 minutes keep an eye on it to avoid burning. This part is crucial for achieving that iconic texture, and for dietary tweaks, you could use brown glutinous rice for a nuttier flavor if you’re aiming for a healthier twist. Once done, let it sit for 5 minutes to absorb any remaining moisture.
Third Step: Infuse with Coconut Mixture
While the rice is still warm, pour the coconut milk mixture over it in a large bowl and gently stir everything together. Let it sit for 10-15 minutes so the rice soaks up the flavors fully this is where the magic happens, turning simple rice into that creamy, dreamy Mango Sticky Rice. For variations, if you’re diet-conscious, reduce the sugar here to make it lighter, ensuring it still tastes amazing. Stir occasionally to make sure every grain is coated evenly.
Fourth Step: Assemble and Serve
Once infused, scoop the rice onto plates and top with your sliced mangos, arranging them neatly for a visually appealing presentation. Drizzle any extra coconut mixture over the top for added indulgence, and serve immediately while it’s warm and fresh. If you’re prepping for a group, this step can be customized try adding nuts or fruits for busy parents looking to sneak in extra nutrients. The whole process takes about 45 minutes total, making it ideal for working professionals with tight schedules.
Fifth Step: Final Touches and Enjoyment
Before digging in, give it a quick taste test and adjust sweetness if needed, perhaps by adding a sprinkle of sugar for a more intense flavor. For storage tips, we’ll cover that later, but for now, savor the moment as you enjoy your homemade Mango Sticky Rice. This recipe’s adaptability means you can make it your own, whether you’re a student experimenting or a food enthusiast exploring new tastes. Head over to our Thai cooking basics for more ideas on enhancing your skills.

Dietary Substitutions to Customize Your Mango Sticky Rice
Protein and Main Component Alternatives
If you’re looking to switch things up, consider using alternative grains like quinoa instead of glutinous rice for a protein boost about 2 cups will do, keeping the same cooking method for a similar sticky effect. For those with nut allergies, toasted seeds can replace any added toppings, adding crunch without the risk. These swaps make Mango Sticky Rice more filling and adaptable, especially for seniors who need extra nutrients in their meals.
Vegetable, Sauce, and Seasoning Modifications
Swap out mangos for other fruits like papaya or pineapple to match seasonal availability, using 2 cups sliced for that fresh element. For the sauce, try almond milk in place of coconut milk if you’re going dairy-free, adjusting to 1 can’s worth for creaminess. Seasonings can include ginger or lime for a zesty kick, enhancing the dish for travelers seeking new flavors. These changes help busy parents or diet-conscious individuals tailor the recipe effortlessly.
Mastering Mango Sticky Rice: Advanced Tips and Variations
Pro Cooking Techniques
To elevate your Mango Sticky Rice, try steaming the rice in a traditional bamboo steamer for a more authentic texture that locks in flavors. Flavor variations could involve adding pandan leaves to the coconut mixture for a subtle, aromatic twist that surprises your palate. Presentation tips include garnishing with fresh mint or sesame seeds to make it Instagram-worthy, perfect for newlyweds hosting dinners.
Make-Ahead Options
For busy schedules, prepare the rice ahead and refrigerate it for up to 2 days, reheating gently to maintain that sticky goodness. As a fun note, you might experiment with infusions like the simple technique from a basic cake recipe, where mixing dry and wet ingredients separately ensures even blending apply this to your coconut mix for better results. These strategies help baking enthusiasts and working professionals enjoy this treat anytime.
How to Store Mango Sticky Rice: Best Practices
Keeping your Mango Sticky Rice fresh is easy with the right methods, so let’s cover how to handle leftovers without losing that amazing taste. Start with refrigeration for short-term storage, placing it in an airtight container for up to 3 days to preserve the flavors. Freezing works great for longer periods, just wrap portions tightly and store for up to a month, thawing in the fridge overnight.
When reheating, use a microwave on low for 1-2 minutes or steam gently to avoid drying it out, ensuring it stays safe and delicious. For meal prep, consider making extra batches on weekends, as this dish holds up well and adds variety to your routine. These tips are super handy for anyone, from students to seniors, making Mango Sticky Rice a go-to option.
FAQs: Frequently Asked Questions About Mango Sticky Rice
Print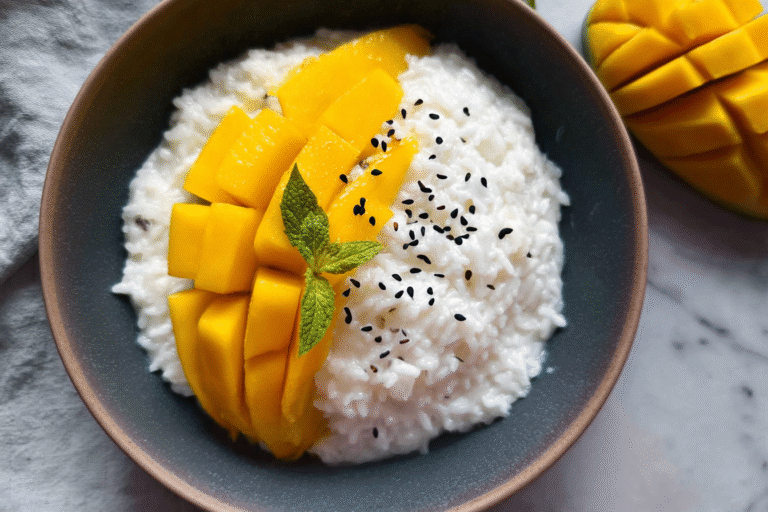
Mango Sticky Rice
🥥 A traditional Thai dessert that combines chewy sticky rice with sweet mango flavor for an authentic tropical treat.
🍋 This beloved Thai street food brings the perfect balance of sweet, sticky, and fruity to satisfy your dessert cravings.
- Total Time: 4 hours 45 minutes
- Yield: 8 servings
Ingredients
– 2 cups glutinous rice This forms the sticky base, absorbing flavors beautifully and giving that chewy texture you crave.
– 1 can (about 14 ounces) coconut milk Provides creamy richness and a hint of natural sweetness, making the dish irresistibly smooth.
– 2 ripe mangos, sliced Adds fresh, juicy sweetness and a tropical vibe, packed with vitamins for a healthy twist.
– 1/2 cup sugar Balances the flavors with just the right amount of sweetness, enhancing the overall taste without overwhelming it.
– 1 teaspoon salt Brings out the natural flavors of the other ingredients, ensuring a well-rounded dish.
– 1 cup water Helps cook the rice evenly, creating the perfect sticky consistency that makes this recipe shine.
Instructions
1-First Step: Gather and Prep Your Ingredients Begin by measuring out 2 cups of glutinous rice and rinsing it under cold water until the water runs clear this removes excess starch and prevents clumping. Slice your 2 ripe mangos into even pieces, about 1/2 inch thick, so they’re easy to arrange later. In a separate bowl, mix 1 can of coconut milk with 1/2 cup sugar and 1 teaspoon salt, stirring until dissolved for that sweet, creamy sauce. This step sets the foundation for a smooth Mango Sticky Rice experience and can be adapted for vegan preferences by ensuring your coconut milk is plant-based.
2-Second Step: Cook the Rice Now, add the rinsed rice and 1 cup of water to a steamer or rice cooker, and cook it on high for about 20 minutes until it’s soft and sticky. If you’re using a pot on the stove, bring the water to a boil, then reduce to low heat and cover for 15 minutes keep an eye on it to avoid burning. This part is crucial for achieving that iconic texture, and for dietary tweaks, you could use brown glutinous rice for a nuttier flavor if you’re aiming for a healthier twist. Once done, let it sit for 5 minutes to absorb any remaining moisture.
3-Third Step: Infuse with Coconut Mixture While the rice is still warm, pour the coconut milk mixture over it in a large bowl and gently stir everything together. Let it sit for 10-15 minutes so the rice soaks up the flavors fully this is where the magic happens, turning simple rice into that creamy, dreamy Mango Sticky Rice. For variations, if you’re diet-conscious, reduce the sugar here to make it lighter, ensuring it still tastes amazing. Stir occasionally to make sure every grain is coated evenly.
4-Fourth Step: Assemble and Serve Once infused, scoop the rice onto plates and top with your sliced mangos, arranging them neatly for a visually appealing presentation. Drizzle any extra coconut mixture over the top for added indulgence, and serve immediately while it’s warm and fresh. If you’re prepping for a group, this step can be customized try adding nuts or fruits for busy parents looking to sneak in extra nutrients. The whole process takes about 45 minutes total, making it ideal for working professionals with tight schedules.
5-Fifth Step: Final Touches and Enjoyment Before digging in, give it a quick taste test and adjust sweetness if needed, perhaps by adding a sprinkle of sugar for a more intense flavor. For storage tips, we’ll cover that later, but for now, savor the moment as you enjoy your homemade Mango Sticky Rice. This recipe’s adaptability means you can make it your own, whether you’re a student experimenting or a food enthusiast exploring new tastes. Head over to our Thai cooking basics for more ideas on enhancing your skills.
Last Step:
Please leave a rating and comment letting us know how you liked this recipe! This helps our business to thrive and continue providing free, high-quality recipes for you.Notes
🥥 Don’t skip soaking the sticky rice – this crucial step ensures proper cooking and the perfect chewy texture.
🍋 Use ripe, sweet mangoes – underripe fruit won’t provide enough natural sweetness and flavor.
🌡 Let the sticky rice cool completely before cutting – cutting while warm will make it fall apart and lose its shape.
- Prep Time: 20 minutes
- Soaking: 4 hours
- Cook Time: 25 minutes
- Category: Dessert
- Method: Steaming
- Cuisine: Thai
- Diet: Vegetarian
Nutrition
- Serving Size: 1 piece
- Calories: 150
- Sugar: 25g
- Sodium: 80mg
- Fat: 3g
- Saturated Fat: 2g
- Unsaturated Fat: 1g
- Trans Fat: 0g
- Carbohydrates: 32g
- Fiber: 1g
- Protein: 2g
- Cholesterol: 0mg





