

Why You’ll Love This Hot Cocoa Fudge
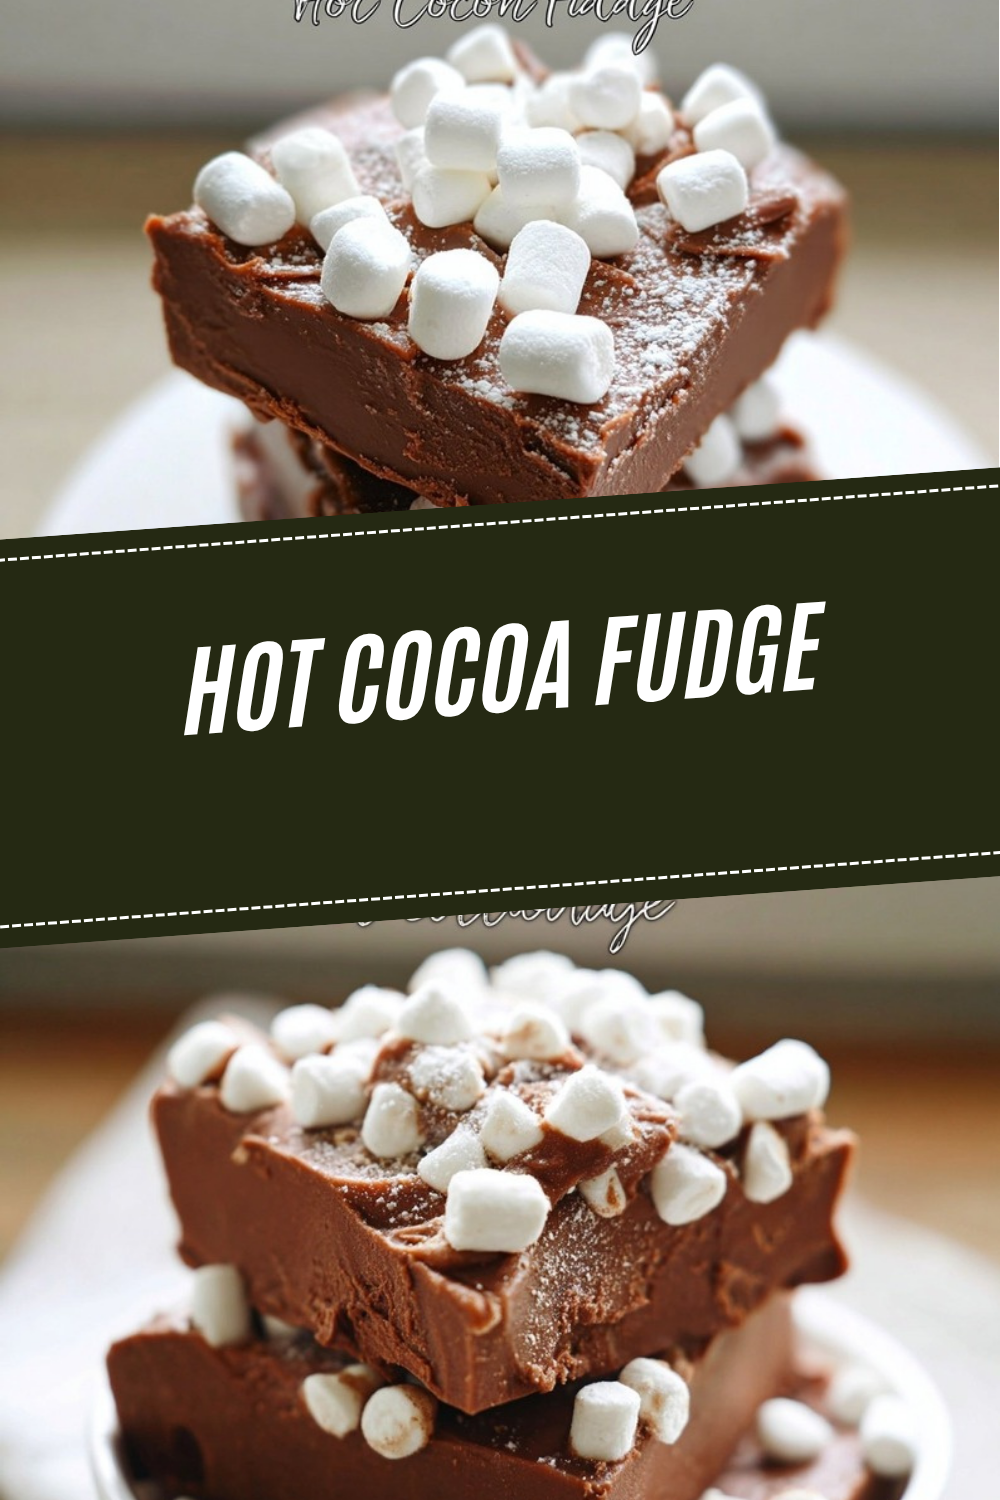
Hot Cocoa Fudge is the kind of treat that feels special without asking for much effort. It gives you that cozy hot chocolate flavor in a rich, creamy square, and it comes together with simple pantry ingredients. If you want a hot cocoa fudge recipe that is easy, tasty, and perfect for gifting, this one is a great pick.
- Easy to make: This easy hot cocoa fudge only needs a few minutes on the stove, then the fridge does the rest. There is no candy thermometer and no tricky steps, which makes it a smart choice for busy days.
- Comforting flavor: The mix of milk chocolate chips, cocoa powder, vanilla, and marshmallow bits gives this hot chocolate fudge a classic cocoa taste that feels warm and nostalgic.
- Flexible for different needs: You can use hot cocoa mix instead of unsweetened cocoa powder if needed, or swap in mini marshmallows when marshmallow bits are hard to find. That makes this homemade hot cocoa fudge easy to adapt.
- Great for sharing: This cocoa fudge cuts into neat squares, so it works well for holiday trays, school treats, after-dinner sweets, or little gifts for friends and neighbors.
For home cooks who want something simple, sweet, and cozy, this is the kind of no bake fudge recipe that feels like a small win every time.
Because the recipe uses sweetened condensed milk, it has a creamy texture without a lot of fuss. It is also a fun recipe for students, seniors, new bakers, and anyone who wants a quick dessert with a big payoff. If you enjoy easy sweets, you may also like our easy dessert bars for busy weeknights and our simple no bake treats collection.
| Quick Recipe Snapshot | Details |
|---|---|
| Prep Time | 10 minutes |
| Setting Time | 4 hours |
| Total Time | 4 hours 10 minutes |
| Texture | Soft, creamy, and sliceable |
| Best For | Gifts, holidays, and easy snacking |
Jump to:
- Why You’ll Love This Hot Cocoa Fudge
- Hot Cocoa Fudge Ingredients
- How to Prepare the Perfect Hot Cocoa Fudge: Step-by-Step Guide
- First Step: Prep the pan
- Second Step: Warm the base
- Third Step: Add the chocolate chips
- Fourth Step: Mix in the vanilla
- Fifth Step: Transfer to the pan
- Sixth Step: Add the marshmallow bits
- Final Step: Chill, cut, and serve
- Dietary Substitutions to Customize Your Hot Cocoa Fudge
- Ingredient swaps for what you have on hand
- Helpful note on the milk base
- Mastering Hot Cocoa Fudge: Advanced Tips and Variations
- Pro cooking techniques
- Flavor variations
- Presentation tips
- Make-ahead options
- How to Store Hot Cocoa Fudge: Best Practices
- FAQs: Frequently Asked Questions About Hot Cocoa Fudge
- What type of cocoa powder works best in hot cocoa fudge?
- Can I swap chocolate chips for candy melts in hot cocoa fudge?
- Can you freeze hot cocoa fudge and how long does it last?
- Does hot cocoa fudge taste like actual hot chocolate?
- Do I need to cut hot cocoa fudge right after chilling or can I store it whole?
- Hot Cocoa Fudge
- Ingredients
- Instructions
- Last Step:
- Notes
- Nutrition
- Did you make this recipe?
Hot Cocoa Fudge Ingredients
Here is everything you need for this easy homemade hot cocoa fudge recipe. Keep the ingredients measured and ready before you start, since the mixture comes together quickly.
- 14 ounces sweetened condensed milk
- 1 tablespoon unsweetened cocoa powder
- 3 cups milk chocolate chips
- 2 teaspoons vanilla extract
- 1 cup marshmallow bits
Optional swap: if you do not have marshmallow bits, you can use about 1/2 cup mini marshmallows instead.
How to Prepare the Perfect Hot Cocoa Fudge: Step-by-Step Guide
First Step: Prep the pan
Line a 9 by 9 inch pan with aluminum foil. Press the foil into the corners so it fits neatly and leaves enough overhang to lift the fudge out later. This step makes cutting and serving much easier, especially if you want clean squares for a party tray or gift box.
Second Step: Warm the base
Set a small saucepan over medium low heat. Add the sweetened condensed milk and unsweetened cocoa powder, then whisk them together until the cocoa is fully blended. Keep the heat gentle. A low temperature helps the mixture stay smooth and prevents the chocolate from turning grainy later.
Low heat is the secret to smooth hot cocoa fudge. If the pot gets too hot, the chocolate can seize or feel sandy instead of creamy.
Third Step: Add the chocolate chips
Lower the heat slightly and stir in the milk chocolate chips. Keep stirring until the chips are just melted. Do not rush this part. The goal is to melt the chocolate slowly so the fudge stays glossy and silky. If you are making this for someone who prefers a sweeter dessert, milk chocolate gives a softer flavor than dark chocolate.
Fourth Step: Mix in the vanilla
Once the chocolate is melted, stir in the vanilla extract. This small amount adds warmth and rounds out the cocoa flavor. At this point, the mixture should look thick, shiny, and smooth. If it starts to feel too hot, remove the pan from the burner for a moment before adding the vanilla.
Fifth Step: Transfer to the pan
Pour the fudge mixture into the prepared pan. Use a spatula to spread it evenly into the corners. Work quickly but carefully, since the mixture will begin to set as it cools. If you like thicker fudge squares, use a smaller pan, but the 9 by 9 inch pan gives a balanced bite-sized piece.
Sixth Step: Add the marshmallow bits
Gently press marshmallow bits into the top of the fudge. You may not need all of them, so add enough to cover the surface the way you like. Some people like a lot of marshmallow topping, while others prefer just a light sprinkle. Mini marshmallows can also work here if that is what you have in the pantry.
Final Step: Chill, cut, and serve
Cover the pan and refrigerate the fudge for at least four hours. Once firm, lift it out using the foil and peel the foil away from the sides. Cut into pieces with a sharp knife and serve. If the knife sticks, wipe it clean between cuts for neater squares. This hot cocoa fudge is best served chilled, though it softens slightly at room temperature.

Dietary Substitutions to Customize Your Hot Cocoa Fudge
Ingredient swaps for what you have on hand
This fudge recipe is easy to adjust when your pantry looks a little bare. If you are out of unsweetened cocoa powder, you may use hot cocoa mix instead. That will make the flavor sweeter, so you may want to taste the mixture before chilling. If marshmallow bits are not available, about half a cup of mini marshmallows works well too.
Some home cooks also like to adjust the chocolate style. Milk chocolate chips give this hot chocolate fudge its creamy, sweet taste, but chocolate candy melts can be used in some versions if you want a firmer set. Just know the flavor may be a little lighter and less rich.
Helpful note on the milk base
Always use sweetened condensed milk, not evaporated milk. This matters a lot because evaporated milk will not create the same thick, sweet texture. The condensed milk is what gives the cocoa fudge its creamy body and dessert-like finish. If you are shopping for the recipe, check the label carefully so you get the right can.
If you need a softer chocolate flavor, go with hot cocoa mix. If you want the richest result, stick with unsweetened cocoa powder and milk chocolate chips.
Mastering Hot Cocoa Fudge: Advanced Tips and Variations
Pro cooking techniques
The biggest tip for this homemade hot cocoa fudge is simple: keep the heat low. Stir slowly and do not walk away from the pan. Chocolate can scorch quickly, and once it turns grainy, the texture is hard to fix. A gentle melt gives you a smooth bite that feels creamy and rich.
Another useful tip is to have your pan lined before you start cooking. Since the mixture sets up fairly fast once it comes off the stove, you want to move straight from saucepan to pan. If you like extra clean slices, chill the fudge fully before cutting and use a warm, dry knife.
Flavor variations
You can give this easy homemade hot cocoa fudge recipe a few fun twists. Add a pinch of salt if you want a deeper chocolate taste. A sprinkle of crushed peppermint on top can make it feel festive for winter. You can also try a few chopped graham crackers on the surface for a s’mores-style version.
If you want a stronger cocoa flavor, choose unsweetened cocoa powder with a high-quality brand. For more on cocoa and its benefits, see this helpful guide to cocoa powder nutrition benefits. If you enjoy chocolate treats in moderation, this look at healthy chocolate habits is also worth a read.
Presentation tips
For a simple finish, press the marshmallow bits just slightly into the top so they stay visible after chilling. You can also dust the top with a tiny pinch of cocoa powder before serving. If you are making this for a party, cut it into small squares and stack them on a plate with parchment between layers.
Make-ahead options
This is a great dessert to make ahead for holidays, potlucks, and busy school weeks. Since it needs four hours to set, making it the day before works well. You can also prepare it in the morning and serve it later in the evening. That makes it a good choice for working professionals, parents, and anyone who likes a dessert that does not create a mess right before guests arrive.
How to Store Hot Cocoa Fudge: Best Practices
Store this hot cocoa fudge recipe in an airtight container once it has fully chilled. If you keep it in the fridge, it stays fresh for several days and keeps its firm texture. Place parchment or wax paper between layers so the pieces do not stick together.
For longer storage, freeze the fudge in a single layer first, then move the pieces to a freezer-safe container or bag. This helps the squares keep their shape and makes it easy to grab a few pieces later. Let frozen fudge thaw in the fridge or at room temperature before serving.
If you are making it for meal prep or gift trays, you can keep the fudge whole in the pan and cut it later. That works well when you want to save time before an event. Just keep it covered so it does not dry out.
| Storage Method | How Long It Lasts | Best Tip |
|---|---|---|
| Room temperature | Up to 1 week | Store in an airtight container |
| Refrigerator | Up to 2 weeks | Keep covered and layered with paper |
| Freezer | Up to 3 months | Freeze in a single layer first |
FAQs: Frequently Asked Questions About Hot Cocoa Fudge
What type of cocoa powder works best in hot cocoa fudge?
Use unsweetened cocoa powder, like Hershey’s or Ghirardelli baking cocoa, for the richest chocolate flavor without added sweetness that could throw off the balance. Avoid hot cocoa mixes, as they contain sugar, dry milk, and fillers that make the fudge grainy or overly sweet. Start with 1/4 to 1/2 cup depending on your recipe, sifting it first to remove lumps. This creates a smooth, fudgy texture that mimics a mug of hot cocoa. Pro tip: Dutch-processed cocoa gives a smoother, less bitter taste if you prefer milder chocolate notes. Always stir it into the melted chocolate mixture gradually to prevent clumping. (78 words)
Can I swap chocolate chips for candy melts in hot cocoa fudge?
Yes, chocolate candy melts work as a substitute for chocolate chips in hot cocoa fudge—they melt smoothly and set firmly without tempering. Use the same amount, like 12-16 ounces, but note they might taste slightly less rich since they’re formulated for molding. The recipe author hasn’t tested them personally, but many home bakers report success with brands like Wilton. Melt them in the microwave in 30-second bursts, stirring between, or over a double boiler. Add a tablespoon of coconut oil if needed for extra creaminess. Cut into squares once chilled for 2-4 hours. Store in an airtight container at room temperature for up to a week. (102 words)
Can you freeze hot cocoa fudge and how long does it last?
Absolutely, hot cocoa fudge freezes beautifully for long-term storage. After chilling in the fridge for 4 hours, cut into squares if desired, then freeze in a single layer on a parchment-lined tray for 2 hours until solid. Transfer to a freezer-safe zip-top bag or airtight container, removing as much air as possible to prevent freezer burn. It keeps well for up to 3 months. Thaw at room temperature for 30-60 minutes or in the fridge overnight—avoid microwaving to prevent melting. Label with the date for easy tracking. This method preserves the soft, creamy texture perfectly. (98 words)
Does hot cocoa fudge taste like actual hot chocolate?
Yes, hot cocoa fudge captures the cozy flavor of a steaming cup of hot chocolate, thanks to the blend of unsweetened cocoa powder, chocolate chips, and often powdered milk or marshmallow elements. It’s richer and less watery than traditional chocolate-marshmallow fudge, with warm cocoa notes and subtle sweetness. Unlike plain chocolate fudge, it has that signature hot cocoa “mix” vibe without being cloying. Taste-test the mixture before chilling and adjust vanilla extract (1 tsp) or a pinch of salt for balance. Perfect for holiday gifting or winter treats—each 2-inch square delivers about 150 calories of indulgent comfort. Pairs great with a cold glass of milk. (104 words)
Do I need to cut hot cocoa fudge right after chilling or can I store it whole?
No need to cut hot cocoa fudge immediately after refrigeration—store it whole in the pan covered with plastic wrap or foil for easy handling. It firms up after 4-6 hours in the fridge (8×8-inch pan works best). When ready, lift out using parchment overhang, then use a sharp, hot knife (dipped in warm water and wiped dry) for clean 1-2 inch squares—about 36 pieces total. Store cut pieces between wax paper layers in an airtight container at room temp for 1 week, fridge for 2 weeks, or freeze as noted. This keeps it moist and mess-free. (96 words)
Hot Cocoa Fudge
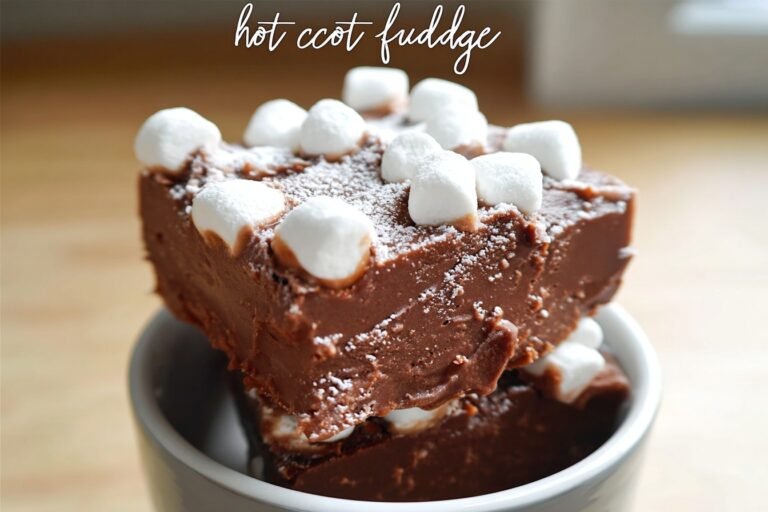
☕ Indulge in creamy hot cocoa fudge bursting with chocolate and marshmallow bits, capturing cozy winter vibes in every rich, no-bake bite!
🍫 Ready in just 10 minutes active time, this easy homemade delight sets perfectly for holiday gifting or sweet treats without oven fuss.
- Total Time: 4 hours 10 minutes
- Yield: 36 pieces
Ingredients
Instructions
1-First Step: Prep the pan Line a 9 by 9 inch pan with aluminum foil. Press the foil into the corners so it fits neatly and leaves enough overhang to lift the fudge out later. This step makes cutting and serving much easier, especially if you want clean squares for a party tray or gift box.
2-Second Step: Warm the base Set a small saucepan over medium low heat. Add the sweetened condensed milk and unsweetened cocoa powder, then whisk them together until the cocoa is fully blended. Keep the heat gentle. A low temperature helps the mixture stay smooth and prevents the chocolate from turning grainy later. Low heat is the secret to smooth hot cocoa fudge. If the pot gets too hot, the chocolate can seize or feel sandy instead of creamy.
3-Third Step: Add the chocolate chips Lower the heat slightly and stir in the milk chocolate chips. Keep stirring until the chips are just melted. Do not rush this part. The goal is to melt the chocolate slowly so the fudge stays glossy and silky. If you are making this for someone who prefers a sweeter dessert, milk chocolate gives a softer flavor than dark chocolate.
4-Fourth Step: Mix in the vanilla Once the chocolate is melted, stir in the vanilla extract. This small amount adds warmth and rounds out the cocoa flavor. At this point, the mixture should look thick, shiny, and smooth. If it starts to feel too hot, remove the pan from the burner for a moment before adding the vanilla.
5-Fifth Step: Transfer to the pan Pour the fudge mixture into the prepared pan. Use a spatula to spread it evenly into the corners. Work quickly but carefully, since the mixture will begin to set as it cools. If you like thicker fudge squares, use a smaller pan, but the 9 by 9 inch pan gives a balanced bite-sized piece.
6-Sixth Step: Add the marshmallow bits Gently press marshmallow bits into the top of the fudge. You may not need all of them, so add enough to cover the surface the way you like. Some people like a lot of marshmallow topping, while others prefer just a light sprinkle. Mini marshmallows can also work here if that is what you have in the pantry.
7-Final Step: Chill, cut, and serve Cover the pan and refrigerate the fudge for at least four hours. Once firm, lift it out using the foil and peel the foil away from the sides. Cut into pieces with a sharp knife and serve. If the knife sticks, wipe it clean between cuts for neater squares. This hot cocoa fudge is best served chilled, though it softens slightly at room temperature.
Last Step:
Please leave a rating and comment letting us know how you liked this recipe! This helps our business to thrive and continue providing free, high-quality recipes for you.Notes
🔥 Keep heat low when melting chocolate to prevent grainy texture.
🥛 Use sweetened condensed milk only—not evaporated milk.
🍬 Substitute mini marshmallows if marshmallow bits unavailable.
- Prep Time: 10 minutes
- Setting Time: 4 hours
- Cook Time: 5 minutes
- Category: Desserts
- Method: Stovetop
- Cuisine: American
- Diet: Vegetarian
Nutrition
- Serving Size: 1 piece
- Calories: 118 kcal
- Sugar: 16g
- Sodium: 16mg
- Fat: 5g
- Saturated Fat: 3g
- Unsaturated Fat: 0.3g
- Trans Fat: 0g
- Carbohydrates: 17g
- Fiber: 0.1g
- Protein: 1g
- Cholesterol: 4mg





