Ingredients
Instructions
1-First Step: Prep the pan Line a 9 by 9 inch pan with aluminum foil. Press the foil into the corners so it fits neatly and leaves enough overhang to lift the fudge out later. This step makes cutting and serving much easier, especially if you want clean squares for a party tray or gift box.
2-Second Step: Warm the base Set a small saucepan over medium low heat. Add the sweetened condensed milk and unsweetened cocoa powder, then whisk them together until the cocoa is fully blended. Keep the heat gentle. A low temperature helps the mixture stay smooth and prevents the chocolate from turning grainy later. Low heat is the secret to smooth hot cocoa fudge. If the pot gets too hot, the chocolate can seize or feel sandy instead of creamy.
3-Third Step: Add the chocolate chips Lower the heat slightly and stir in the milk chocolate chips. Keep stirring until the chips are just melted. Do not rush this part. The goal is to melt the chocolate slowly so the fudge stays glossy and silky. If you are making this for someone who prefers a sweeter dessert, milk chocolate gives a softer flavor than dark chocolate.
4-Fourth Step: Mix in the vanilla Once the chocolate is melted, stir in the vanilla extract. This small amount adds warmth and rounds out the cocoa flavor. At this point, the mixture should look thick, shiny, and smooth. If it starts to feel too hot, remove the pan from the burner for a moment before adding the vanilla.
5-Fifth Step: Transfer to the pan Pour the fudge mixture into the prepared pan. Use a spatula to spread it evenly into the corners. Work quickly but carefully, since the mixture will begin to set as it cools. If you like thicker fudge squares, use a smaller pan, but the 9 by 9 inch pan gives a balanced bite-sized piece.
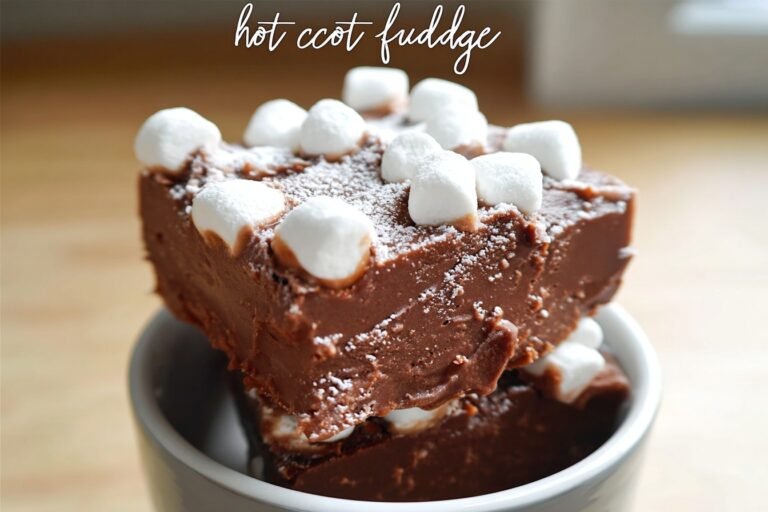
6-Sixth Step: Add the marshmallow bits Gently press marshmallow bits into the top of the fudge. You may not need all of them, so add enough to cover the surface the way you like. Some people like a lot of marshmallow topping, while others prefer just a light sprinkle. Mini marshmallows can also work here if that is what you have in the pantry.
7-Final Step: Chill, cut, and serve Cover the pan and refrigerate the fudge for at least four hours. Once firm, lift it out using the foil and peel the foil away from the sides. Cut into pieces with a sharp knife and serve. If the knife sticks, wipe it clean between cuts for neater squares. This hot cocoa fudge is best served chilled, though it softens slightly at room temperature.
Last Step:
Please leave a rating and comment letting us know how you liked this recipe! This helps our business to thrive and continue providing free, high-quality recipes for you.Notes
🔥 Keep heat low when melting chocolate to prevent grainy texture.
🥛 Use sweetened condensed milk only—not evaporated milk.
🍬 Substitute mini marshmallows if marshmallow bits unavailable.
- Prep Time: 10 minutes
- Setting Time: 4 hours
- Cook Time: 5 minutes
- Category: Desserts
- Method: Stovetop
- Cuisine: American
- Diet: Vegetarian
Nutrition
- Serving Size: 1 piece
- Calories: 118 kcal
- Sugar: 16g
- Sodium: 16mg
- Fat: 5g
- Saturated Fat: 3g
- Unsaturated Fat: 0.3g
- Trans Fat: 0g
- Carbohydrates: 17g
- Fiber: 0.1g
- Protein: 1g
- Cholesterol: 4mg