

Why You’ll Love This Candied Walnut
Oh, let’s dive right in because candied walnuts are one of those treats that make your day brighter in an instant. Imagine snacking on something crunchy and sweet that’s ready super fast who wouldn’t adore that? You’ll love how this recipe comes together in just 5 minutes, making it perfect for busy parents or students who need a quick pick-me-up. Let me break it down for you in these simple benefits.
- Ease of preparation: This candied walnuts recipe is a breeze, needing only a few steps and basic kitchen tools. You can whisk everything together without any fancy gadgets, and it’s done before you know it. That quick cooking time means less waiting and more enjoying, which is ideal for anyone short on time like working professionals or newlyweds planning a spontaneous dessert.
- Health twists: Candied walnuts pack a punch with good fats and nutrients that support your heart and brain. They’re loaded with omega-3s, helping you stay sharp and energized, which fits right into the lives of diet-conscious folks or seniors watching their health. Plus, swapping in a few tweaks can make them even lighter, turning a sweet treat into something that’s both tasty and wholesome.
- Versatility in the kitchen: These nuts adapt to so many meals, from topping a salad for travelers on the go to mixing into yogurt for baking enthusiasts. You can easily adjust for different tastes, like making them spicier or milder, to suit food enthusiasts experimenting at home. It’s that flexibility that keeps things exciting and fits various dietary needs without much fuss.
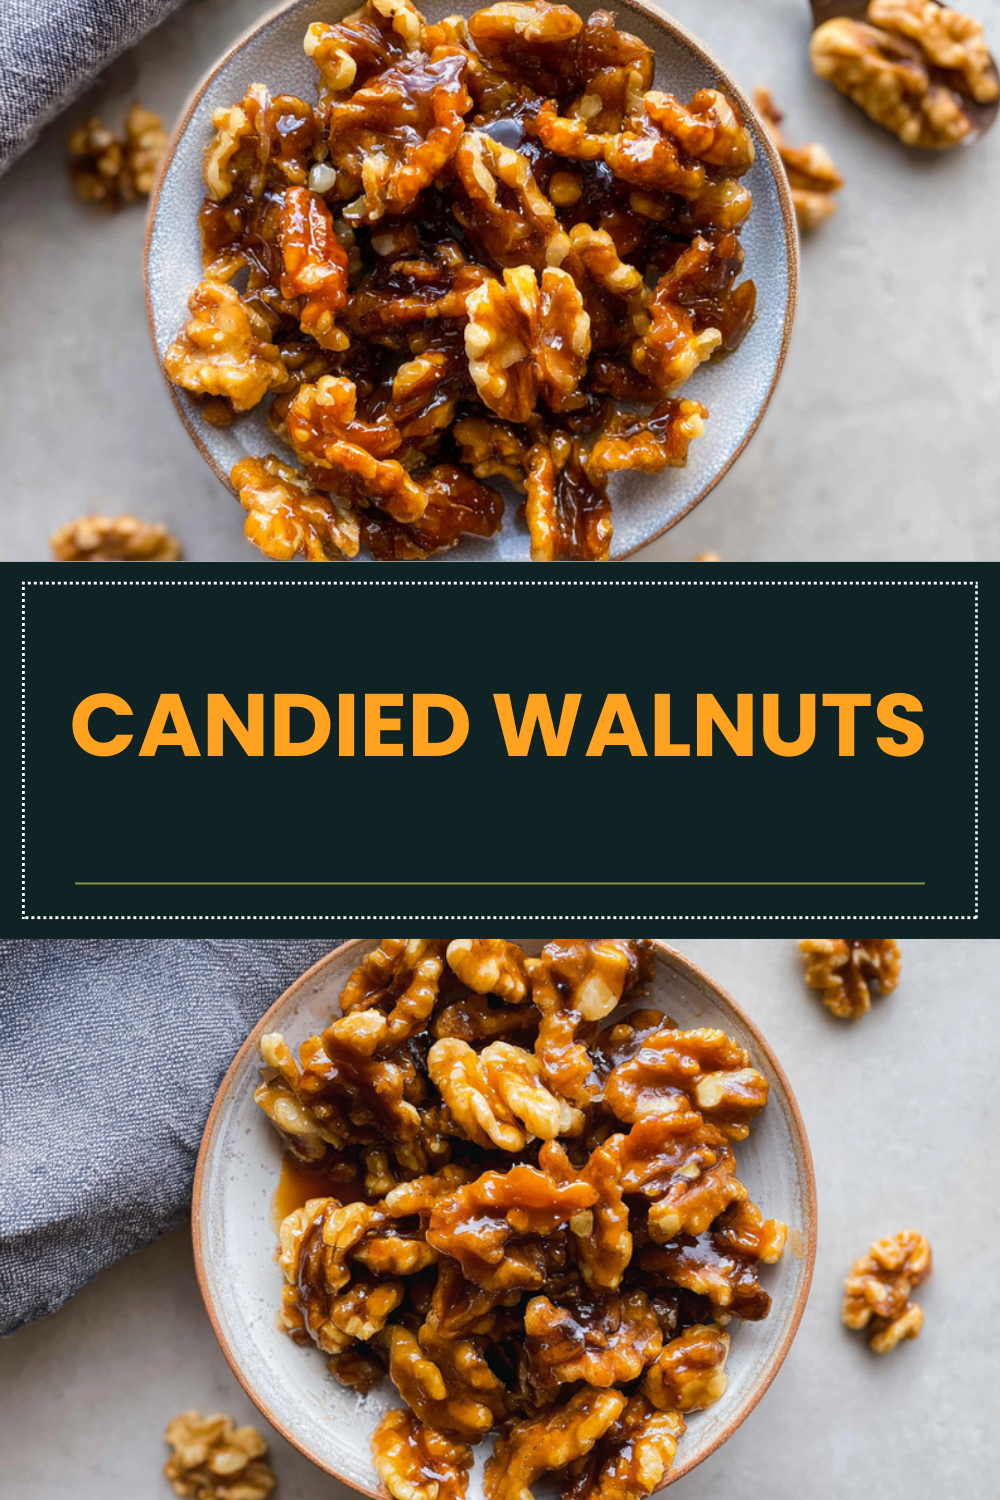
- That standout flavor: The mix of sweet and crunchy in candied walnuts is pure magic, with a caramelized coat that hits all the right notes. It’s not just another snack; it’s one that elevates your everyday munching into something special. Food lovers will appreciate how this simple recipe delivers that wow factor every single time.
Honestly, once you try these, they’ll become your go-to for parties or quiet nights in. They’re easy to share and always get compliments, making them a hit with everyone from kids to adults. Stick with me, and you’ll see why this recipe is a game-changer for your snack lineup.
Jump to:
- Why You’ll Love This Candied Walnut
- Essential Ingredients for Candied Walnuts
- Special Dietary Options
- How to Prepare the Perfect Candied Walnuts: Step-by-Step Guide
- First Step: Prep Your Workspace
- Second Step: Mix the Dry Ingredients
- Third Step: Add the Wet Ingredients
- Fourth Step: Coat the Walnuts
- Fifth Step: Cook on the Stove
- Sixth Step: Cool and Serve
- Dietary Substitutions to Customize Your Candied Walnuts
- Protein and Main Component Alternatives
- Vegetable, Sauce, and Seasoning Modifications
- Mastering Candied Walnuts: Advanced Tips and Variations
- Pro Cooking Techniques
- Flavor Variations
- How to Store Candied Walnuts: Best Practices
- FAQs: Frequently Asked Questions About Candied Walnuts
- Candied Walnuts
- Ingredients
- Instructions
- Last Step:
- Notes
- Nutrition
- Did you make this recipe?
Essential Ingredients for Candied Walnuts
Getting the ingredients just right is key to making perfect candied walnuts, and I’ve got everything lined up for you. Based on the details provided, we’ll use a straightforward list to ensure you have exactly what’s needed. Remember, fresh ingredients make all the difference in that sweet, crunchy finish.
- 200 grams of all-purpose flour – This forms the base and helps create a nice coating for the walnuts, giving them structure without overwhelming the natural nutty flavor.
- 100 grams of granulated sugar – Adds the perfect sweetness to caramelize the walnuts, balancing their earthy taste and making them irresistibly addictive.
- 50 grams of unsweetened cocoa powder – Brings a rich, chocolatey depth that enhances the walnuts, turning them into a decadent treat for those chocolate-loving moments.
- 2 large eggs – These bind everything together, ensuring the coating sticks well and gives a glossy finish to your candied walnuts.
- 150 milliliters of milk – Provides moisture to mix things smoothly, helping achieve that even, shiny coat on the walnuts.
- 100 milliliters of vegetable oil – Keeps the mixture light and ensures the walnuts get that ideal crispiness without sticking.
- 1 teaspoon of baking powder – Adds a little lift, making the candied walnuts lighter and more enjoyable with every bite.
Special Dietary Options
For those with specific needs, here’s how to adapt:
- Vegan: Swap the eggs with a plant-based alternative like flax eggs (1 tablespoon ground flaxseed mixed with 3 tablespoons water per egg) and use almond milk instead of regular milk to keep it fully plant-based.
- Gluten-free: Replace all-purpose flour with a gluten-free blend to maintain the recipe’s texture while accommodating gluten-sensitive eaters.
- Low-calorie: Cut back on sugar by using a natural sweetener like stevia, and opt for a lighter oil to reduce calories without losing that crave-worthy crunch.
This setup ensures your candied walnuts turn out great every time, no matter your preferences. It’s all about making cooking fun and accessible for home cooks everywhere.
How to Prepare the Perfect Candied Walnuts: Step-by-Step Guide
Alright, let’s get those hands dirty because making candied walnuts is as fun as it is fast! We’ll walk through each step to ensure your treats come out perfectly crunchy and sweet. This guide is tailored for beginners, with tips to adapt for different diets along the way. Gather your ingredients and let’s jump in.
First Step: Prep Your Workspace
Start by clearing a spot on your counter and grabbing a medium-sized bowl. Measure out all your ingredients ahead of time it’s like setting the stage for a quick show. This mise en place keeps things smooth, especially if you’re a busy parent juggling multiple tasks. For dietary tweaks, use gluten-free flour if needed to keep it inclusive.
Second Step: Mix the Dry Ingredients
In your bowl, combine the sugar, cocoa powder, and baking powder with the flour. Stir them until they’re well blended this creates the base for that amazing coating. It only takes a minute or two, and you can add a pinch of salt for extra flavor if you’re feeling adventurous. If you’re aiming for a low-calorie version, swap in a sugar alternative here to cut down on sweetness without losing the crunch.
Third Step: Add the Wet Ingredients
Next, crack in the eggs, pour in the milk and oil, and mix everything together until smooth. Use a whisk to get rid of any lumps, aiming for a batter-like consistency. This step is where the magic happens, binding everything for that perfect glaze. For vegan friends, remember to use your plant-based swaps to keep it friendly for all.
Fourth Step: Coat the Walnuts
Now, toss in your walnuts aim for about 200 grams to serve 4-6 people and stir until they’re fully coated. Make sure every nut gets an even layer for that golden finish. If you want to experiment, add spices like cinnamon for a twist. Timing is key here; it should take just a couple of minutes to coat them properly, adapting easily for larger batches.
Fifth Step: Cook on the Stove
Heat a pan over medium heat and add your walnut mixture, stirring constantly for about 5 minutes. Watch for that caramelized color it’s ready when the walnuts look glossy and smell amazing. Keep the heat even to avoid burning, which is a common issue for new cooks. For low-calorie options, lower the heat slightly to prevent over-caramelizing.
Sixth Step: Cool and Serve
Spread the walnuts on a baking sheet to cool for a few minutes until they’re crisp. This final touch lets them harden up, making them perfect for snacking or topping dishes. Serve them warm or store for later it’s that simple! You can easily double the recipe for a crowd, and don’t forget to check out our article on quick snacks for busy days for more ideas.
This whole process takes under 10 minutes, including prep, and it’s foolproof even for students or working professionals. Once you master it, you’ll want to try variations like adding herbs for a savory spin. For more nutty inspiration, visit health benefits of walnuts to learn how they boost your meals.

Dietary Substitutions to Customize Your Candied Walnuts
Protein and Main Component Alternatives
Swapping ingredients can make your candied walnuts fit any diet, starting with the main nuts themselves. If walnuts aren’t your thing, try almonds for a milder flavor or pecans for a buttery twist these changes keep the crunch while adapting to what’s in your pantry. For those watching protein intake, adding a dash of nut butter can amp up the nutrition without altering the taste much.
Vegetable, Sauce, and Seasoning Modifications
Think about veggies like adding a sprinkle of herbs for a fresh take, or switch sauces to a honey glaze for extra zing. Seasonings are easy to tweak; use cinnamon for warmth or chili for spice, making it seasonal and exciting. These mods ensure your recipe stays versatile for food enthusiasts exploring new flavors.
Mastering Candied Walnuts: Advanced Tips and Variations
Pro Cooking Techniques
To nail that perfect crunch, stir constantly on the stove to avoid uneven cooking it’s a simple trick that makes a big difference. Experiment with toasting the walnuts first for deeper flavor, which cuts prep time even more. For make-ahead options, prepare a big batch and store it for quick grabs during busy weeks.
Flavor Variations
Mix in spices like ginger for a zesty kick or keep it classic with vanilla. Try our easy nut recipes for more ideas on combining seasonings that wow your taste buds.
Presentation tips include serving in cute jars, and for storage, airtight containers work wonders. These tweaks keep things fresh and fun for all cooks.
How to Store Candied Walnuts: Best Practices
Keeping your candied walnuts fresh is easy with the right methods, so let’s cover the basics. For short-term needs, pop them in the fridge to maintain that crispiness without any hassle.
- Refrigeration: Store in an airtight container for up to a week, keeping them cool and ready for snacks.
- Freezing: Bag them tightly and freeze for months, pulling out portions as needed for meals.
- Reheating: Warm in the oven at low heat to refresh the crunch, ensuring they taste just-made.
- Meal prep tips: Batch cook and divide for weekly plans, making it simple for busy lifestyles.
For more on walnut perks, check benefits of walnuts.
FAQs: Frequently Asked Questions About Candied Walnuts
Print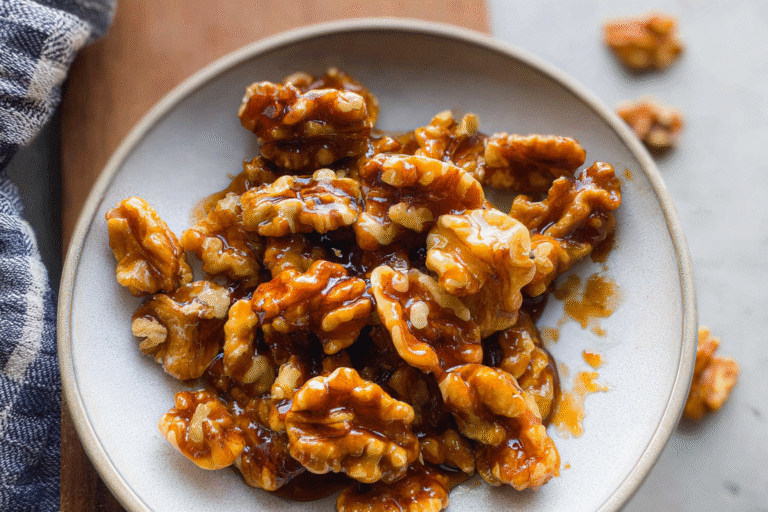
Candied Walnuts
🌰 A crunchy, sweet treat that transforms ordinary walnuts into glossy, caramelized delights perfect for snacking or baking.
⏱️ Ready in just 5 minutes, these candied walnuts add elegant texture and nutty sweetness to salads, desserts, or gift boxes.
- Total Time: 30 minutes
- Yield: 2 cups
Ingredients
– 200 grams all-purpose flour forms the base and helps create a nice coating for the walnut, giving them structure without overwhelming the natural nutty flavor
– 100 grams granulated sugar adds the perfect sweetness to caramelize the walnuts, balancing their earthy taste and making them irresistibly addictive
– 50 grams unsweetened cocoa powder brings a rich, chocolatey depth that enhances the walnuts, turning them into a decadent treat for those chocolate-loving moments
– 2 large eggs bind everything together, ensuring the coating sticks well and gives a glossy finish to your candied walnuts
– 150 milliliters milk provides moisture to mix things smoothly, helping achieve that even, shiny coat on the walnuts
– 100 milliliters vegetable oil keeps the mixture light and ensures the walnuts get that ideal crispiness without sticking
– 1 teaspoon baking powder adds a little lift, making the candied walnuts lighter and more enjoyable with every bite
Instructions
1-First Step: Prep Your Workspace Start by clearing a spot on your counter and grabbing a medium-sized bowl. Measure out all your ingredients ahead of time it’s like setting the stage for a quick show. This mise en place keeps things smooth, especially if you’re a busy parent juggling multiple tasks. For dietary tweaks, use gluten-free flour if needed to keep it inclusive.
2-Second Step: Mix the Dry Ingredients In your bowl, combine the sugar, cocoa powder, and baking powder with the flour. Stir them until they’re well blended this creates the base for that amazing coating. It only takes a minute or two, and you can add a pinch of salt for extra flavor if you’re feeling adventurous. If you’re aiming for a low-calorie version, swap in a sugar alternative here to cut down on sweetness without losing the crunch.
3-Third Step: Add the Wet Ingredients Next, crack in the eggs, pour in the milk and oil, and mix everything together until smooth. Use a whisk to get rid of any lumps, aiming for a batter-like consistency. This step is where the magic happens, binding everything for that perfect glaze. For vegan friends, remember to use your plant-based swaps to keep it friendly for all.
4-Fourth Step: Coat the Walnut Now, toss in your walnuts aim for about 200 grams to serve 4-6 people and stir until they’re fully coated. Make sure every nut gets an even layer for that golden finish. If you want to experiment, add spices like cinnamon for a twist. Timing is key here; it should take just a couple of minutes to coat them properly, adapting easily for larger batches.
5-Fifth Step: Cook on the Stove Heat a pan over medium heat and add your walnut mixture, stirring constantly for about 5 minutes. Watch for that caramelized color it’s ready when the walnuts look glossy and smell amazing. Keep the heat even to avoid burning, which is a common issue for new cooks. For low-calorie options, lower the heat slightly to prevent over-caramelizing.
6-Sixth Step: Cool and Serve Spread the walnut on a baking sheet to cool for a few minutes until they’re crisp. This final touch lets them harden up, making them perfect for snacking or topping dishes. Serve them warm or store for later it’s that simple! You can easily double the recipe for a crowd, and don’t forget to check out our article on quick snacks for busy days for more ideas.
Last Step:
Please leave a rating and comment letting us know how you liked this recipe! This helps our business to thrive and continue providing free, high-quality recipes for you.Notes
🌡 Use fresh walnuts for best results – old or stale walnuts can become bitter when candied.
⏱️ Work quickly when coating walnuts in syrup – if syrup cools too much, it will become grainy.
🎁 Package in clear cello bags tied with ribbon for beautiful holiday or party gifts.
- Prep Time: 5 minutes
- Cooling: 20 minutes
- Cook Time: 5 minutes
- Category: Snack
- Method: No-Cook
- Cuisine: American
- Diet: Vegetarian
Nutrition
- Serving Size: 1/4 cup
- Calories: 210
- Sugar: 22g
- Sodium: 65mg
- Fat: 14g
- Saturated Fat: 3g
- Unsaturated Fat: 9g
- Trans Fat: 0g
- Carbohydrates: 24g
- Fiber: 2g
- Protein: 4g
- Cholesterol: 0mg





