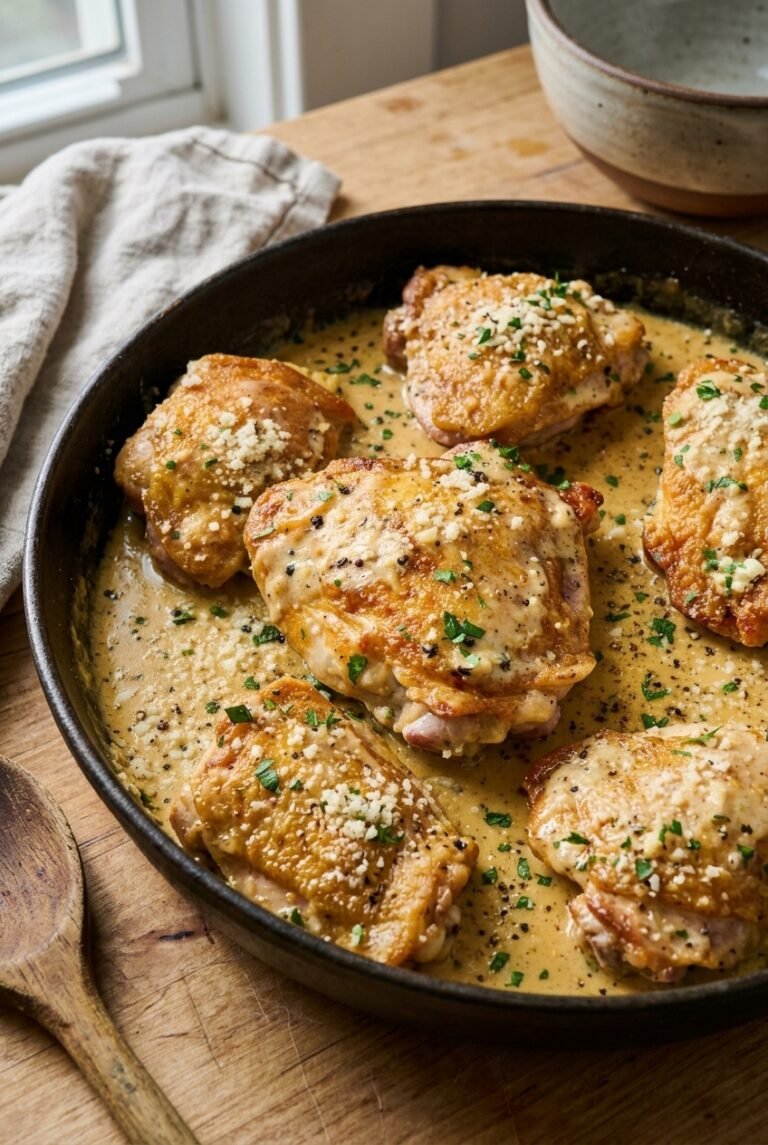
Ingredients
– 6 bone-in skin-on chicken thighs (2 1/2 to 3 pounds total)
– 3/4 teaspoon kosher salt
– 1 tablespoon olive oil
– 1 medium shallot, finely chopped (about 1/4 cup)
– 3 cloves garlic, minced
– 1/4 cup dry white wine
– 3/4 cup heavy cream
– 1/2 cup low-sodium chicken broth
– 1 tablespoon whole black peppercorns, coarsely crushed
– 1 tablespoon finely grated lemon zest (from 1 medium lemon)
– 3 tablespoons finely grated Pecorino Romano cheese, divided, plus more for serving
– Finely chopped fresh parsley leaves for garnish
– Lemon wedges for serving
Instructions
1-First Step: Prep the chicken and the pan Pat the chicken thighs dry with paper towels. This is one of the most important steps because dry skin browns better. Season both sides with the kosher salt, letting it cling well to the meat and skin. Set a large skillet over medium-high heat and add the olive oil. Let the oil get hot before the chicken goes in. This helps the skin start crisping right away instead of steaming in the pan.
2-Second Step: Sear until the skin turns golden Place the chicken skin-side down in the skillet. Cook for 13 to 15 minutes per side, turning only when the skin is deeply golden and releases easily from the pan. If the chicken sticks, give it another minute or two before trying again. This long sear builds a lot of the flavor for the finished dish. A well-browned skin also adds savory bits to the skillet, which later turn into the base of the sauce.
3-Third Step: Move the chicken out of the pan Once the chicken is browned on both sides, transfer it to a plate. It will finish cooking later in the sauce. Keep the drippings in the skillet because they carry lots of flavor. At this stage, the chicken will not be fully cooked yet. That is normal. It will return to the pan once the sauce has started to come together.
4-Fourth Step: Cook the shallot and garlic Add the chopped shallot to the same skillet and cook until it starts to soften. Then add the minced garlic and stir until both are translucent and fragrant. This usually takes just a few minutes. Keep the heat moderate so the garlic does not burn. Burnt garlic can make the whole sauce taste bitter, so stir often and watch it closely.
5-Fifth Step: Deglaze with wine Pour in the dry white wine and let it simmer while you scrape up the browned bits from the bottom of the pan. Those browned bits dissolve into the sauce and bring big flavor without extra work. Let the wine cook for a moment so the alcohol taste softens. You should still get a bright, slightly tangy note in the finished sauce.
6-Sixth Step: Add the creamy sauce base Stir in the heavy cream, low-sodium chicken broth, and coarsely crushed black peppercorns. Bring the mixture to a gentle simmer. The sauce should look loose at first, then slowly start to thicken as it cooks. For the best texture, keep the sauce at a steady simmer rather than a hard boil. A gentle bubble helps it thicken evenly and gives the chicken time to cook through without toughening.
7-Seventh Step: Return the chicken and finish cooking Return the chicken thighs to the skillet, skin-side up if possible. Spoon some sauce over the top and let everything cook for about 10 to 12 minutes, or until the chicken is done and the sauce has thickened. The chicken should reach 165 degrees Fahrenheit at the thickest part. If you use a thermometer, check near the bone without touching it. The sauce is ready when it coats the back of a spoon.
8-Eighth Step: Finish with lemon and cheese Transfer the chicken to a serving platter. Stir the lemon zest and the Pecorino Romano into the sauce, then spoon the sauce over the chicken. Add more Pecorino on top if you like a stronger cheese finish. Garnish with chopped parsley and lemon wedges if desired. The parsley brings a fresh color, while the lemon lets each person add a little brightness to taste.
9-Ninth Step: Serve and enjoy Serve the chicken hot with extra sauce spooned over the top. This recipe pairs well with roasted vegetables, mashed potatoes, rice, or crusty bread for soaking up every last bit of sauce. It also works nicely with simple pasta if you want a heartier meal.
Last Step:
Please leave a rating and comment letting us know how you liked this recipe! This helps our business to thrive and continue providing free, high-quality recipes for you.Notes
🐔 Pat chicken extra dry for maximum crispy skin.
🌶️ Crush peppercorns fresh with mortar for boldest flavor.
🧀 Simmer sauce until it coats the back of a spoon for perfect thickness.
- Prep Time: 10 minutes
- Cook Time: 50 minutes
- Category: Main Course
- Method: Skillet
- Cuisine: Italian-American
- Diet: Gluten-Free
Nutrition
- Serving Size: 1 chicken thigh
- Calories: 585 kcal
- Sugar: 2g
- Sodium: 467mg
- Fat: 46g
- Saturated Fat: 17g
- Unsaturated Fat: 29g
- Trans Fat: 0g
- Carbohydrates: 5g
- Fiber: 1g
- Protein: 35g
- Cholesterol: 150mg