

Why You’ll Love This Crispy Roast Duck
This crispy roast duck recipe stands out as a go-to option for home cooks looking to impress without spending all day in the kitchen. It’s straightforward and yields a bird with golden, crunchy skin and moist meat that bursts with flavor from simple seasonings and stuffing. Whether you’re feeding a family or hosting friends, this dish brings everyone together with its rich taste and satisfying texture.
Beyond its deliciousness, crispy roast duck offers health perks like lean protein packed with essential nutrients, supporting a balanced diet for busy parents and working professionals. You can tweak it for dietary needs, such as gluten-free or low-calorie versions, making it versatile for students, newlyweds, or anyone mindful of what they eat. Plus, the unique blend of sweet and savory notes turns a simple roast into a memorable meal that food enthusiasts and travelers will appreciate for its exotic flair.
One of the best parts is how accessible it is, requiring just basic ingredients and easy steps that even baking enthusiasts can master quickly. This recipe inspires joy in cooking by letting you experiment while keeping things simple and fun. No wonder it’s perfect for creating those special moments around the table, just like the blog promises.
Jump to:
- Why You’ll Love This Crispy Roast Duck
- Essential Ingredients for Crispy Roast Duck
- How to Prepare the Perfect Crispy Roast Duck: Step-by-Step Guide
- Dietary Substitutions to Customize Your Crispy Roast Duck
- Mastering Crispy Roast Duck: Advanced Tips and Variations
- How to Store Crispy Roast Duck: Best Practices
- FAQs: Frequently Asked Questions About Crispy Roast Duck
- How can I get perfectly crispy skin when roasting a duck?
- What’s the best way to use the fruit and aromatics placed inside the duck cavity?
- Should I cover the duck while roasting or leave it uncovered?
- How long and at what temperatures should I roast a duck to ensure it’s cooked properly?
- Can I save the rendered duck fat from roasting, and how should I store it?
- Crispy Roast Duck
- Ingredients
- Instructions
- Last Step:
- Notes
- Nutrition
- Did you make this recipe?
Essential Ingredients for Crispy Roast Duck
To make this crispy roast duck, you’ll need precise ingredients to ensure the best results. Below is a comprehensive list with exact measurements for every item, organized clearly for easy shopping and prep. Remember, these are the key components to achieve that irresistible golden skin and flavorful meat.
- 5-6 lb duck
- 2 tablespoons salt
- 4 garlic cloves, halved (for the cavity stuffing)
- 2 shallots, halved (for the cavity stuffing)
- 1 orange, quartered (for the cavity stuffing)
- 1 apple, quartered (for the cavity stuffing)
- 1/4 cup prunes (for the cavity stuffing)
- 1 cup honey (for the glaze)
- 1 tablespoon molasses (optional; for the glaze; can be substituted with brown sugar or maple syrup)
- 3 tablespoons orange juice (for the glaze)
- 1 tablespoon hoisin sauce (for the glaze)
- 1 teaspoon black pepper (for the glaze; adjust to taste)
- 1 tablespoon garlic powder (for the glaze; adjust to taste)
- 1 teaspoon salt (for the glaze)
Optional garnishes include fresh herbs such as sage, rosemary, or tarragon to add a pop of color, and fruits like pomegranate seeds, figs, or grapes for extra freshness. This list covers everything needed for a 5-6 pound duck, making it simple to follow and measure out accurately.
How to Prepare the Perfect Crispy Roast Duck: Step-by-Step Guide
Getting started with this crispy roast duck is easier than you might think, beginning with prepping your 5-6 pound bird for the best flavor and texture. First, defrost the duck fully in the refrigerator for 1-2 days if it’s frozen, then rinse it and pat it dry to remove any excess moisture. Leaving it uncovered in the refrigerator overnight helps dry the skin, which is a key step for that crispy finish we all love. For more ideas on simple sides, check out our easy peach cobbler recipe that pairs wonderfully with roasted meats.
Next, score the skin on the duck’s breast in a diamond pattern, making sure to cut only the skin without reaching the meat to help fat render out properly. Remove any excess fat and prick the skin all over carefully, but don’t pierce the meat. Season the duck inside and out with 2 tablespoons of salt, then stuff the cavity with the halved garlic cloves, shallots, quartered orange and apple, and prunes. Secure the cavity with toothpicks, tie the legs with twine, and fold the wings under the duck for even roasting.
Place the duck on a rack in a roasting pan, breast side up, and roast at 350°F for 1 hour. After that, remove it from the oven, prick the skin again, flip it breast side down, and roast for another hour to promote even crispness. While that’s happening, prepare the glaze by combining 1 cup honey, 1 tablespoon molasses (if using), 3 tablespoons orange juice, 1 tablespoon hoisin sauce, 1 teaspoon black pepper, 1 tablespoon garlic powder, and 1 teaspoon salt in a pan. Simmer this mixture for about 10 minutes until it thickens, then set it aside.
After 2 hours of roasting, take the duck out again, prick the skin once more, crank up the oven to 400°F, and roast breast side up for 15 minutes. Brush the duck generously with the prepared glaze and return it to the oven for an additional 5 to 7 minutes to caramelize the skin. Let the duck rest before carving to keep the juices in, then serve it with sides like mashed or roasted potatoes and a fresh green salad for a complete meal. The whole process takes about 10 minutes to prepare and around 2 hours and 15 minutes to cook, depending on the duck’s size and your oven.

Dietary Substitutions to Customize Your Crispy Roast Duck
Making this crispy roast duck work for your needs is simple with a few smart swaps. For instance, if you’re aiming for a vegan version, consider using seitan or jackfruit in place of the duck to keep that hearty texture without the meat. Those watching their fat intake might opt for skinless chicken breast or turkey as a substitute, while still following the roasting steps for similar flavors.
When it comes to sauces and seasonings, swap out regular soy sauce for tamari or coconut aminos to make it gluten-free, which fits diets for many food enthusiasts. Add in seasonal veggies like roasted Brussels sprouts or carrots to boost nutrition and variety, or change up the spices by using a mix of cinnamon and clove instead of traditional options. These adjustments help maintain the dish’s core appeal while accommodating restrictions, making it ideal for busy parents or seniors.
Mastering Crispy Roast Duck: Advanced Tips and Variations
Taking your crispy roast duck to the next level starts with smart techniques like drying the duck uncovered in the refrigerator overnight, which really amps up that crispy skin. You can also play with flavors by adding marinades with orange zest or star anise for a fresh twist that travelers might enjoy. For a polished presentation, carve the duck neatly and garnish with herbs like cilantro or thyme to make it look as good as it tastes.
Another handy tip is to prep the marinade a day ahead, letting it sit in the fridge for deeper flavor without much extra effort. Try variations such as blending the cavity fruits into a sauce for added moisture and taste. These pro moves make the recipe adaptable for all sorts of occasions, from family dinners to gatherings with friends, enhancing the joy of home cooking.
How to Store Crispy Roast Duck: Best Practices
Proper storage keeps your crispy roast duck tasting great for leftovers. Put it in an airtight container and keep it in the fridge for up to 3 days to hold onto that fresh flavor. If you want to save it longer, wrap portions tightly in foil and freeze them in bags for up to 2 months, then thaw overnight in the fridge.
When reheating, use an oven at 350°F to keep the skin crisp steer clear of the microwave to avoid sogginess. For meal prep, cook and portion the duck ahead of time, labeling containers with dates to make life easier for working professionals or students.
- Dry the duck overnight for crispier skin.
- Score and prick the skin carefully to render fat.
- Flip during roasting for even crispness.
- Use a meat thermometer to hit 165°F.
- Save rendered fat for other recipes.
- Blend cavity fruit into a sauce if desired.
- Roast uncovered and apply glaze at the end.
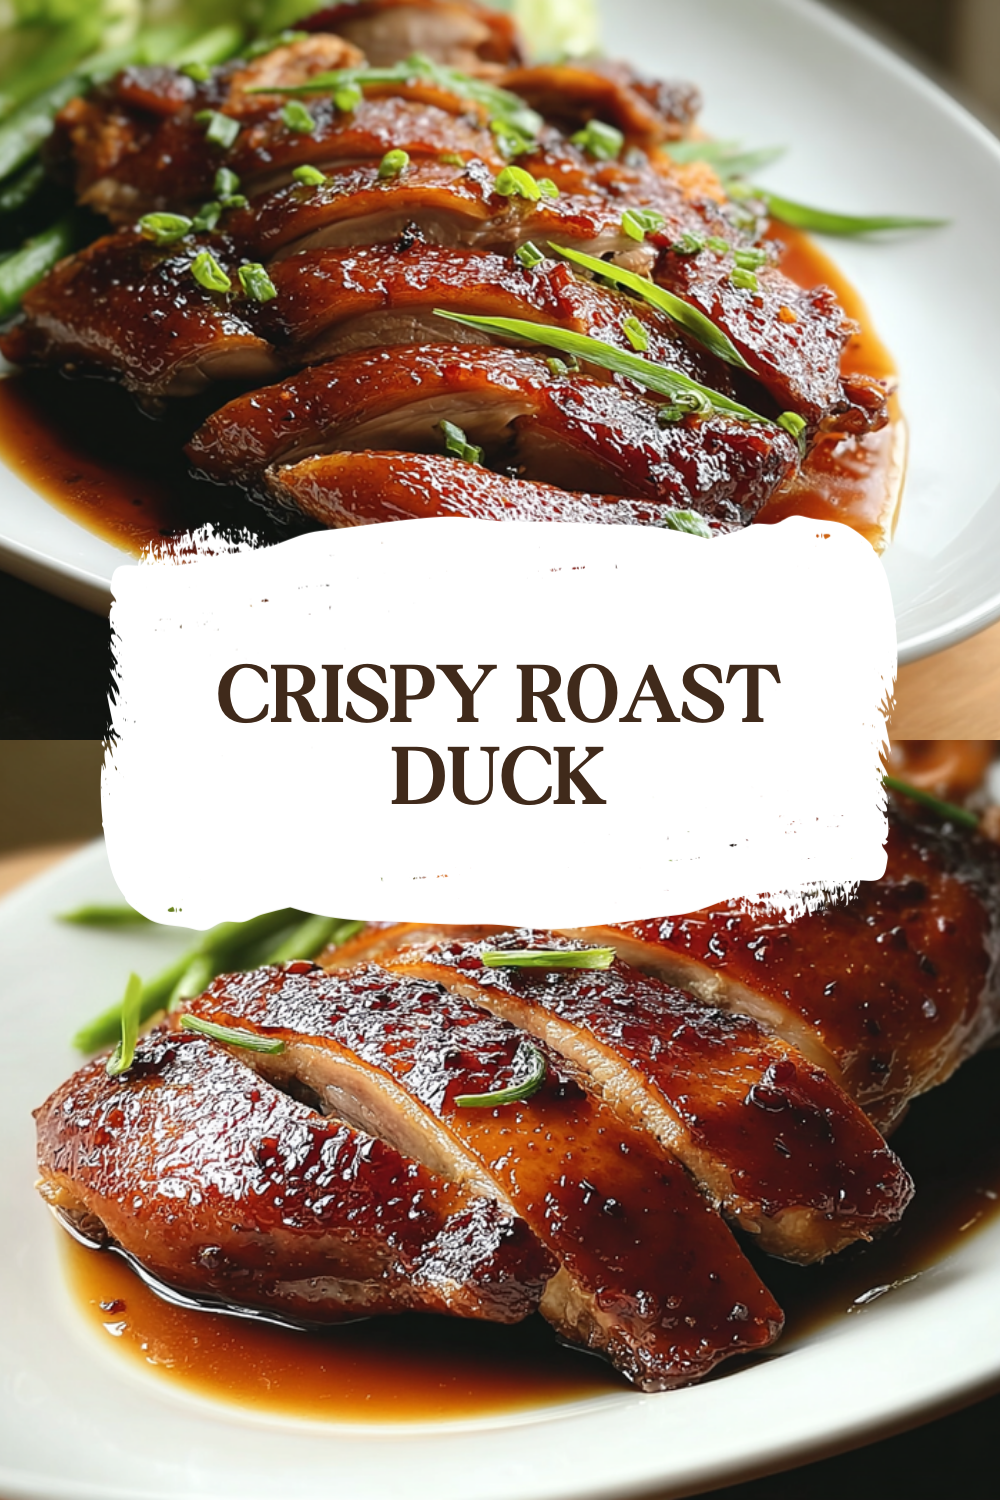
FAQs: Frequently Asked Questions About Crispy Roast Duck
How can I get perfectly crispy skin when roasting a duck?
To achieve crispy duck skin, start by thawing the duck fully in the refrigerator if frozen. Pat the skin dry and leave the duck uncovered in the fridge overnight to dry the skin further. Score the skin in a shallow diamond pattern without cutting into the meat. Roast the duck uncovered at a moderate temperature, then increase the heat toward the end to crisp the skin. Pricking the skin helps fat to render out, but avoid piercing the meat to keep it juicy.
What’s the best way to use the fruit and aromatics placed inside the duck cavity?
Fruit such as oranges, apples, or prunes combined with aromatics like garlic and shallots are used inside the cavity to infuse flavor and moisture during roasting. After cooking, you can remove the softened fruit and blend it into a sauce or glaze, adding richness and a subtle sweetness to complement the duck.
Should I cover the duck while roasting or leave it uncovered?
Roasting the duck uncovered is key to crispy skin because it allows moisture to escape. Covering the duck or the roasting pan traps steam, which keeps the skin soft and prevents it from crisping up. For best results, place the duck on a roasting rack to let the fat drain away and air circulate around the bird.
How long and at what temperatures should I roast a duck to ensure it’s cooked properly?
Roast a duck starting at 350°F (175°C) breast side up for about one hour, then turn it breast side down and roast for an additional hour. Finish by increasing the oven temperature to 400°F (205°C) for 15-20 minutes breast side up to crisp the skin. Use a meat thermometer—duck is done at an internal temperature of 165°F (74°C).
Can I save the rendered duck fat from roasting, and how should I store it?
Yes, rendered duck fat is flavorful and versatile. After roasting, collect the fat from the pan and strain it through a fine sieve or cheesecloth to remove solids. Store the cooled fat in an airtight container in the refrigerator for several weeks. Use it for roasting vegetables, frying potatoes, or adding depth to other dishes.
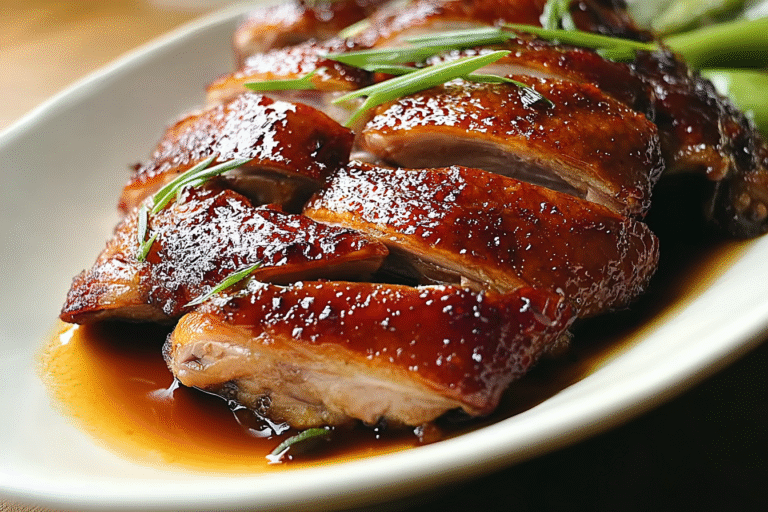
Crispy Roast Duck
🦆 This Crispy Whole Roast Duck recipe delivers perfectly crisp skin and juicy meat with simple steps anyone can follow.
🍊 The aromatic stuffing and flavorful glaze enhance the natural richness of the duck for an impressive meal.
- Total Time: 2 hours 25 minutes
- Yield: 4-6 servings
Ingredients
– 5-6 lb duck
– 2 tablespoons salt
– 4 garlic cloves halved for the cavity stuffing
– 2 shallots halved for the cavity stuffing
– 1 orange quartered for the cavity stuffing
– 1 apple quartered for the cavity stuffing
– 1/4 cup prunes for the cavity stuffing
– 1 cup honey for the glaze
– 1 tablespoon molasses optional for the glaze
– 3 tablespoons orange juice for the glaze
– 1 tablespoon hoisin sauce for the glaze
– 1 teaspoon black pepper for the glaze
– 1 tablespoon garlic powder for the glaze
– 1 teaspoon salt for the glaze
Instructions
1-Getting started: Getting started with this crispy roast duck is easier than you might think, beginning with prepping your 5-6 pound bird for the best flavor and texture. First, defrost the duck fully in the refrigerator for 1-2 days if it’s frozen, then rinse it and pat it dry to remove any excess moisture. Leaving it uncovered in the refrigerator overnight helps dry the skin, which is a key step for that crispy finish we all love. For more ideas on simple sides, check out our easy peach cobbler recipe that pairs wonderfully with roasted meats.
2-Next, score the skin on the duck’s breast in a diamond pattern, making sure to cut only the skin without reaching the meat to help fat render out properly. Remove any excess fat and prick the skin all over carefully, but don’t pierce the meat. Season the duck inside and out with 2 tablespoons of salt, then stuff the cavity with the halved garlic cloves, shallots, quartered orange and apple, and prunes. Secure the cavity with toothpicks, tie the legs with twine, and fold the wings under the duck for even roasting.
3-Place the duck on a rack in a roasting pan, breast side up, and roast at 350°F for 1 hour. After that, remove it from the oven, prick the skin again, flip it breast side down, and roast for another hour to promote even crispness. While that’s happening, prepare the glaze by combining 1 cup honey, 1 tablespoon molasses (if using), 3 tablespoons orange juice, 1 tablespoon hoisin sauce, 1 teaspoon black pepper, 1 tablespoon garlic powder, and 1 teaspoon salt in a pan. Simmer this mixture for about 10 minutes until it thickens, then set it aside.
4-After 2 hours of roasting, take the duck out again, prick the skin once more, crank up the oven to 400°F, and roast breast side up for 15 minutes. Brush the duck generously with the prepared glaze and return it to the oven for an additional 5 to 7 minutes to caramelize the skin. Let the duck rest before carving to keep the juices in, then serve it with sides like mashed or roasted potatoes and a fresh green salad for a complete meal. The whole process takes about 10 minutes to prepare and around 2 hours and 15 minutes to cook, depending on the duck’s size and your oven.
Last Step:
Please leave a rating and comment letting us know how you liked this recipe! This helps our business to thrive and continue providing free, high-quality recipes for you.Notes
🌙 Dry the duck uncovered overnight to achieve crisper skin.
🔪 Score and prick the skin carefully to render fat while protecting the meat.
♻️ Save rendered duck fat for cooking other dishes.
🌡️ Use a meat thermometer to ensure internal temperature reaches about 165°F for perfect doneness.
🍑 The fruit stuffing adds moisture and flavor; discard or blend into sauce after cooking.
🔥 Apply glaze near the end to prevent burning and maintain shine.
- Prep Time: 10 minutes
- Drying Time: Overnight
- Cook Time: 2 hours 15 minutes
- Category: Main Course
- Method: Roasting
- Cuisine: American
- Diet: Gluten-Free
Nutrition
- Serving Size: 1 serving
- Calories: 600 kcal
- Sugar: 15 g
- Sodium: 850 mg
- Fat: 45 g
- Saturated Fat: 13 g
- Unsaturated Fat: 25 g
- Trans Fat: 0 g
- Carbohydrates: 10 g
- Fiber: 1 g
- Protein: 45 g
- Cholesterol: 130 mg





