

Why You’ll Love This Homemade Caramels
Imagine pulling warm, gooey treats from your kitchen that taste better than anything from the store. Homemade caramels bring that magic to your table, and this recipe makes it simple for anyone to get started. With just a few basic ingredients, you’ll create soft, chewy candies that shine in flavor and texture.
This homemade caramels recipe stands out for its ease, letting even busy parents whip up a batch without stress. Plus, it offers options for diet-conscious folks, like swapping ingredients for vegan or gluten-free versions. Dive into making these treats and see how they add a special touch to your day.
One reason to try homemade caramels is the pure joy of customizing them to your taste. Food enthusiasts will appreciate the rich, creamy results that beat store-bought options every time. Whether you’re a student looking for a quick snack or a senior enjoying simple pleasures, this recipe fits right in.
Key Benefits of Making Your Own
Creating homemade caramels at home means you control the ingredients, which helps with mindful eating. These treats use wholesome items like butter and sugar, giving a better balance than processed candies. Travelers and working professionals can make a batch ahead for on-the-go energy boosts.
From baking enthusiasts to newlyweds, everyone can find value in this adaptable recipe. It takes little time but delivers big on satisfaction, making it ideal for family gatherings. Let’s explore why this simple approach makes homemade caramels a go-to choice for so many.
Jump to:
- Why You’ll Love This Homemade Caramels
- Key Benefits of Making Your Own
- Essential Ingredients for Homemade Caramels
- The Main Ingredients List
- Special Dietary Notes
- How to Prepare the Perfect Homemade Caramels: Step-by-Step Guide
- Dietary Substitutions to Customize Your Homemade Caramels
- Mastering Homemade Caramels: Advanced Tips and Variations
- Pro Techniques and Storage Hacks
- How to Store Homemade Caramels: Best Practices
- FAQs: Frequently Asked Questions About Homemade Caramels
- What ingredients do I need to make homemade caramels from scratch?
- How can I tell when my caramel is cooked perfectly?
- Can I use a candy thermometer instead of the ice water test for caramels?
- How should I store homemade caramels to keep them fresh?
- What can I do if my homemade caramel turns out too soft or sticky?
- Homemade Caramels
- Ingredients
- Instructions
- Last Step:
- Notes
- Nutrition
- Did you make this recipe?
Essential Ingredients for Homemade Caramels
Gathering the right ingredients is the first step to perfect homemade caramels. This section breaks down what you need, focusing on fresh, quality items for the best results. You’ll see how each one plays a key role in creating that smooth, chewy texture we all love.
To make this recipe, start with the basics listed below. Remember, precise measurements ensure your caramels turn out just right every time. For more ideas on simple sweets, check out our easy banana bread recipe for another beginner-friendly option.
The Main Ingredients List
- 1 cup (2 sticks) butter
- 4 cups sugar
- 2 cups light corn syrup
- 24 ounces (2 cans) evaporated milk
- 1 teaspoon vanilla extract
This structured list covers everything required for the recipe. Each ingredient has a clear quantity to help you measure accurately and avoid any mistakes. Stick to these for a classic batch that delivers on flavor and consistency.
Special Dietary Notes
If you need adjustments, evaporated milk can be swapped with heavy cream for a creamier feel. This keeps the recipe flexible for various needs, like using plant-based options. For more on ingredient swaps, you’ll find helpful tips in the next sections.
How to Prepare the Perfect Homemade Caramels: Step-by-Step Guide
Follow these straightforward steps to make homemade caramels that are soft and chewy. Start by getting your tools ready, as this ensures a smooth process from start to finish. We’ll use the ingredients listed earlier to build rich flavors with ease.
Begin with preparation time in mind: expect about 10 minutes for prep, 1 hour for cooking, and a total of 1 hour and 10 minutes. This recipe focuses on simple techniques to help beginners succeed. Keep stirring to maintain that steady boil and prevent issues like curdling.
- Prepare a 9×13 inch pan by lining it with parchment paper or buttering it well.
- In a large heavy-bottom saucepan, melt the butter and mix in the sugar and corn syrup. Stir over medium heat until it boils, which takes about 5 to 10 minutes.
- Add the evaporated milk slowly, one can at a time. Let each one blend for 12 to 15 minutes while stirring constantly to keep a steady boil.
- Keep stirring and scrape the sides until the mix reaches 240-245°F, or use the ice water test to check for a firm, pliable ball.
- Take the pan off the heat and stir in the vanilla extract right away.
- Pour the caramel into the prepared pan and chill it in the fridge until it’s firm, ideally overnight.
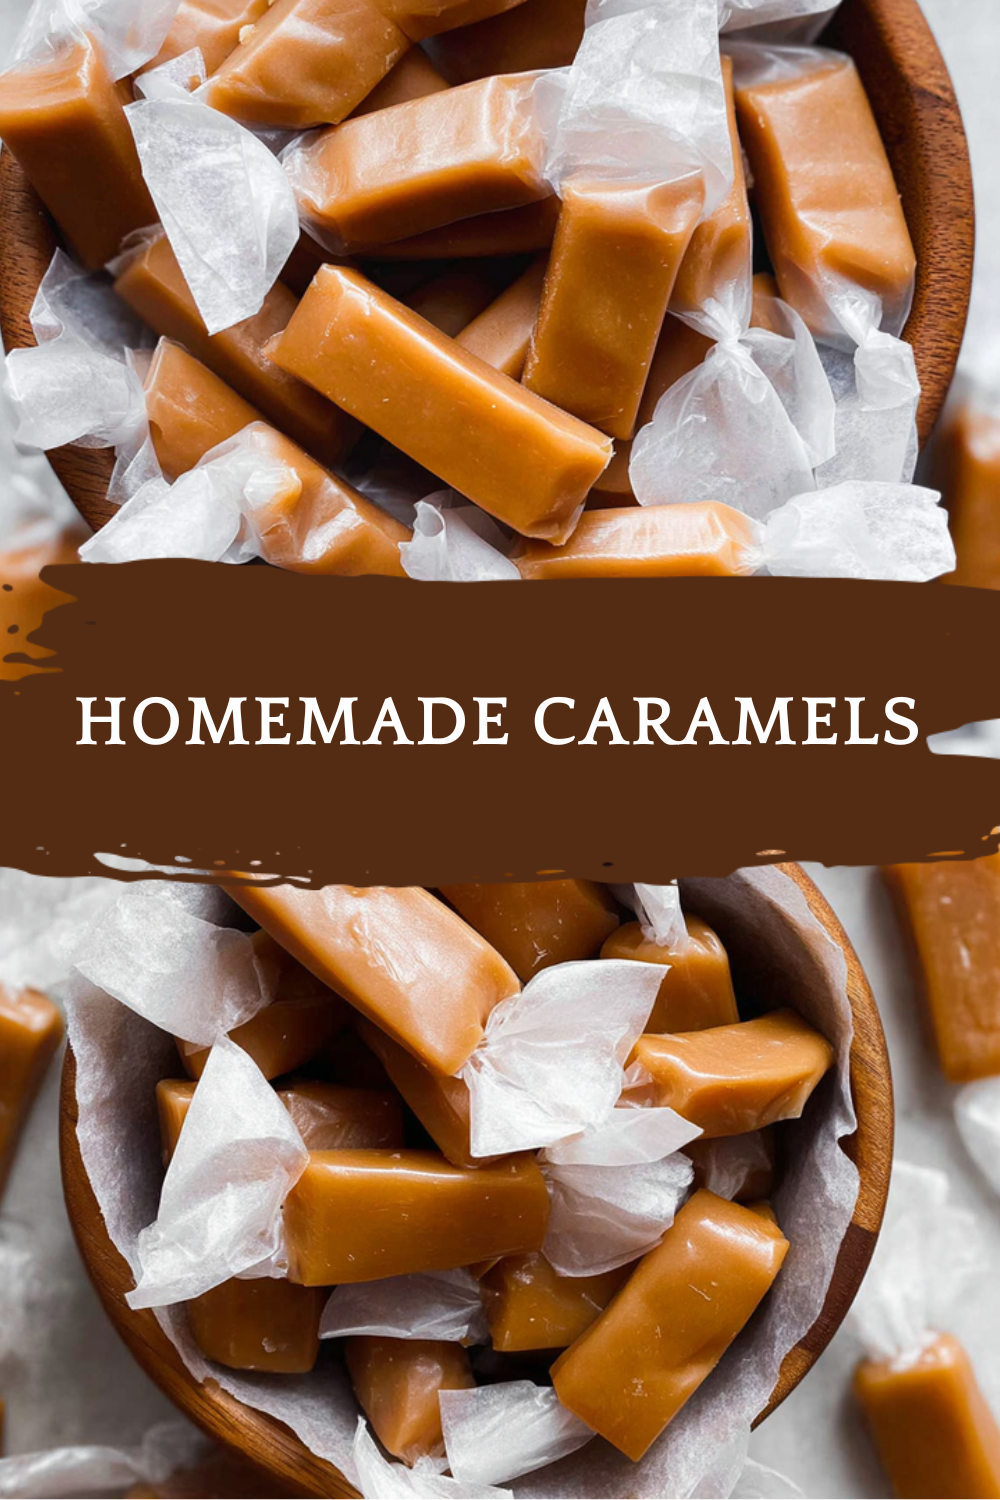
- Once cold, cut into pieces and wrap them in wax paper if you like; they’ll soften at room temperature.
This guide incorporates tips like using medium heat to avoid fluctuations and heating evaporated milk beforehand if needed. For external insights on evaporated milk, visit evaporated milk nutrition details to learn more.

Dietary Substitutions to Customize Your Homemade Caramels
Making homemade caramels more personal is easy with a few swaps. This section covers options for different diets, so everyone can enjoy these treats. Start by thinking about your needs, like going vegan or cutting calories.
For replacements, use plant-based cream instead of evaporated milk to make it vegan-friendly. Swap butter for a non-dairy version to keep things creamy. These changes help maintain that chewy texture while fitting various lifestyles.
Other tweaks include adding flavors like sea salt or cinnamon for a twist. If you’re watching sugar, try natural sweeteners in place of corn syrup. This flexibility makes homemade caramels a hit for busy parents and health-focused folks alike.
Mastering Homemade Caramels: Advanced Tips and Variations
Once you’re comfortable with the basics, level up your homemade caramels with pro techniques. Use a candy thermometer for exact temperatures and stir gently to avoid crystals. These steps lead to smoother results and more consistent batches.
Explore flavor ideas like adding sea salt for a savory kick or espresso powder for coffee lovers. For presentation, cut with a warm knife and wrap in parchment for a neat look. You can even prepare the base ahead and store it in the fridge for busy days.
Other variations include infusing with herbs or adjusting cook time for softer or firmer candies. If you enjoy experimenting, pair this with our simple chocolate fudge recipe for more dessert ideas. These tips make homemade caramels even more fun and rewarding.
Pro Techniques and Storage Hacks
To enhance your skills, always test for firmness with the ice water method. This ensures your caramels are just right before cooling. With practice, you’ll master the art of these chewy delights quickly.
How to Store Homemade Caramels: Best Practices
Proper storage keeps your homemade caramels fresh and tasty for longer. Start by wrapping them individually to lock in flavor and prevent sticking. This simple step makes a big difference for enjoying them over time.
Keep them in an airtight container in the fridge for up to two weeks. For longer hold, freeze them in a sealed bag for up to three months and thaw at room temperature. Reheat gently if needed, like warming in the microwave for a few seconds.
Meal prep pros will love making large batches ahead. This way, you always have a sweet treat ready, whether for snacks or gifts. Follow these practices to extend shelf life and maintain that perfect chewy feel.
FAQs: Frequently Asked Questions About Homemade Caramels
What ingredients do I need to make homemade caramels from scratch?
To make homemade caramels, you will need butter, granulated sugar, light corn syrup (Karo syrup), evaporated milk, and vanilla extract. These ingredients create a rich, smooth caramel with the right texture. Some recipes allow substituting heavy cream for evaporated milk, which can make the caramels creamier. Make sure to use unsalted butter for the best balance of flavors.
How can I tell when my caramel is cooked perfectly?
The best way to know if your caramel is done is by using the ice water test. Drop a small spoonful of the hot caramel into a cup of ice water. Let it cool slightly, then try to shape it with your fingers. If it forms a firm but pliable ball that’s slightly sticky, the caramel is ready. If it’s too soft or liquid, continue cooking; if it’s too hard and brittle, it was cooked too long.
Can I use a candy thermometer instead of the ice water test for caramels?
Yes, a candy thermometer can be used and should read about 245°F to 250°F (soft ball stage) for perfect caramels. However, the ice water test is often more reliable, especially since factors like altitude and humidity affect temperature readings. Combining both methods can help ensure ideal texture.
How should I store homemade caramels to keep them fresh?
Store homemade caramels wrapped individually in wax paper or parchment paper, then place them in an airtight container. Keep the container in the refrigerator to extend shelf life for up to several weeks. Before serving, allow caramels to come to room temperature for a soft, chewy texture.
What can I do if my homemade caramel turns out too soft or sticky?
If your caramel is too soft or sticky after setting, it likely didn’t cook long enough. You can gently reheat the mixture, stirring constantly, and use the ice water test to check for doneness again. Be careful not to overcook, as that will make the caramel hard and brittle.
Homemade Caramels
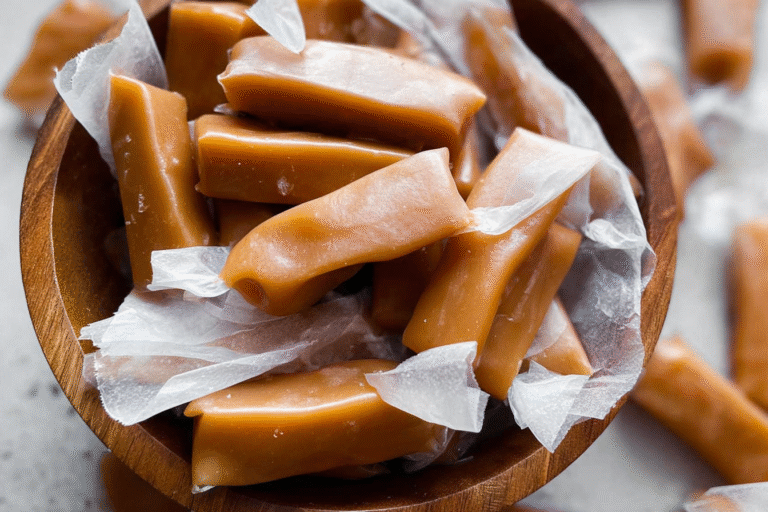
🍬 Homemade Caramels Recipe offers soft, chewy treats with rich buttery sweetness that’s perfect for gift-giving or indulgent snacking.
👩🍳 The simple steps make this classic candy accessible for home cooks wanting to create luscious, melt-in-your-mouth caramels.
- Total Time: 1 hour 10 minutes
- Yield: About 64 small caramels 1x
Ingredients
1 cup (2 sticks) butter
4 cups sugar
2 cups light corn syrup
24 ounces (2 cans) evaporated milk
1 teaspoon vanilla extract
Instructions
1-Prepare a 9×13 inch pan by lining it with parchment paper or buttering it well.
2-In a large heavy-bottom saucepan, melt the butter and mix in the sugar and corn syrup. Stir over medium heat until it boils, which takes about 5 to 10 minutes.
3-Add the evaporated milk slowly, one can at a time. Let each one blend for 12 to 15 minutes while stirring constantly to keep a steady boil.
4-Keep stirring and scrape the sides until the mix reaches 240-245°F, or use the ice water test to check for a firm, pliable ball.
5-Take the pan off the heat and stir in the vanilla extract right away.
6-Pour the caramel into the prepared pan and chill it in the fridge until it’s firm, ideally overnight.
7-Once cold, cut into pieces and wrap them in wax paper if you like; they’ll soften at room temperature.
Last Step:
Please leave a rating and comment letting us know how you liked this recipe! This helps our business to thrive and continue providing free, high-quality recipes for you.Notes
🧂 Stir evaporated milk in slowly to prevent curdling and ensure even consistency.
🔥 Use medium heat to maintain steady temperature and avoid burning.
💧 Use the ice water test to reliably check caramel firmness before removing from heat.
- Prep Time: 10 minutes
- Cooking Time: 1 hour
- Cook Time: 1 hour
- Category: Dessert
- Method: Boiling, Cooling
- Cuisine: American
Nutrition
- Serving Size: 1 caramel
- Calories: 94
- Sugar: 17g
- Sodium: 34mg
- Fat: 2g
- Saturated Fat: 1g
- Carbohydrates: 17g
- Cholesterol: 8mg





