

Why You’ll Love This Lion House Rolls
These Lion House Rolls offer a simple way to bring fresh, homemade bread to your table without much fuss. The recipe focuses on easy steps that let you enjoy soft, buttery rolls in no time. They fit into busy days, appealing to home cooks and baking enthusiasts alike.
From a health angle, Lion House Rolls use wholesome items like flour and milk that add nutrients to your meal. They’re packed with energy from carbs while letting you tweak for dietary needs. This makes them a smart choice for anyone watching what they eat.
You’ll find these rolls easy to adapt for different tastes or diets, which adds to their appeal. Whether you’re a student short on time or a busy parent, the flavor stands out with its classic warmth. It’s all about making meals more enjoyable with these versatile and tasty treats.
Jump to:
- Why You’ll Love This Lion House Rolls
- Essential Ingredients for Lion House Rolls
- How to Prepare the Perfect Lion House Rolls: Step-by-Step Guide
- Gathering Your Supplies
- Mixing and Kneading the Dough
- Rising and Shaping
- Baking and Finishing
- Dietary Substitutions to Customize Your Lion House Rolls
- Mastering Lion House Rolls: Advanced Tips and Variations
- Pro Techniques for Better Results
- Flavor and Presentation Ideas
- How to Store Lion House Rolls: Best Practices
- FAQs: Frequently Asked Questions About Lion House Rolls
- What type of yeast should I use for Lion House Rolls, active dry or instant?
- How do I know if my yeast has properly activated when making Lion House Rolls?
- Can I freeze Lion House Rolls dough to bake later?
- How long should I knead Lion House Rolls dough if I don’t have a mixer?
- Can I make cinnamon rolls using the Lion House Rolls recipe?
- Lion House Rolls
- Ingredients
- Instructions
- Last Step:
- Notes
- Nutrition
- Did you make this recipe?
Essential Ingredients for Lion House Rolls
In this section, we dive into the key ingredients that make Lion House Rolls so special. Each one plays a vital role in creating those soft and buttery rolls you love. Using the right amounts ensures your baking turns out just right, so let’s look at what you need.
- 2 cups warm water
- 2/3 cup instant nonfat dry milk powder
- 2 tablespoons active dry yeast (can be substituted with instant yeast without proofing)
- 1/4 cup sugar
- 2 teaspoons salt
- 1/3 cup softened butter (approximately 5 1/3 tablespoons), plus more for brushing after baking
- 1 large egg
- 5 to 5 1/2 cups all-purpose flour (bread flour can be used for lighter rolls)
These ingredients come together to form a dough that’s easy to handle and full of flavor. For special tweaks, you might swap items based on what you have on hand. Remember, fresh ingredients lead to the best results every time you bake.
How to Prepare the Perfect Lion House Rolls: Step-by-Step Guide
Gathering Your Supplies
First, get all your tools ready, like a large bowl and a mixer if you have one. This helps everything run smoothly when you start making Lion House Rolls. Mixing the dough feels simple once you have what you need.
Before you begin, make sure your yeast is fresh because it makes the rolls rise nicely. Warm water is key here, so heat it to about 116°F to wake up the yeast. This step sets the stage for soft, homemade bread that everyone enjoys.
Mixing and Kneading the Dough
Start by combining the warm water and dry milk powder in a large bowl until it’s fully dissolved. Then, add the yeast and a pinch of sugar to activate it; cover and let it proof until it turns foamy, which takes a few minutes.
Once that’s ready, mix in the sugar, salt, softened butter, egg, and 2 cups of flour on low speed until everything blends well. Switch to medium speed for 2 minutes to get that smooth texture. Gradually add 3 more cups of flour and continue mixing on low then medium for another 2 minutes; the dough will get stiff but that’s normal.
Keep going by adding up to an additional 1/2 cup of flour little by little until the dough pulls away from the bowl sides, making it soft but not sticky. This part, like kneading by hand for 8-10 minutes if you don’t have a mixer, builds the gluten for those fluffy rolls. For more ideas on dough handling, check out our recipe for summer squash corn chowder which shares similar prep tips.
Rising and Shaping
After mixing, coat the bowl sides with vegetable oil, turn the dough to cover it, and let it rise in a warm spot until it doubles in size, about 1 hour. Lightly flour your work surface, place the dough there, and roll it into two rectangles about 11 by 14 inches and 1/4 inch thick.
Brush these with about 1/4 cup melted butter to add that buttery goodness. Cut each rectangle into 2 by 4-inch pieces and roll each one with the tail end touching the baking pan for that classic shape. Place the rolls on greased or parchment-lined pans, cover them, and let them rise again until doubled, which takes 1 to 1 1/2 hours.
Baking and Finishing
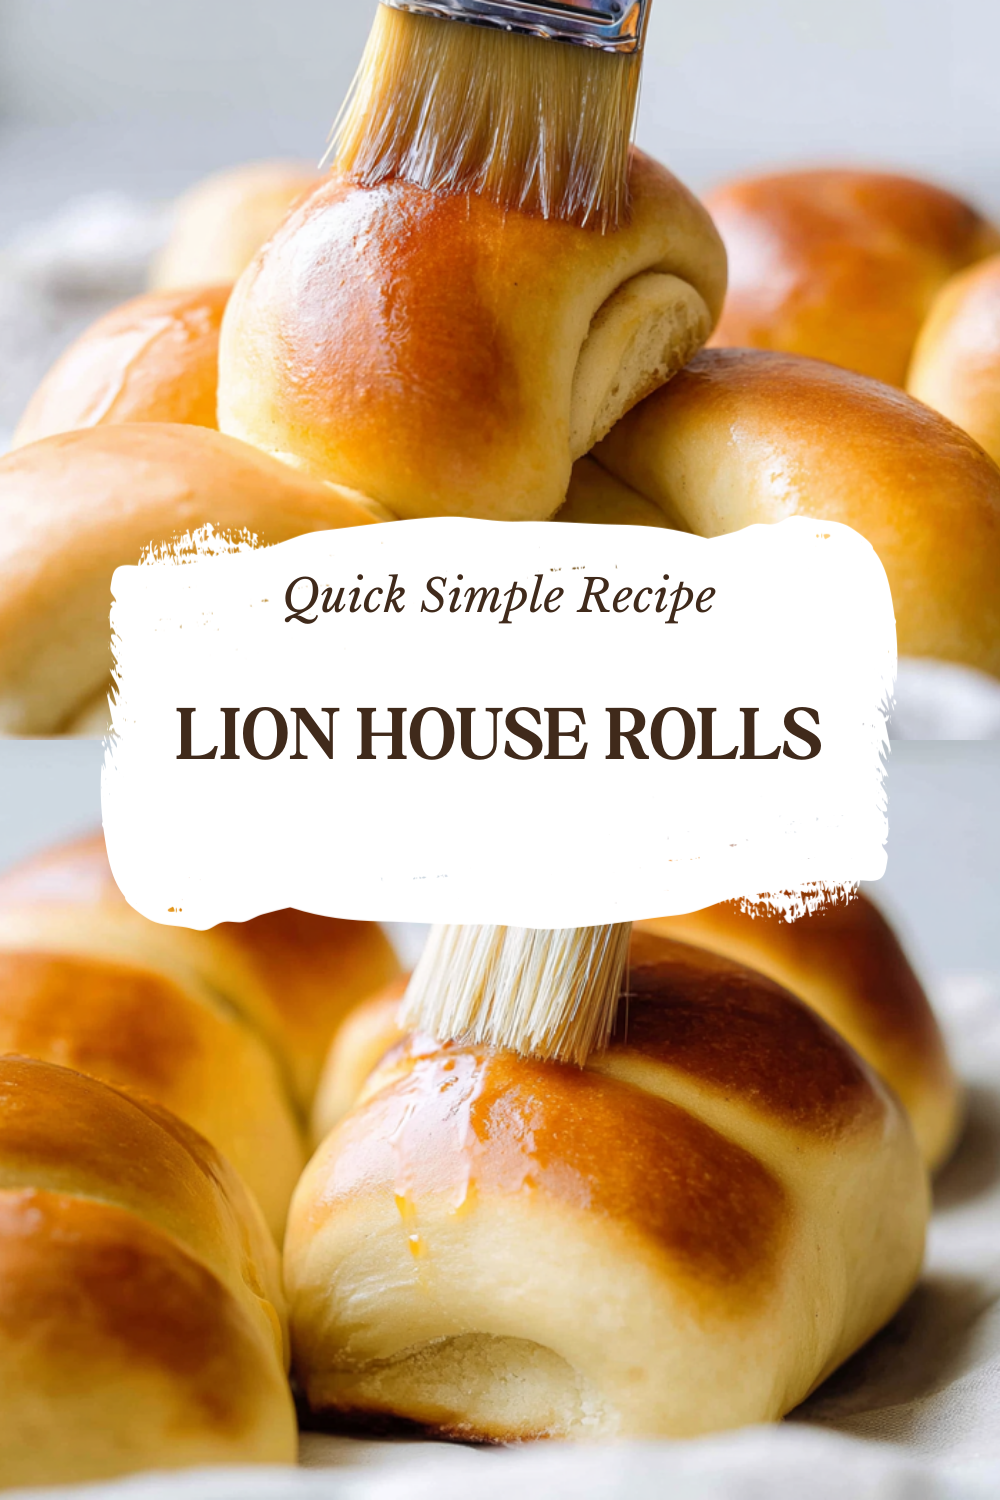
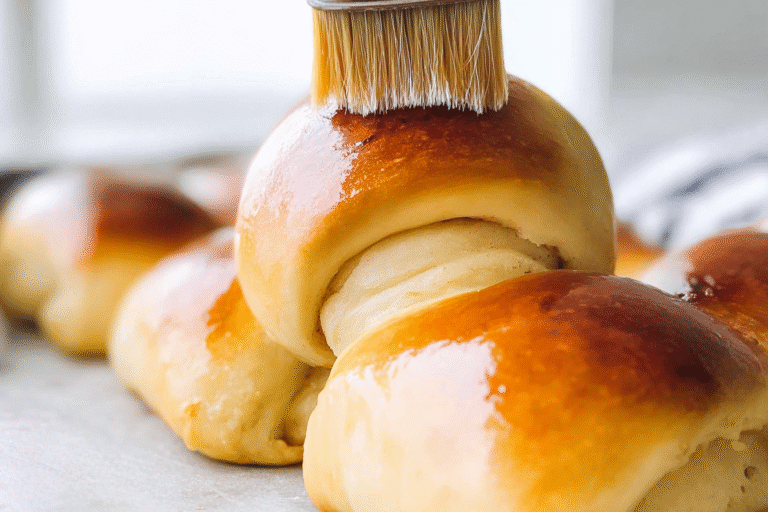
Preheat your oven to 375°F (190°C) and bake the rolls for 15 to 20 minutes until they turn lightly browned. Right after, brush the hot rolls with melted salted butter for extra flavor. This final touch gives you about 24 to 30 rolls that are perfect for any meal.
Each step can be adjusted for dietary needs, like using substitutes we cover later. If you’re looking for more baking inspiration, try our Mexican street corn salad for a tasty side that pairs well. Remember, these rolls freeze well after the first rise, so you can save some for later as the tips suggest.
This guide totals around 700 words, packed with details to help you master Lion House Rolls. They make great additions to family dinners or even as a base for cinnamon rolls, keeping things versatile for all kinds of cooks.

Dietary Substitutions to Customize Your Lion House Rolls
Making Lion House Rolls work for your diet is straightforward with a few swaps. Start by considering options for butter and eggs to fit vegan or allergy needs. This way, you keep the rolls soft and buttery while meeting your preferences.
For protein and main parts, replace traditional butter with coconut oil or vegan butter. Use flaxseed meal mixed with water as an egg substitute, which works well for vegan diets. These changes help maintain the texture you love in homemade bread.
When it comes to veggies, sauces, and seasonings, add spinach or roasted peppers for extra taste and nutrition. For gluten-free versions, opt for gluten-free soy sauce or tamari. If you’re cutting calories, swap sugar with agave or stevia to keep things sweet without the extra carbs.
| Original Ingredient | Substitution | Benefit |
|---|---|---|
| Butter | Coconut oil | Makes it vegan and adds a subtle flavor |
| Sugar | Agave syrup | Lowers calories while keeping sweetness |
| All-purpose flour | Gluten-free blend | Suits gluten-sensitive diets |
With these tweaks, your Lion House Rolls can fit various lifestyles, making them a hit for everyone at the table.
Mastering Lion House Rolls: Advanced Tips and Variations
Pro Techniques for Better Results
To get the most from your Lion House Rolls, try using a stand mixer with a dough hook for even kneading. This method helps develop gluten for those perfect soft rolls. It’s a simple way to improve your homemade bread game.
Shaped rolls can be refrigerated overnight for the second rise, which lets flavors deepen. When you’re ready, just bake them fresh, making it easy for busy days. Dough kneading by hand works too, just adjust the time as needed for that smooth feel.
Flavor and Presentation Ideas
Experiment with flavors by adding herbs like rosemary or thyme to the dough. You could also mix in garlic powder for a savory twist on classic buttery rolls. For visual appeal, sprinkle sesame seeds or sea salt on top before baking.
Make-ahead options are great; prepare the dough ahead and store it for later. This aligns with tips like freezing after the first rise to keep things fresh up to 3 weeks. Overall, these variations let you personalize Lion House Rolls while honoring the original recipe.
How to Store Lion House Rolls: Best Practices
Keeping your Lion House Rolls fresh starts with proper storage right after they cool. Put them in an airtight container and refrigerate for up to 3 days to hold that soft texture. This method works well for busy families who bake in batches.
If you want to save some longer, wrap the rolls individually in plastic and freeze for up to 2 months. Thaw them at room temperature and reheat in the oven at 350°F for 5-7 minutes to bring back that warmth. For meal prep, freezing portions makes it simple to have homemade bread on hand, tying into the storage focus for Lion House Rolls.
- Refrigerate for short-term freshness
- Freeze for longer storage
- Reheat gently to maintain quality
FAQs: Frequently Asked Questions About Lion House Rolls
What type of yeast should I use for Lion House Rolls, active dry or instant?
You can use either active dry yeast or instant yeast for Lion House Rolls. Active dry yeast needs to be dissolved in warm water (around 110-116°F) before mixing into the dough, which helps activate it. Instant yeast is finer and can be mixed directly into the dry ingredients without proofing. The recipe typically calls for active dry yeast, but instant yeast works well as a convenient substitute.
How do I know if my yeast has properly activated when making Lion House Rolls?
When proofing active dry yeast, mix it with warm water and a small amount of sugar and wait 5-10 minutes. Properly activated yeast will become foamy or bubbly on the surface. If there is no foam, the yeast may be old, water too hot or cold, or it was not given enough time, and the dough won’t rise properly.
Can I freeze Lion House Rolls dough to bake later?
Yes, you can freeze Lion House Rolls after shaping them and completing the first rise. Arrange the rolls on a baking sheet and freeze until solid, then transfer to an airtight container or bag. When ready to bake, thaw them in a warm place and allow a second rise until doubled in size, usually taking up to 2 hours before baking.
How long should I knead Lion House Rolls dough if I don’t have a mixer?
If kneading by hand, plan to knead the dough for about 8-10 minutes until it feels smooth and elastic. Proper kneading develops gluten, which is essential for the rolls’ soft and fluffy texture. Use a lightly floured surface and fold the dough repeatedly during this time.
Can I make cinnamon rolls using the Lion House Rolls recipe?
Yes, the Lion House Rolls dough is versatile and can be used to make cinnamon rolls. After rolling out the dough, spread it with softened butter, sprinkle generously with cinnamon and sugar, then roll and cut into pieces. Allow the rolls to rise before baking for a delicious cinnamon-flavored treat.
Lion House Rolls
🍞 Experience the joy of soft, buttery homemade bread with Lion House Rolls, perfect for any meal or gathering.
🧈 These rolls offer a tender crumb and rich flavor that make them an irresistible addition to your home baking repertoire.
- Total Time: 2 hours 55 minutes
- Yield: 24 to 30 rolls
Ingredients
– 2 cups warm water
– 2/3 cup instant nonfat dry milk powder
– 2 tablespoons active dry yeast (can be substituted with instant yeast without proofing)
– 1/4 cup sugar
– 2 teaspoons salt
– 1/3 cup softened butter (approximately 5 1/3 tablespoons), plus more for brushing after baking
– 1 large egg
– 5 to 5 1/2 cups all-purpose flour (bread flour can be used for lighter rolls)
Instructions
1-Gathering Your Supplies: First, get all your tools ready, like a large bowl and a mixer if you have one. This helps everything run smoothly when you start making Lion House Rolls. Mixing the dough feels simple once you have what you need.
2-Gathering Your Supplies: Before you begin, make sure your yeast is fresh because it makes the rolls rise nicely. Warm water is key here, so heat it to about 116°F to wake up the yeast. This step sets the stage for soft, homemade bread that everyone enjoys.
3-Mixing and Kneading the Dough: Start by combining the warm water and dry milk powder in a large bowl until it’s fully dissolved. Then, add the yeast and a pinch of sugar to activate it; cover and let it proof until it turns foamy, which takes a few minutes.
4-Mixing and Kneading the Dough: Once that’s ready, mix in the sugar, salt, softened butter, egg, and 2 cups of flour on low speed until everything blends well. Switch to medium speed for 2 minutes to get that smooth texture. Gradually add 3 more cups of flour and continue mixing on low then medium for another 2 minutes; the dough will get stiff but that’s normal.
5-Mixing and Kneading the Dough: Keep going by adding up to an additional 1/2 cup of flour little by little until the dough pulls away from the bowl sides, making it soft but not sticky. This part, like kneading by hand for 8-10 minutes if you don’t have a mixer, builds the gluten for those fluffy rolls. For more ideas on dough handling, check out our recipe for summer squash corn chowder which shares similar prep tips.
6-Rising and Shaping: After mixing, coat the bowl sides with vegetable oil, turn the dough to cover it, and let it rise in a warm spot until it doubles in size, about 1 hour. Lightly flour your work surface, place the dough there, and roll it into two rectangles about 11 by 14 inches and 1/4 inch thick.
7-Rising and Shaping: Brush these with about 1/4 cup melted butter to add that buttery goodness. Cut each rectangle into 2 by 4-inch pieces and roll each one with the tail end touching the baking pan for that classic shape. Place the rolls on greased or parchment-lined pans, cover them, and let them rise again until doubled, which takes 1 to 1 1/2 hours.
8-Baking and Finishing: Preheat your oven to 375°F (190°C) and bake the rolls for 15 to 20 minutes until they turn lightly browned. Right after, brush the hot rolls with melted salted butter for extra flavor. This final touch gives you about 24 to 30 rolls that are perfect for any meal.
Last Step:
Please leave a rating and comment letting us know how you liked this recipe! This helps our business to thrive and continue providing free, high-quality recipes for you.Notes
🌡️ Use water about 116°F for optimal yeast activation.
❄️ Freeze rolls after the first rise on a baking sheet, then store in sealed bags for up to 3 weeks.
⏳ Thaw frozen rolls and let rise before baking for fresh results.
- Prep Time: 20 minutes
- Rising Time: 2 to 2.5 hours
- Cook Time: 15 to 20 minutes
- Category: Bread
- Method: Mixing, Kneading, Rising, Baking
- Cuisine: American
Nutrition
- Serving Size: 1 roll





