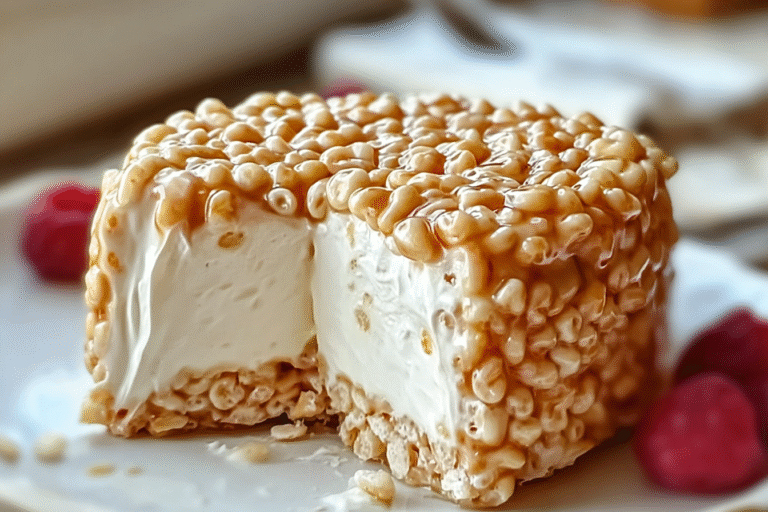
Ingredients
– 6 cups Rice Krispies cereal for the crust
– 1/4 cup salted butter for the crust
– 10 oz miniature marshmallows for the crust
– 8 oz cream cheese, softened for the filling
– 1/2 cup sugar for the filling
– 1 teaspoon vanilla extract for the filling
– 7 oz marshmallow creme or fluff for the filling
– 8 oz whipped topping, thawed for the filling
– Whipped cream for the garnish
– Cubed Rice Krispy Treat squares for the garnish
Instructions
1-Step 1: Prepare Your Pan and Ingredients Grease a 9- or 10-inch springform pan with cooking spray to ensure easy removal later this tip makes a world of difference. Measure out all your ingredients ahead of time, like softening the cream cheese so it blends without lumps. This step sets you up for success and keeps the recipe flowing smoothly, just like in our favorite kitchen hacks.
2-Step 2: Make the Crust Melt the butter and miniature marshmallows together over low heat until they’re smooth and gooey stir constantly to avoid any burning mishaps. Once melted, mix in the 6 cups of Rice Krispies cereal until everything is evenly coated. Press this mixture firmly into the bottom and sides of your prepared pan, then let it set for about 20 minutes to firm up.
3-Step 3: Whip Up the Filling In a separate bowl, beat the softened cream cheese, sugar, and vanilla extract until it’s super smooth and creamy. Add the marshmallow creme and mix well to keep that fluffy texture. Gently fold in the whipped topping to maintain the airiness, then spread this filling evenly over your set crust for that perfect layer.
4-Step 4: Add Garnish and Chill Garnish the top with piped whipped cream around the edges and place cubed Rice Krispy Treat squares in the center for a fun finish. Pop the whole thing in the refrigerator and chill for at least 2 hours this helps everything set nicely. For more tips on no-bake treats, explore our gluten-free desserts page, which has similar ideas.
Last Step:
Please leave a rating and comment letting us know how you liked this recipe! This helps our business to thrive and continue providing free, high-quality recipes for you.Notes
🍽️ Use a springform pan for easy removal.
❄️ Keep the dessert refrigerated to maintain freshness.
🍬 Adjust sugar amounts to suit your preferred sweetness level.
🌾 Substitute gluten-free cereals or dairy alternatives for dietary needs.
⏳ Prepare a day ahead; note crust may lose some crispness over time.
- Prep Time: 25 minutes
- Chilling Time: 2 hours
- Category: Dessert
- Method: No-Bake
- Cuisine: American
Nutrition
- Serving Size: 1 slice