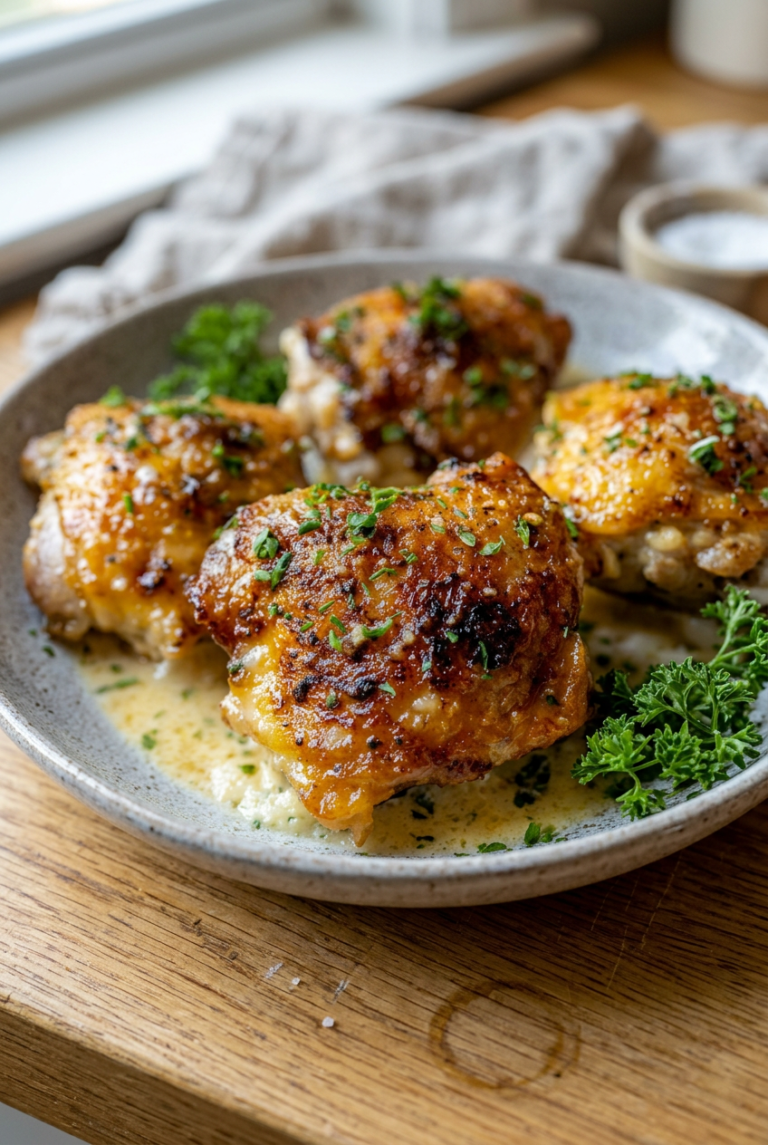
Ingredients
– 6 bone-in, skin-on chicken thighs
– 1 ounce packet dry ranch salad dressing mix
– 2 tablespoons olive oil
– 1 clove pressed garlic
– 1 tablespoon lemon juice
– Black pepper to taste
– Salt, to season the chicken
Instructions
1-First Step: Prep the oven and pan Start by preheating your oven to 400 degrees Fahrenheit. Line a baking sheet with foil, making sure the nonstick side faces up. This makes cleanup easier and helps keep the chicken from sticking. Keep the baking sheet uncovered so the skin can brown properly. While the oven heats, gather your ingredients and set out a small bowl for the ranch coating. Having everything ready keeps the process smooth and quick. Since the prep time is only about 5 minutes, this dish is great for nights when you need dinner on the table fast.
2-Second Step: Prepare the chicken thighs Place the 6 bone-in, skin-on chicken thighs on the foil-lined baking sheet with the fat side up. Season them with salt and black pepper. If the thighs are very wet, pat them dry first with paper towels. Dry skin crisps better, so this small step really helps. Try not to overcrowd the pan. Give each thigh a little space so hot air can move around them. If needed, use two pans instead of one crowded sheet. You can also unroll the thighs for more surface area, which helps the skin cook more evenly.
3-Third Step: Bake the chicken until the skin starts to crisp Place the pan in the oven and bake the chicken for 25 minutes. At this stage, the skin should begin to crisp and the thighs will start to release some fat. Do not worry if they are not fully done yet. This first bake is about building color and texture. Use this time to mix the ranch coating. Since the chicken is baking uncovered, the skin can brown properly instead of steaming. That is one of the biggest secrets to crispy baked chicken thighs.
4-Fourth Step: Mix the ranch coating In a small bowl, combine the 1 ounce packet dry ranch salad dressing mix, 2 tablespoons olive oil, and 1 clove pressed garlic. If the mixture feels too thick or clumpy, add 1 tablespoon lemon juice to thin it. You can also add a little water if needed. Stir until the coating is smooth enough to brush on. This mixture should smell rich and savory. The olive oil helps the ranch seasonings stick to the chicken, while the garlic gives it a stronger homemade taste. If you like a slightly brighter flavor, the lemon juice adds a nice lift.
5-Fifth Step: Brush and continue baking After the first 25 minutes, carefully remove the pan from the oven. Brush the ranch mixture over the chicken thighs, coating the tops well. Return the pan to the oven and keep baking until the chicken turns crispy and golden brown. The most important thing here is the temperature. Cook the chicken based on internal temperature, not time alone. Aim for about 160 degrees Fahrenheit in the oven, then let carryover cooking bring it up to 165 degrees Fahrenheit after it comes out. Use a thermometer in the thickest part of the thigh, and avoid touching the bone, since that can give a false reading.
6-Sixth Step: Broil for extra crispness, if you want If you want even crispier skin, switch the oven to broil for about 5 minutes at the end. Watch it closely because broiler heat moves fast and can burn the skin quickly. This step is optional, but it is a nice finishing touch if you love a deeper golden color. Once the chicken looks browned and the internal temperature reaches 165 degrees Fahrenheit, remove it from the oven. Let it rest for 5 to 10 minutes before serving. Resting helps the juices settle back into the meat, which keeps every bite moist and tender.
7-Final Step: Serve and enjoy Serve the chicken thighs warm with your favorite sides. They go well with roasted potatoes, steamed vegetables, salad, rice, or simple buttered noodles. Since the recipe has strong flavor on its own, you do not need much else to make the plate feel complete. For a fun meal idea, add a sweet side like a strawberry milkshake for a family-style dinner treat or keep it simple with vegetables and a grain. This dish is flexible enough for weeknights, meal prep, and casual gatherings.
Last Step:
Please leave a rating and comment letting us know how you liked this recipe! This helps our business to thrive and continue providing free, high-quality recipes for you.Notes
✅ Pat the chicken thighs dry with paper towels for crispier skin.
🌡️ Always use a thermometer in the thickest part, avoiding the bone, to check for 165°F doneness.
⏰ Let the chicken rest for 5-10 minutes before serving to retain juices.
- Prep Time: 5 minutes
- Cook Time: 45 minutes
- Category: Main Course
- Method: Baking
- Cuisine: American
- Diet: Low-Carb
Nutrition
- Serving Size: 1 chicken thigh
- Calories: 340
- Sugar: 0g
- Sodium: 270mg
- Fat: 25g
- Saturated Fat: 6g
- Unsaturated Fat: 18g
- Trans Fat: 0g
- Carbohydrates: 1g
- Fiber: 0g
- Protein: 31g
- Cholesterol: 168mg