Ingredients
– 1 graham cracker crust
– 8 oz cream cheese, softened
– 1/3 cup sugar
– 1 cup heavy cream
– 1 teaspoon vanilla extract
– 1 package instant vanilla pudding, 3.4 oz
– 1 cup milk
– 2 bananas, sliced
– 20 to 30 vanilla wafers
Instructions
1-Step 1: Get everything ready Set out your graham cracker crust, softened cream cheese, sugar, heavy cream, vanilla extract, pudding mix, milk, bananas, and vanilla wafers. Having everything nearby makes the whole process go smoothly. If kids are helping, this is a great time to let them count wafers or measure out the milk.
2-Step 2: Mix the cream cheese base Beat the 8 oz softened cream cheese with a hand mixer until smooth. This is important because any lumps will show up in the final filling. Once it looks creamy, add the 1/3 cup sugar and mix again until the mixture is silky and even.
3-Step 3: Whip in the cream and vanilla Pour in the 1 cup heavy cream and the 1 teaspoon vanilla extract. Beat until medium peaks form, then set the mixture aside. Medium peaks mean the cream holds its shape but still looks soft and smooth. This gives the filling a light, mousse like texture.
4-Step 4: Make the pudding layer In a small bowl, combine the 1 cup milk and 1 package instant vanilla pudding, 3.4 oz. Whisk until the mix is smooth. Then refrigerate it for 3 to 5 minutes so it thickens slightly. That short chill helps the pudding blend better with the cream cheese mixture later.
5-Step 5: Fold the pudding into the creamy base Once the pudding has thickened, gently fold it into the cream cheese mixture. Use a spatula and work slowly so you do not knock out too much air. The filling should look thick, creamy, and well blended.
6-Step 6: Build the first layer Pour half of the filling into the graham cracker crust and smooth it out evenly. This first layer creates a solid base for the banana and wafer filling. Then add a layer of sliced bananas and vanilla wafers over the top.
7-Step 7: Add the remaining filling Pour the rest of the filling on top and smooth it evenly with a spatula. Make sure the surface looks neat, since this is what people will see after chilling. Place additional vanilla wafers on top as desired for a pretty finish.
8-Step 8: Chill until set Refrigerate the dessert for at least 3 hours. This resting time helps the filling firm up so it slices cleanly. If you want to make it ahead, you can chill it overnight without adding the banana slices on top.
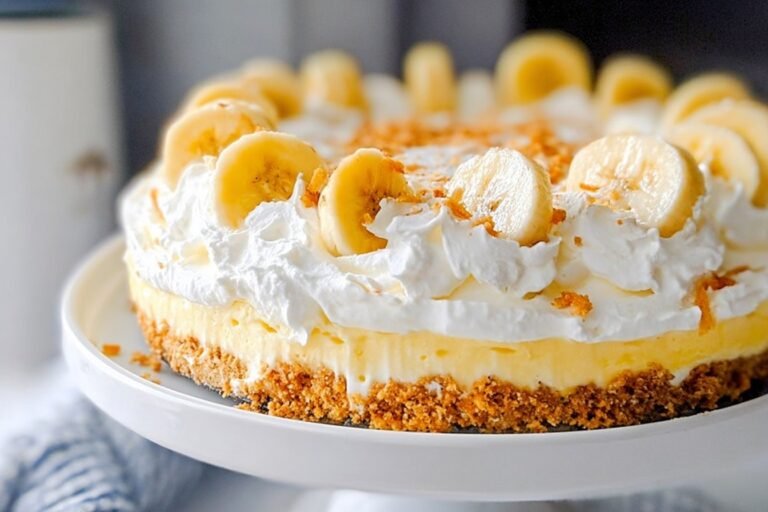
9-Step 9: Finish and serve Right before serving, add banana slices on top if desired. This keeps them from browning too early. If you are serving it later in the day, wait until the last possible moment to add the fresh bananas so the dessert looks bright and fresh.
Last Step:
Please leave a rating and comment letting us know how you liked this recipe! This helps our business to thrive and continue providing free, high-quality recipes for you.Notes
🍌 Slice bananas last-minute – prevents ugly browning.
⏰ Prep day ahead (no bananas) for effortless serving.
🥛 Half-and-half works if no heavy cream handy.
- Prep Time: 15 minutes
- Chilling: 3 hours
- Cook Time: 0 minutes
- Category: Desserts
- Method: No-Bake
- Cuisine: American
- Diet: Vegetarian
Nutrition
- Serving Size: 1 slice
- Calories: 432 kcal
- Sugar: 33 g
- Sodium: 460 mg
- Fat: 20 g
- Saturated Fat: 10 g
- Unsaturated Fat: 10 g
- Trans Fat: 0 g
- Carbohydrates: 55 g
- Fiber: 1 g
- Protein: 8 g
- Cholesterol: 47 mg