Ingredients
– 4 large egg yolks for creating the rich, silky base and helping the curd thicken
– 2 egg yolks plus 1 whole egg optional thicker curd for making a firmer curd for filling pastries or cakes
– 2/3 cup granulated sugar for balancing the tart lemon flavor and helping with smooth texture
– 1 tablespoon lemon zest, from about 1 lemon for adding strong lemon aroma and bright citrus flavor
– 1/3 cup fresh lemon juice, from about 2 to 3 lemons for providing the tangy flavor that makes lemon curd shine
– 1/8 teaspoon salt for rounding out the flavor
– 6 tablespoons unsalted butter, softened and cut into 6 pieces for giving the curd a glossy, creamy finish
Instructions
1-First step: set up your double boiler Fill the bottom of a double boiler with 1 to 2 inches of water and bring it to a simmer. If you do not have a double boiler, use a heatproof glass bowl set over a pot of simmering water. The key is gentle heat, since direct flames can scorch the eggs and make the curd grainy. Choose a non-reactive bowl or pot. Avoid reactive metal tools that can leave a metallic taste in the curd. If you are baking for the family after work or school, this setup keeps the process calmer and safer too.
2-Second step: mix the base In the top pot or bowl, combine the egg yolks, sugar, lemon zest, lemon juice, and salt. Whisk everything together until it looks smooth and blended. At this point, the mixture will be thin and bright yellow, with that fresh lemon aroma floating up right away. If you are making the thicker version, use 2 egg yolks plus 1 whole egg instead of 4 yolks. That small change gives the curd a firmer finish, which is nice for tart shells, layered cakes, or sandwich cookies.
3-Third step: cook slowly while whisking Set the bowl over the simmering water and whisk constantly for about 10 minutes. Keep the whisk moving so the eggs do not sit in one hot spot and curdle. The mixture will slowly thicken until it looks like hollandaise sauce and reaches about 170°F. Do not rush this part. If the curd is not thickening, a little more heat is okay as long as the water stays at a simmer and you keep whisking. You want a smooth, spoon-coating texture, not scrambled eggs in lemon clothes.
4-Fourth step: add the butter Once the curd has thickened, remove it from the heat. Add the butter pieces one at a time and whisk until fully melted and glossy. The butter makes the curd rich, soft, and shiny, which is exactly what you want for spreading or filling. If you are using salted butter, skip the salt from the ingredient list. That swap works well when you want a slightly deeper flavor without buying a separate stick of unsalted butter.
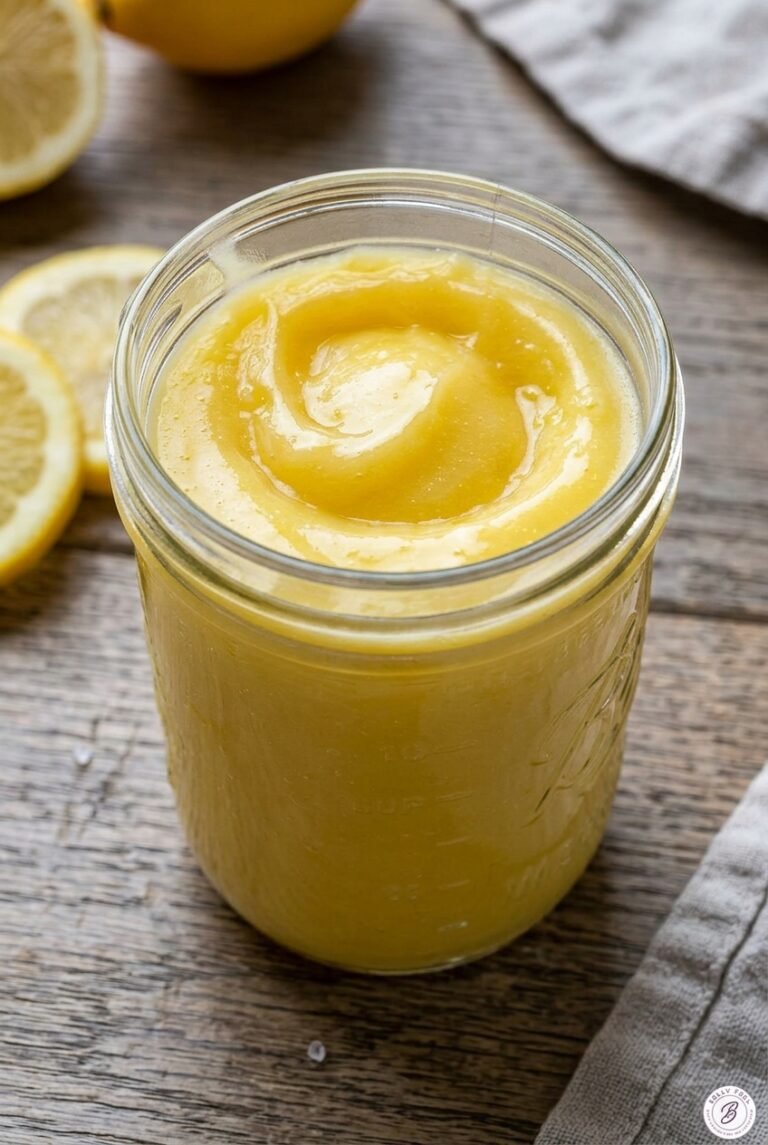
5-Final step: chill and set Pour the finished curd into a jar or bowl. Press plastic wrap directly onto the surface so a skin does not form while it cools. Then refrigerate it until chilled and thickened. The curd will continue to set as it cools, so do not worry if it looks a little loose at first. Once cold, it becomes smooth and spreadable. This is the perfect time to make toast, prep a tart crust, or get out a spoon for a very serious taste test.
Last Step:
Please leave a rating and comment letting us know how you liked this recipe! This helps our business to thrive and continue providing free, high-quality recipes for you.Notes
🔥 Whisk vigorously and constantly over gentle simmer to avoid curdling or scrambling.
🍋 Fresh lemons only – bottled juice dulls the vibrant flavor and color.
🧊 Plastic wrap pressed on surface prevents skin; stores 10 days fridge or 3 months freezer.
- Prep Time: 5 minutes
- Chilling: 1 hour
- Cook Time: 10 minutes
- Category: Desserts
- Method: Stovetop
- Cuisine: British
- Diet: Vegetarian
Nutrition
- Serving Size: 2 tablespoons
- Calories: 100 kcal
- Sugar: 10g
- Sodium: 30mg
- Fat: 6g
- Saturated Fat: 3g
- Unsaturated Fat: 3g
- Trans Fat: 0g
- Carbohydrates: 11g
- Fiber: 0g
- Protein: 1g
- Cholesterol: 60mg