Ingredients
– 18.3 ounce box fudgy brownie mix for rich flavor and sturdy texture
– 2 large eggs for binding the batter and adding structure
– 2/3 cup vegetable oil for keeping the brownies moist and soft
– 3 tablespoons water for loosening the batter
– 8 ounces cream cheese, softened for creamy filling
– 1/2 cup powdered sugar for sweetening the frosting and smooth piping
– 1 teaspoon vanilla for warm flavor in the frosting
– 1 to 2 teaspoons festive sprinkles for color and playful finish
Instructions
1-First Step: Prepare the pan and oven Start by preheating your oven to 350 degrees Fahrenheit. Spray the egg-shaped silicone molds with nonstick spray so the brownies release cleanly after baking. This step matters because the shaped brownies need a smooth surface and neat edges. If you do not have silicone egg molds, you can bake the batter in a standard pan and cut egg shapes after cooling. That option works well for home cooks who want the same flavor with a little less special equipment.
2-Second Step: Mix the brownie batter Prepare the fudgy brownie mix according to the package instructions. For this recipe, that means combining the 18.3 ounce box fudgy brownie mix with 2 large eggs, 2/3 cup vegetable oil, and 3 tablespoons water. Stir just until the batter is smooth and no dry streaks remain. A thick brownie batter helps the shapes hold up better in the mold. Fudgy brownies work best because they stay moist without spreading too much.
3-Third Step: Fill the molds Spoon the batter into each cavity, filling it about three quarters full. Try not to overfill, because the brownies will rise as they bake. A small scoop or spoon helps keep the portions even, which makes the final tray look tidy and uniform. If you are baking for a crowd, you may need to work in batches depending on the size of your molds. That is completely fine, and it often gives you more control over the shape.
4-Fourth Step: Bake the brownies Bake according to the package directions, which is usually about 22 minutes at 350 degrees Fahrenheit. Check for doneness with a toothpick if needed. You want the brownies baked through but still soft enough to press gently in the center. Once they come out of the oven, work quickly while they are warm. Use the back of a small spoon or your fingertip to press a small cavity into the top of each brownie. This is the trick that creates the deviled egg look and makes room for the frosting filling. Press the cavity while the brownies are still warm. If you wait too long, they can crack when you shape them.
5-Fifth Step: Cool completely Let the brownies cool completely before adding frosting. This is important because warm brownies can melt the filling and make the finished dessert messy. A full cool-down also helps the brownies firm up, which makes them easier to move and decorate. If you are in a hurry, place the tray in a cool spot on the counter, but avoid frosting too soon. Patience here pays off with a cleaner look and better texture.
6-Sixth Step: Make the frosting To make the filling, beat together 8 ounces softened cream cheese, 1/2 cup powdered sugar, and 1 teaspoon vanilla until smooth. You can use a hand mixer or stand mixer, and it should only take a couple of minutes. If you want more color for a holiday theme, you can tint the frosting with a small amount of gel food coloring. For example, yellow frosting can mimic a classic deviled egg look, while pastel pink or green works well for spring gatherings.
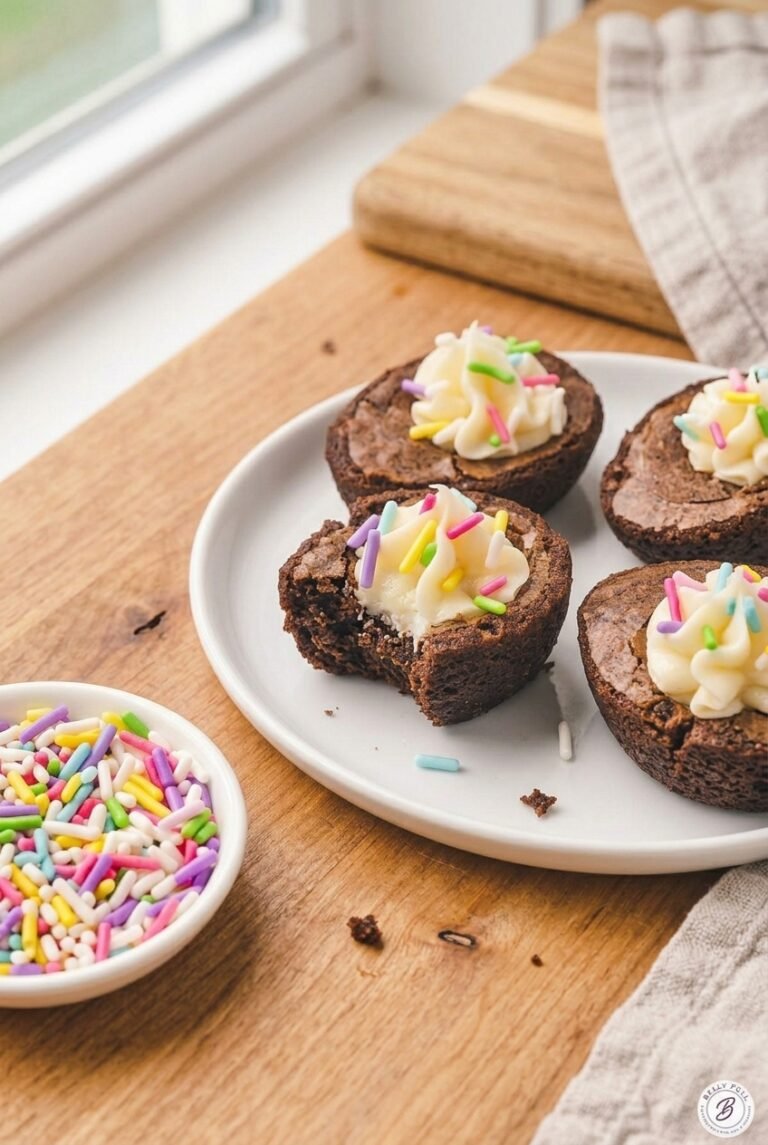
7-Seventh Step: Fill and decorate Spoon the frosting into a piping bag fitted with a 1M tip, then pipe it into the brownie cavities. The star tip gives the filling a pretty swirl that looks polished without much effort. If you do not have a piping bag, you can also use a zip-top bag with the corner snipped off. Finish with 1 to 2 teaspoons festive sprinkles. Add just enough for sparkle and color without covering the frosting completely. Then place the finished brownies on a deviled egg tray for a playful presentation that guests will remember.
8-Eighth Step: Serve and enjoy Serve the brownies once they are fully set. They taste great chilled or at room temperature, depending on your preference. The brownie base stays rich and chewy, while the frosting gives each bite a creamy finish. For more dessert inspiration and ingredient ideas, you can also check trusted nutrition data like this brownie nutrition reference before planning portions.
Last Step:
Please leave a rating and comment letting us know how you liked this recipe! This helps our business to thrive and continue providing free, high-quality recipes for you.Notes
🔥 Use fudgy brownie mix for perfect egg shape hold.
❄️ Indent cavities while brownies warm to prevent cracking.
🎨 Dye frosting or swap sprinkles for holidays.
- Prep Time: 20 minutes
- Cook Time: 22 minutes
- Category: Desserts
- Method: Baking
- Cuisine: American
- Diet: Vegetarian
Nutrition
- Serving Size: 1 brownie
- Calories: 198 kcal
- Sugar: 14g
- Sodium: 99mg
- Fat: 12g
- Saturated Fat: 4g
- Unsaturated Fat: 8g
- Trans Fat: 0g
- Carbohydrates: 20g
- Fiber: 1g
- Protein: 2g
- Cholesterol: 25mg