Ingredients
– 200g Semi-sweet chocolate for a balanced sweetness and creamy texture that’s perfect for coatings and designs
– 100ml Heavy cream for achieving the ideal ganache consistency for smooth, spreadable decorations
– 50g Unsalted butter for adding shine and richness to chocolate coatings, enhancing overall finish
– 30g Powdered sugar for sweetening frostings and glazes without grainy texture
– Boxed cake mix as per package for providing a quick base for cake
– Homemade buttercream typically smooth and buttery for piping and spreading
Instructions
1: Getting started with decorating cakes with chocolate begins with a few straightforward steps that anyone can follow, even if you’re new to baking. The process incorporates techniques like baking evenly and cooling fully, which help ensure your cake turns out just right. By using items like baking parchment paper, you can make the whole thing smoother and less messy.
2: First, gather all your ingredients and tools, including chopping the semi-sweet chocolate into small pieces for even melting. Make sure your cake is fully cooled on a prepared surface to avoid any sticking issues. This step ties into the joy of homemade traditions, where using boxed cake mix speeds things up while still allowing for personal flair.
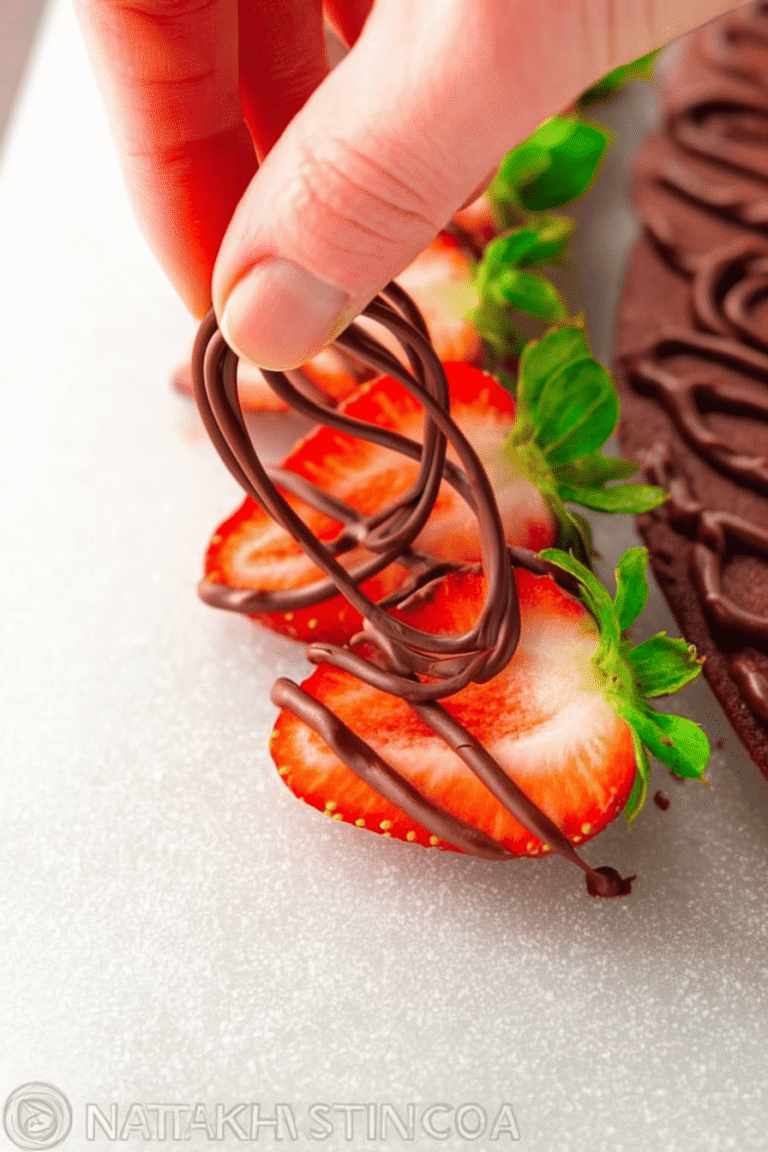
3: Next, melt the chocolate gently in a heatproof bowl using a double boiler or microwave, stirring often to keep it smooth and prevent burning. Once melted, warm the heavy cream slightly and mix it in to form a glossy ganache, then add unsalted butter for extra shine. For assembly, level the cake with a serrated knife if needed, embracing any slight imperfections for that genuine homemade charm.
4- Applying the Frosting: After preparing your ganache, pipe it onto the cake layers using a bag to avoid crumbs mixing in, then spread evenly with an offset spatula. Chilling the frosting helps it hold shape, making smoothing the sides easier and more fun. Add decorative elements like piped borders or star-shaped dots for a personal touch, just as in simple homemade celebrations.
5- Final Touches: Let the decorated cake set at room temperature or chill briefly to firm up the layers. Serve it fresh for the best texture, incorporating candles in colors like pale aqua or gold to tie into your theme. This method emphasizes patience and enjoyment, turning even basic tools into creative assets.
Last Step:
Please leave a rating and comment letting us know how you liked this recipe! This helps our business to thrive and continue providing free, high-quality recipes for you.Notes
🧁 Use parchment paper to ensure cakes release cleanly from pans.
🍰 Pipe frosting onto layers first to avoid mixing crumbs into your icing.
❄️ Chill the frosting after crumb coating to help it hold its shape during smoothing and decorating.
- Prep Time: 15 minutes
- Cook Time: 30 minutes
- Category: Dessert
- Method: Baking and Decorating
- Cuisine: American
- Diet: Vegetarian
Nutrition
- Serving Size: 1 slice